by Uma Victor
State and its management have always been a necessary part of modern applications. In earlier times, states were managed by passing data down to various applications, but this method became inefficient as the complexity of applications grew. To solve this, different State Management Libraries were produced; their sole aim was to store and manage the state in a central store, distributing data between various components. This resulted in clean code and better data handling and sharing between components. In this tutorial, readers will learn how to manage states with Zustand for clean code and better data flow in their application.
Zustand as a State Management Library
Zustand is a fast and scalable state management solution built by the developers of Jotai and React springs. Zustand is known for its simplicity, using hooks to manage states without boilerplate code.
"Zustand" is just German for "state".
There are lots of popular React State Management out there, but below are some reasons why you would prefer to use Zustand:
- Less boilerplate code
- Zustand renders components only on changes to the value of the state. Changes in the state can often be handled without having to re-render a component.
- State management is centralized and updated via simple defined actions. It is similar to Redux in this regard, but unlike Redux, where the developer has to create reducers, actions, and dispatch to handle state, Zustand makes it far easier.
- Uses hooks to consume states. Hooks are popular in React and, as such, a welcome state management method.
- Zustand makes use of simple-to-use and easily implementable code.
- Provides clean code by eliminating the need to use Context Provides, thus resulting in shorter and more readable code.
Setting up an app
The first step is to create a new React application and install the Zustand dependency. To do this, run the following commands:
npx create-react-app zustand
cd zustand
npm install zustand
With this, we have our state management library installed in our project folder for our use. Now, we will need to define a store that will contain all states and their functions used by the application. We will do this in our App.js file:
import create from 'zustand';

// define the store
const useStore = create(set => ({
  votes: 0,
}));
Above, we created a store that tracks a state regarding votes with its initial value set to zero. Here, the name of our store is useStore. To define the store, we used a function create imported from Zustand, which takes in a callback function to create the store.
Accessing the Store
To make use of the state in our application, we can bind the values of the created state to our DOM elements as shown below:
const getVotes = useStore(state => state.votes);

return (
    <div className="App">
      <h1>{getVotes} people have cast their votes</h1>
    </div>
  );
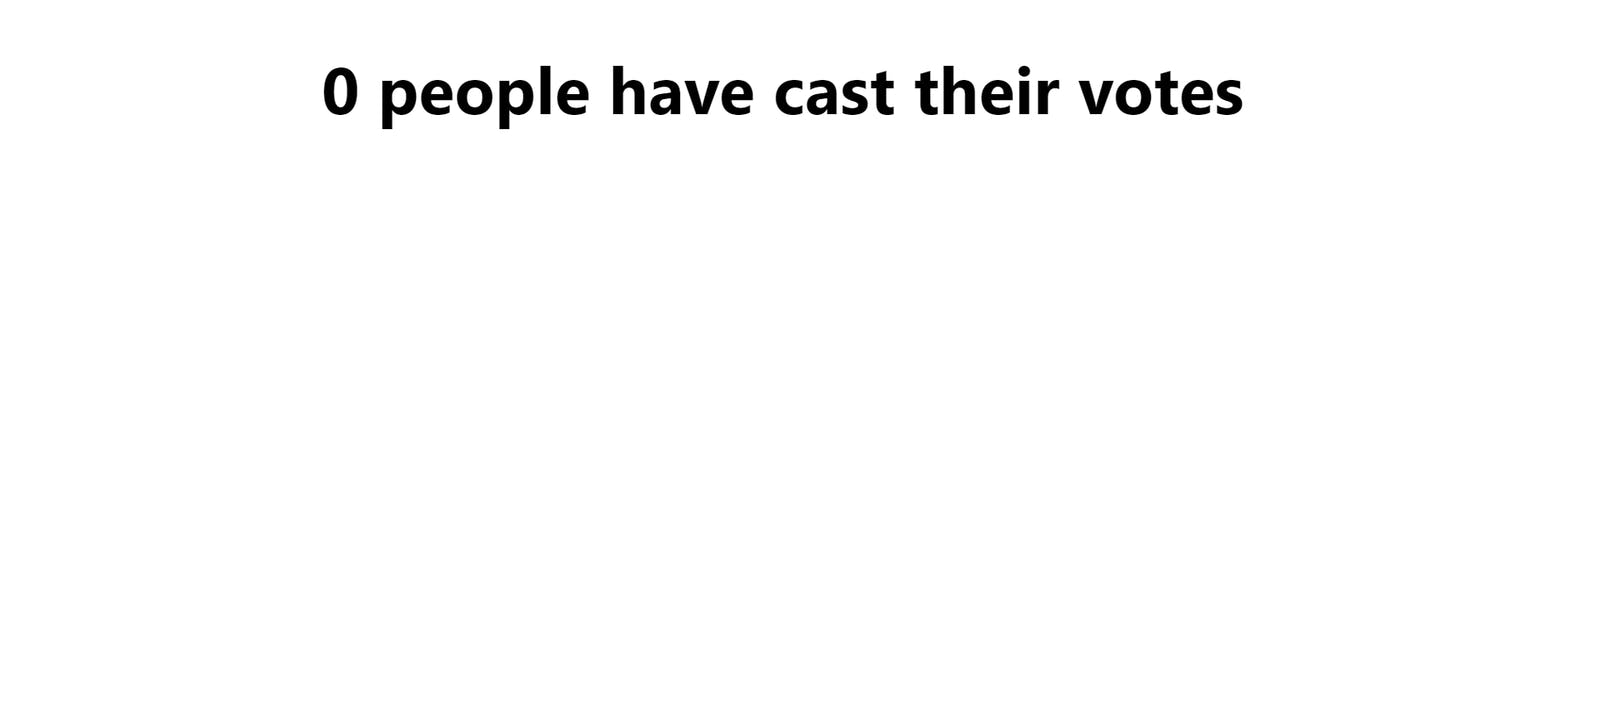
In the code above, we have the variable getVotes. This variable contains the value of the state property votes. With this, we can access the value of the state in the h1 DOM element to display its value. Now, if we run our application with the npm start command, we get a result similar to the image below:
Updating state
Aside from accessing the value of the state, we can also modify the store to change the value of the created state. To handle this, we will create two additional properties, addVotes and subtractVotes, and add them to the store. The former will contain a function to increment the value of the state votes by one, while the latter will decrement the value of the state votes by one.
const useStore = create(set => ({
  votes: 0,
  addVotes: () => set(state => ({ votes: state.votes + 1 })),
  subtractVotes: () => set(state => ({ votes: state.votes - 1 })),
}));
Then we can assign this properties to variables and make use of it in our application:
const addVotes = useStore(state => state.addVotes);
const subtractVotes = useStore(state => state.subtractVotes);
  <div className="App">
      <h1>{getVotes} people have cast their votes</h1>
      <button onClick={addVotes}>Cast a vote</button>
      <button onClick={subtractVotes}>Delete a vote</button>
  </div>
This is what we get:
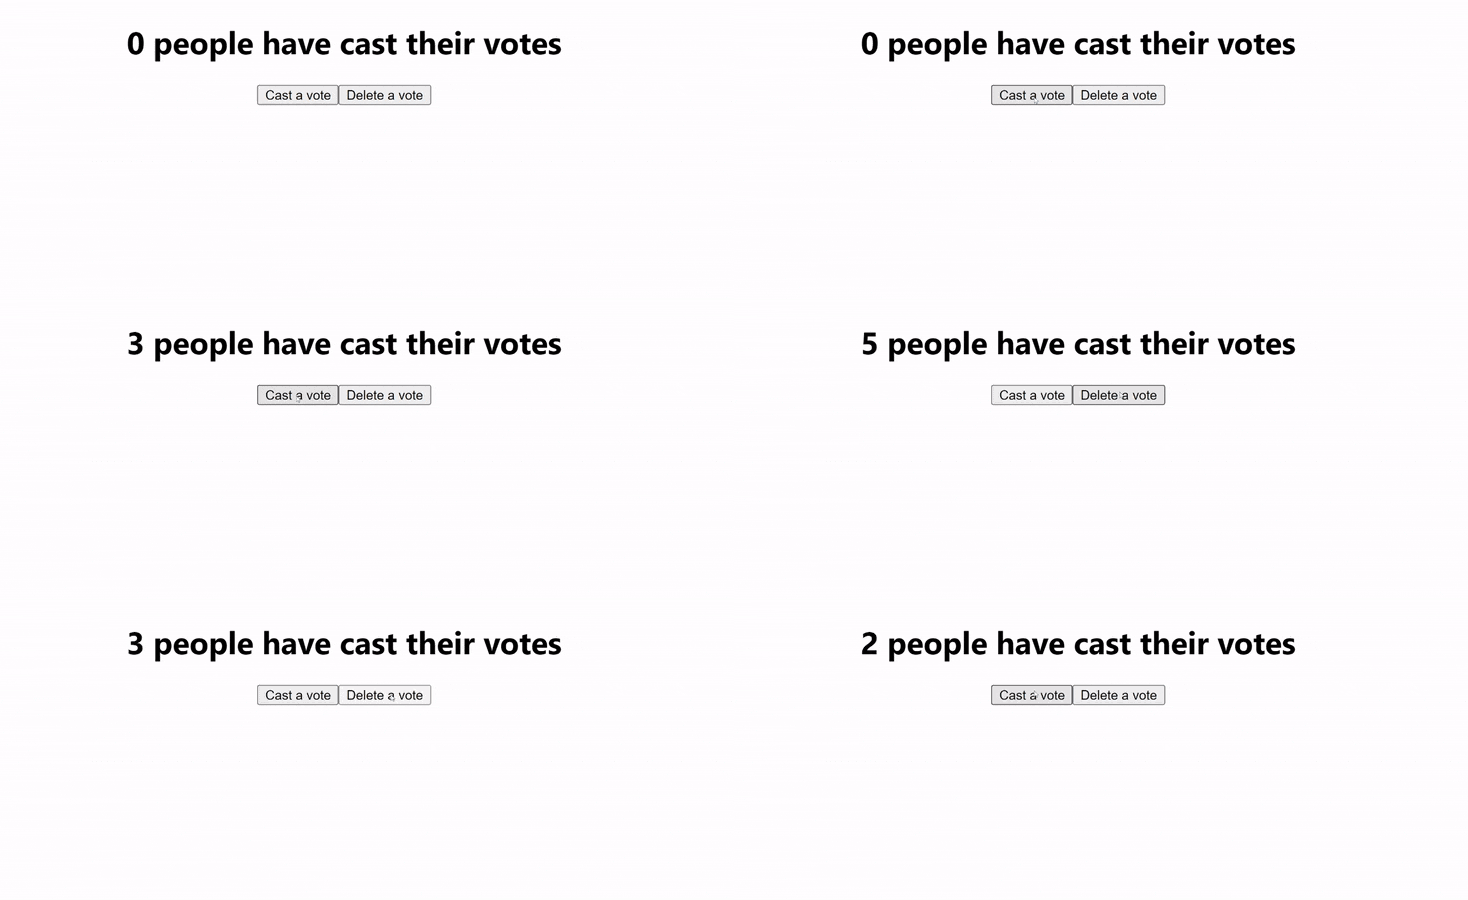
The addVotes updates the state by incrementing votes by one, while the subtractVote subtracts one. Hence anytime we click on the cast a vote button, the state updates, and the number of people increases, and when we click on Delete a vote, the votes are decremented by one.
Accessing stored state
When we defined the state above, we used the set() method. Suppose in an application, we need to add a value stored elsewhere to our state, for this we will use a method get() provided by Zustand instead. This method allows multiple states to use the same value:
const useStore = create((set,get) => ({
  votes: 0,
  action: () => {
    const userVotes = get().votes
    // ...
  }
}));
Open Source Session Replay
OpenReplay is an open-source, session replay suite that lets you see what users do on your web app, helping you troubleshoot issues faster. OpenReplay is self-hosted for full control over your data.
Start enjoying your debugging experience - start using OpenReplay for free.
Working with asynchronous data
Zustand makes storing asynchronous data in the state easy. Here, we only need to make the fetch request and use the set() method to set the value of our state.
const useStore = create((set) => ({
  Votes: {},
  fetch: async (voting) => {
    const response = await fetch(voting)
    set({ Votes: await response.json() })
  },
}))
When the async function returns a value, Votes is assigned the returned data. We can demonstrate this using GitHub API as shown below:
const voting = "https://api.github.com/search/users?q=john&per_page=5";
const useStore = create((set) => ({
  voting: voting,
  Votes: {},
  fetch: async (voting) => {
    const response = await fetch(voting);
    const json = await response.json();
    set({ Votes: json.items })
  },
}))
In the code above, the URL makes an API call to GitHub which returns the usernames of 5 users. The store will await this fetch request, then update the state Votes with it. With the store created, we can pass the URL as an argument to to the fetch property of the state as shown below:
function App() {
  const votes = useStore(state => state.Votes)
  const fetch = useStore(state => state.fetch)
  return (
    <div className="App">
      <h1>{votes.length} people have cast their votes</h1>
      <button onClick={()=>{fetch(voting)}}>Fetch votes</button>
    </div>
  );
}
Here, the length of the returned JSON by the API is displayed in the h1 element, and the button has an onClick event which runs the function in the fetch property of the state, along with the voting URL as an argument. With Zustand, the state is updated as soon as the asynchronous request is fulfilled.

Storing and accessing arrays in the state
Suppose we need to store an array in a state in Zustand, we can define the store as shown below:
const useStore = create(set => ({
  fruits: ['apple', 'banana', 'orange'],
  addFruits: (fruit) => {
    set(state => ({
      fruits: [...state.fruits, fruit]
    }));
  }
}));
Above, we created a store containing a state fruits, which contains an array of fruits. The second parameter addFruits, takes an argument fruit and runs a function to spread the value of the fruits state and append the new entry fruit. This second variable, addFruits, will be used to update the value of our stored state.
To access the state in our application, we will need to map through the array and return all our fruits. We can also update the state with the addFruits function through an input field and button:
const fruits = useStore((state) => state.fruits);
const addFruits = useStore((state) => state.addFruits);
const inputRef = useRef();
const addFruit = () => {
  addFruits(inputRef.current.value);
  inputRef.current.value = "";
};
return (
  <div className="App">
    <h1>I have {fruits.length} fruits in my basket</h1>
    <p>Add a new fruit</p>
    <input ref={inputRef} />
    <button onClick={addFruit}>Add a fruit</button>
    {fruits.map((fruit) => (
      <p key={fruit}>{fruit}</p>
    ))}
  </div>
);
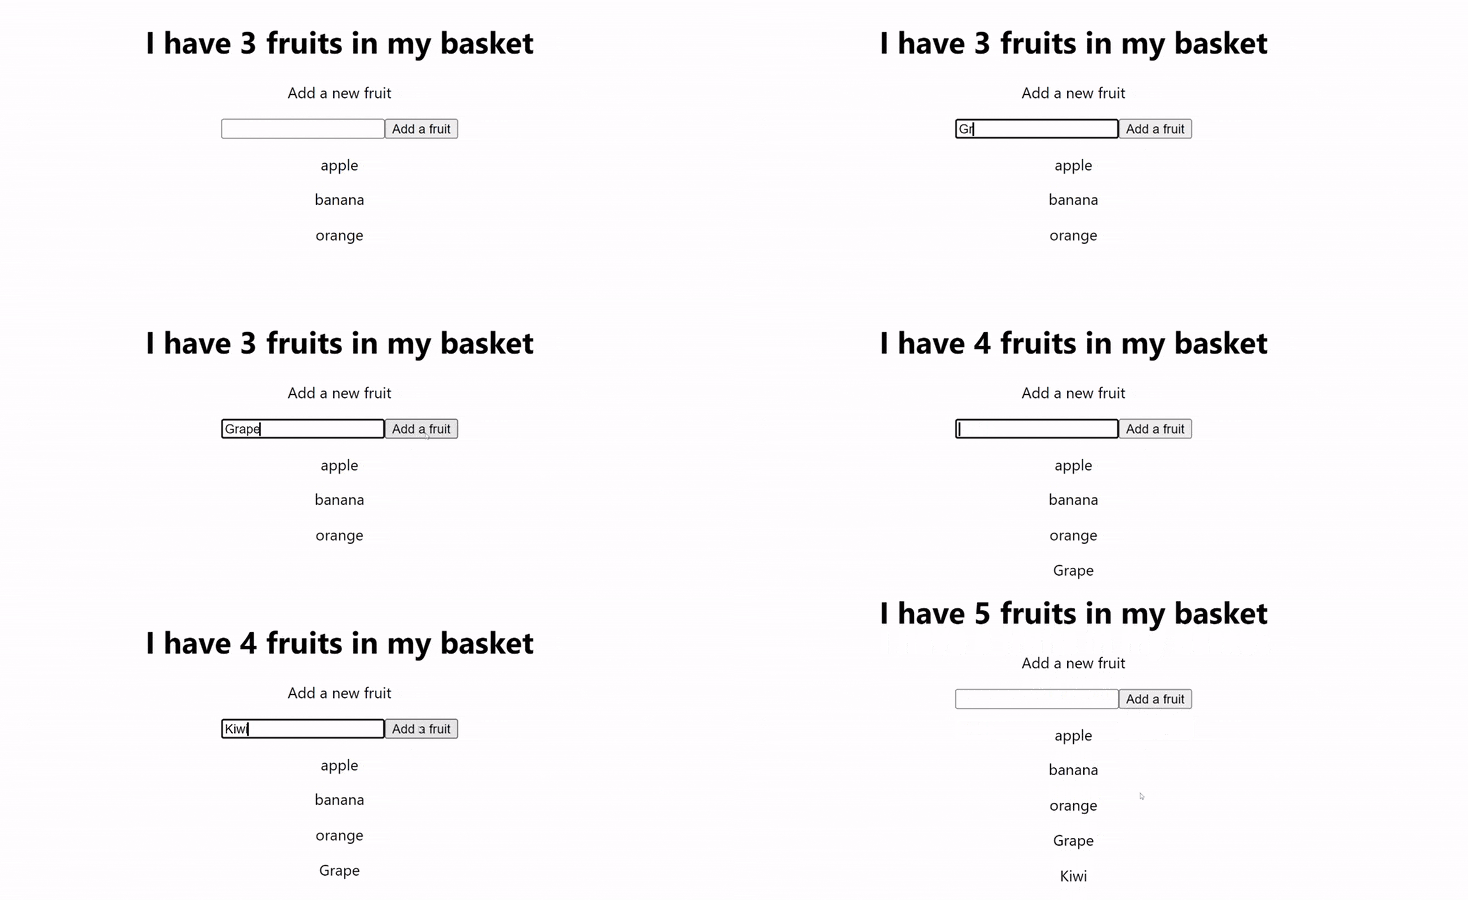
Here, we take the input field's value using useRef from React. The onClick handler in the button runs the addFruit function. This function adds the current value of the text field to the fruits state. Finally, we mapped through the values of the state and returned each value in the array. Running this, we will have a result similar to the below GIF:
Persisting state
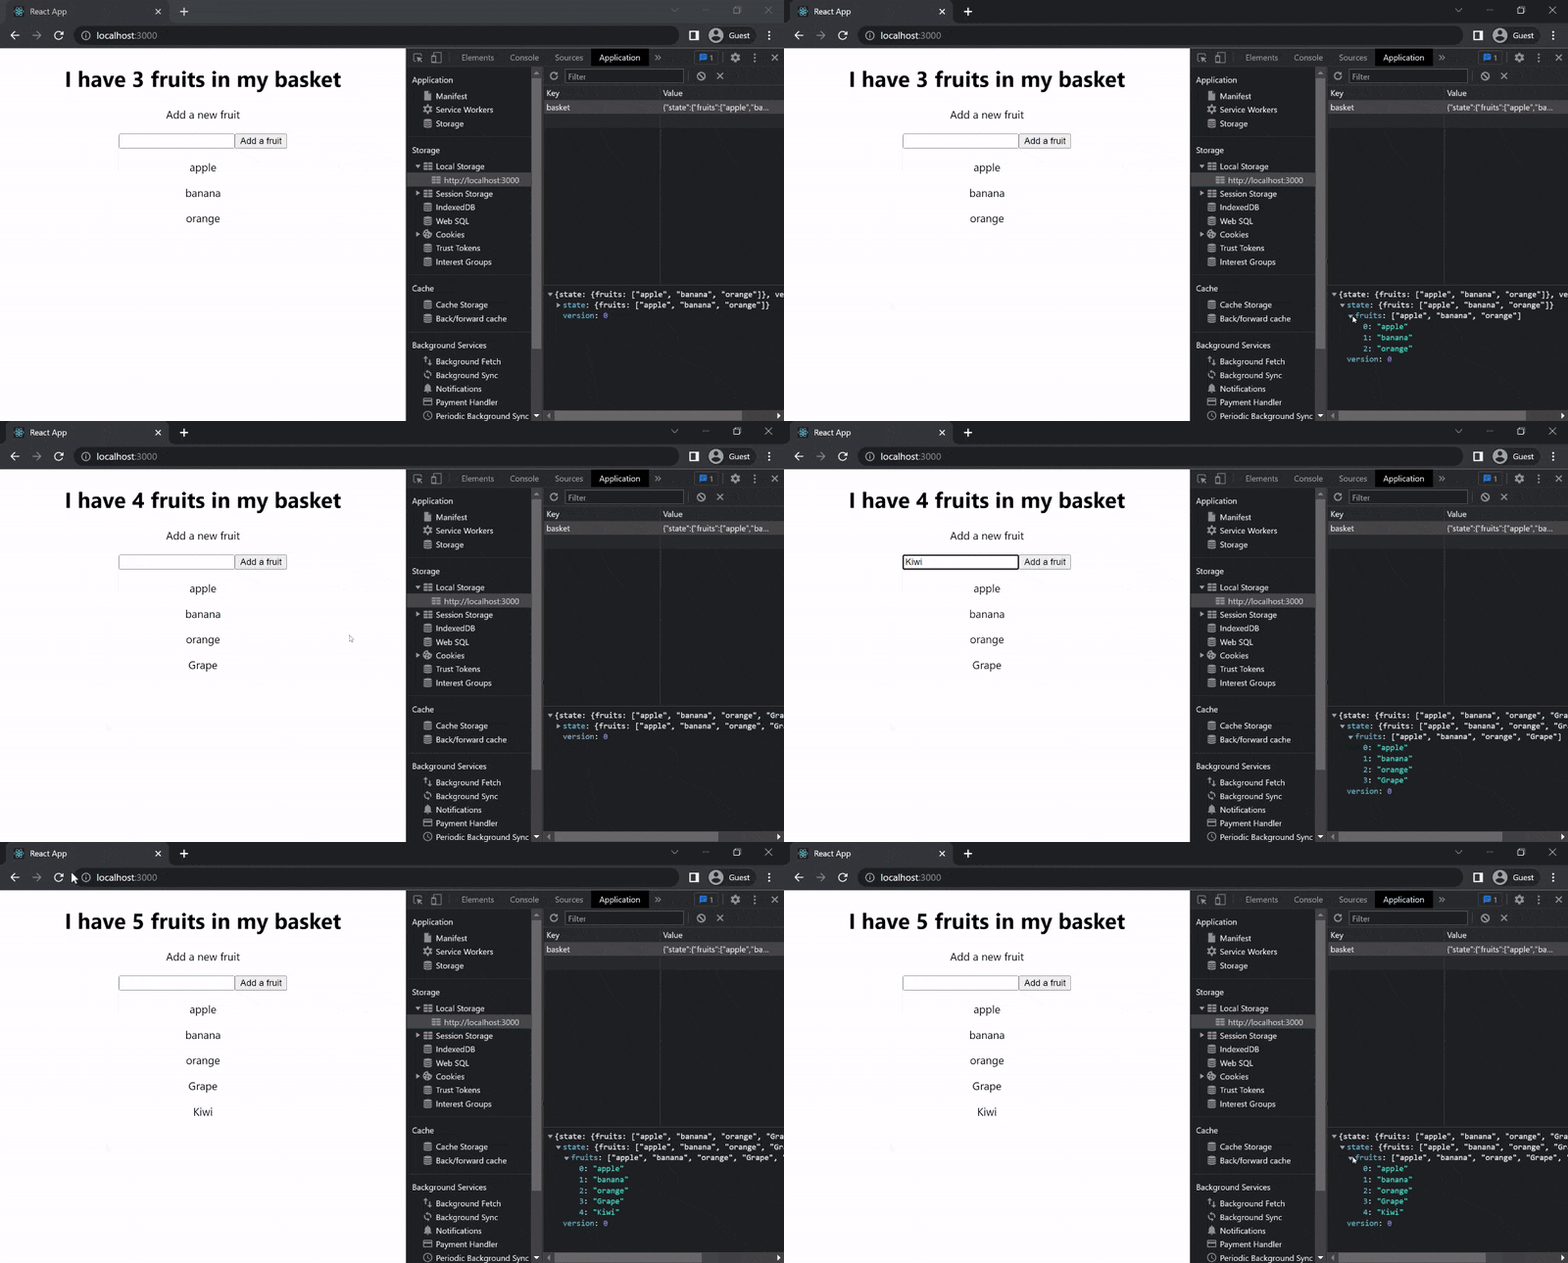
A common feature of state management libraries is persisting states. For instance, on a website with a form, you might want to persist the user's entries so, if the user accidentally refreshes the page, all data would not be lost. In our application, upon refresh, the data added to the state is lost. Zustand provides a feature to persist states to prevent data loss. To do this, we will use a middleware provided by Zustand called persist. This middleware is used to persist data from an application by storing it in the localstorage. This way, when we refresh our page or close it entirely, the state does not reset.
import {persist} from "zustand/middleware"
// and modify our existing state

let store = (set) => ({
  fruits: ["apple", "banana", "orange"],
  addFruits: (fruit) => {
    set((state) => ({
      fruits: [...state.fruits, fruit],
    }));
  },
});
// persist the created state
store = persist(store, {name: "basket"})
// create the store
const useStore = create(store);
Above, we persisted the value of store. The local storage key is assigned the name basket. With this in place, we do not lose the new data when adding new items to the state and refreshing the page. The state stored in the localstorage is persisted permanently. i.e., until an action to clear the localstorage is carried out, the state remains.
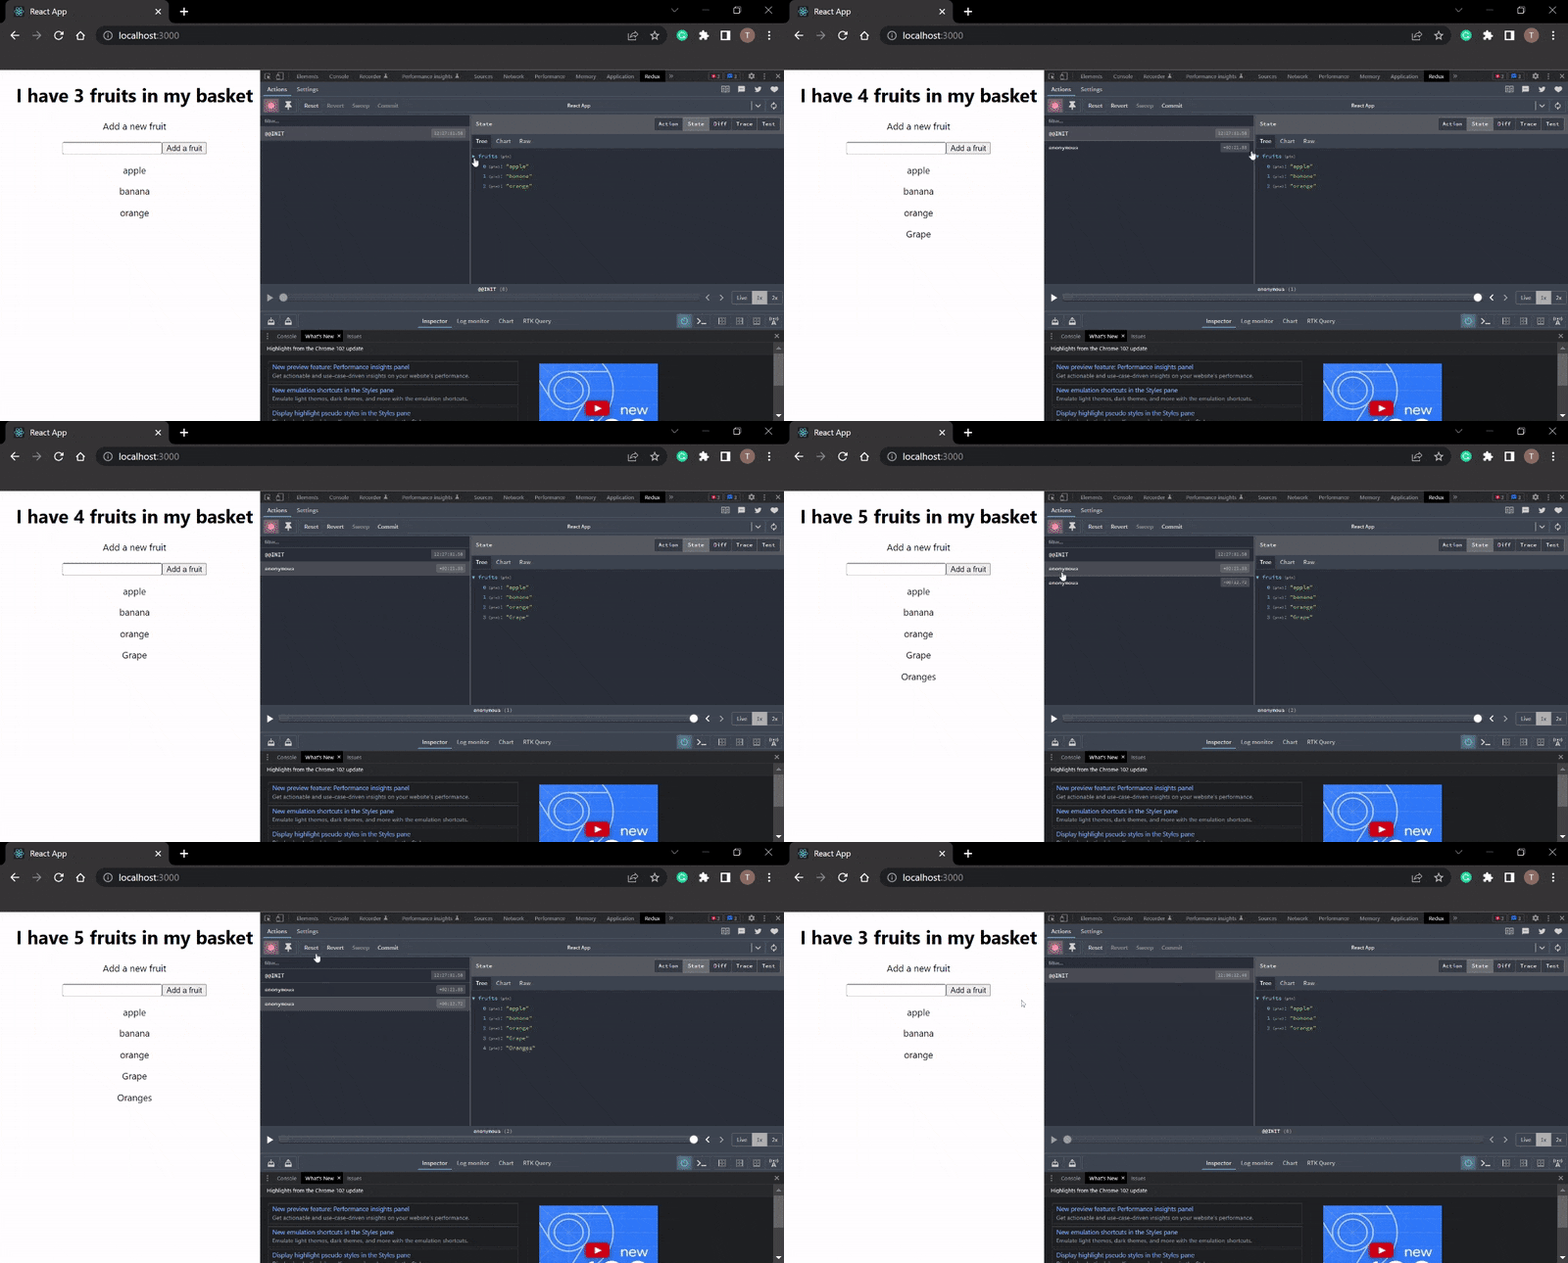
In addition, Zustand provides a middleware to view state values from the browser using the Redux dev tool extension. To do this, we import devtools from "zustand/middleware" and use it in the same manner we used persist.
store = devtools(store);
Now in our browser, we can view the value of the state using the devtool.
Conclusion
This tutorial taught readers how states could be managed in React using Zustand. Zustand provides easy access and updates to the state, making it a friendly alternative to other state managers.

