Material UI is a popular choice among developers for several reasons. It provides a comprehensive and customizable set of pre-built components, making it easy to build high-quality user interfaces. It adheres to the Material Design guidelines, providing a consistent and familiar design language for users, and its theming system allows developers to easily customize the look and feel of their application. This article will show you why you should adopt Material UI!
Material UI is a comprehensive, customizable, and easy-to-use UI library developed by Google to help developers of all skill levels build responsive and visually appealing user interfaces that adhere to the Material Design guidelines. With its extensive library of pre-built components and intuitive theming system, Material UI is an effective out-of-the-box solution for creating high-quality interfaces for different projects.
Material UI utilizes the CSS-in-JS technique to generate CSS styles from JavaScript code. Developers can take advantage of this technique by using the makeStyles component, which allows them to write CSS styles in a camel case format for easy customization and reuse across components.
Common components
In this section, you will learn about some of the most common Material UI components. Components found in Material UI cover a wide range of use cases, from basic layouts to more complex interactive elements. Most of the components accept props which makes them easily customizable. Here are some of the most commonly used components in Material UI:
Button: Whether you need a simple call-to-action button or a more complex button with icons and text, the
Buttoncomponent in Material UI has got you covered. The component offers several variants, including contained, outlined, and text, and customizable props, including color (primary, secondary, error, etc.), size (small, medium, large), disabled, startIcon, and endIcon.Typography: The
Typographycomponent is a versatile component that can be used to display text in various styles and formats, with support for several variants, including body, headline, and caption. It also offers useful features such as text truncation and wrapping, which help present lengthy text. Additionally, it provides the option of text transformation, enabling you to alter the case of your text.AppBar: The
AppBarcomponent provides a top app bar that can be used to display important information such as the page title, navigation menu, and action items. It can be customized in terms of color, elevation, and position, and supports additional features such as flexible space and scrolling behavior.ToolBar: The
Toolbarcomponent is a container element that can wrap other elements within theAppBar. It allows developers to create a more complex layout within theAppBar, adding actions and menus.Container: The
Containercomponent is a layout component that can center and contain other components within a fixed-width container. It supports several variants, such as fixed and fluid, and can be customized in terms of maxWidth and disableGutters.Grid: The
Gridcomponent is a layout component that allows developers to create responsive layouts using a grid system, including flex. It supports several variants: auto, fixed, fluid, and flex. The Grid component can be customized regarding spacing, alignment, and direction.Card: The
Cardcomponent is a container element that can be used to display content in a structured and visually appealing way. It can be customized in terms of color, elevation, and shape, and supports additional features such as a header and footer. It also supports three sub-components:CardMedia,CardContent, andCardActions.CardMedia: The
CardMediacomponent displays images or videos within aCard. It supports several props, such as height, width, and media type.CardContent: The
CardContentcomponent can display content within aCard. It provides useful features such as text truncation and wrapping, and supports several variants such as title, subtitle, and body.CardActions: The
CardActionscomponent can display action buttons within aCard. It allows developers to add buttons such as "Learn more" or "Buy now" to the Card.
Installation & Setup
In this section, you will learn how to install a new React project with Material UI. You can skip this step if you already have a React project set up. Otherwise, you can create a new React project using the command:
npx create-react-app my-project
And navigating into the new project directory with the following:
cd ./my-project
With your project setup, you can finally install Material UI into your project using npm or yarn.
Installation via npm
To install Material UI using npm, open your terminal and navigate to your project directory. Then, run the following command:
npm install @material-ui/core
Installation via yarn
If you prefer using yarn, you can install Material UI by running the following command in your terminal:
yarn add @material-ui/core
Session Replay for Developers
Uncover frustrations, understand bugs and fix slowdowns like never before with OpenReplay — an open-source session replay suite for developers. It can be self-hosted in minutes, giving you complete control over your customer data.
Happy debugging! Try using OpenReplay today.
How to use Material UI
In this section, we will explore using Material UI's CSS components to create common UI elements such as navigation bars, buttons, and typography in a sample blog application.
Let's start with the navigation bar. For this, we'll need to import the following components into our project. I'll import this into the "App.js" file and delete the JSX boilerplate provided by creat-react-app.
import {
  AppBar,
  Grid,
  Card,
  Button,
  Container,
  Toolbar,
  Typography,
  CardMedia,
  CardContent,
  CardActions,
} from "@material-ui/core";
Let's use the AppBar, Toolbar, and Typography components first in our JSX:
return (
  <div>
    <AppBar position="relative">
      <Toolbar>
        <Typography variant="h6">Home</Typography>
        <Typography variant="h6">Blog</Typography>
        <Typography variant="h6">About</Typography>
      </Toolbar>
    </AppBar>
  </div>
);

Underneath the AppBar tag, we'll use the Container component to hold all our content for the blog starting.
<Container>

</Container
Inside this component, let's use the Typography component with a variant of h1 and center alignment for our welcome message to the blog. The great thing about Typography is that it gives you a nice "Roboto" styling right from the go.
<Container>
    <Typography variant="h1" align="center">
        Welcome To My Blog!
    </Typography>
</Container>

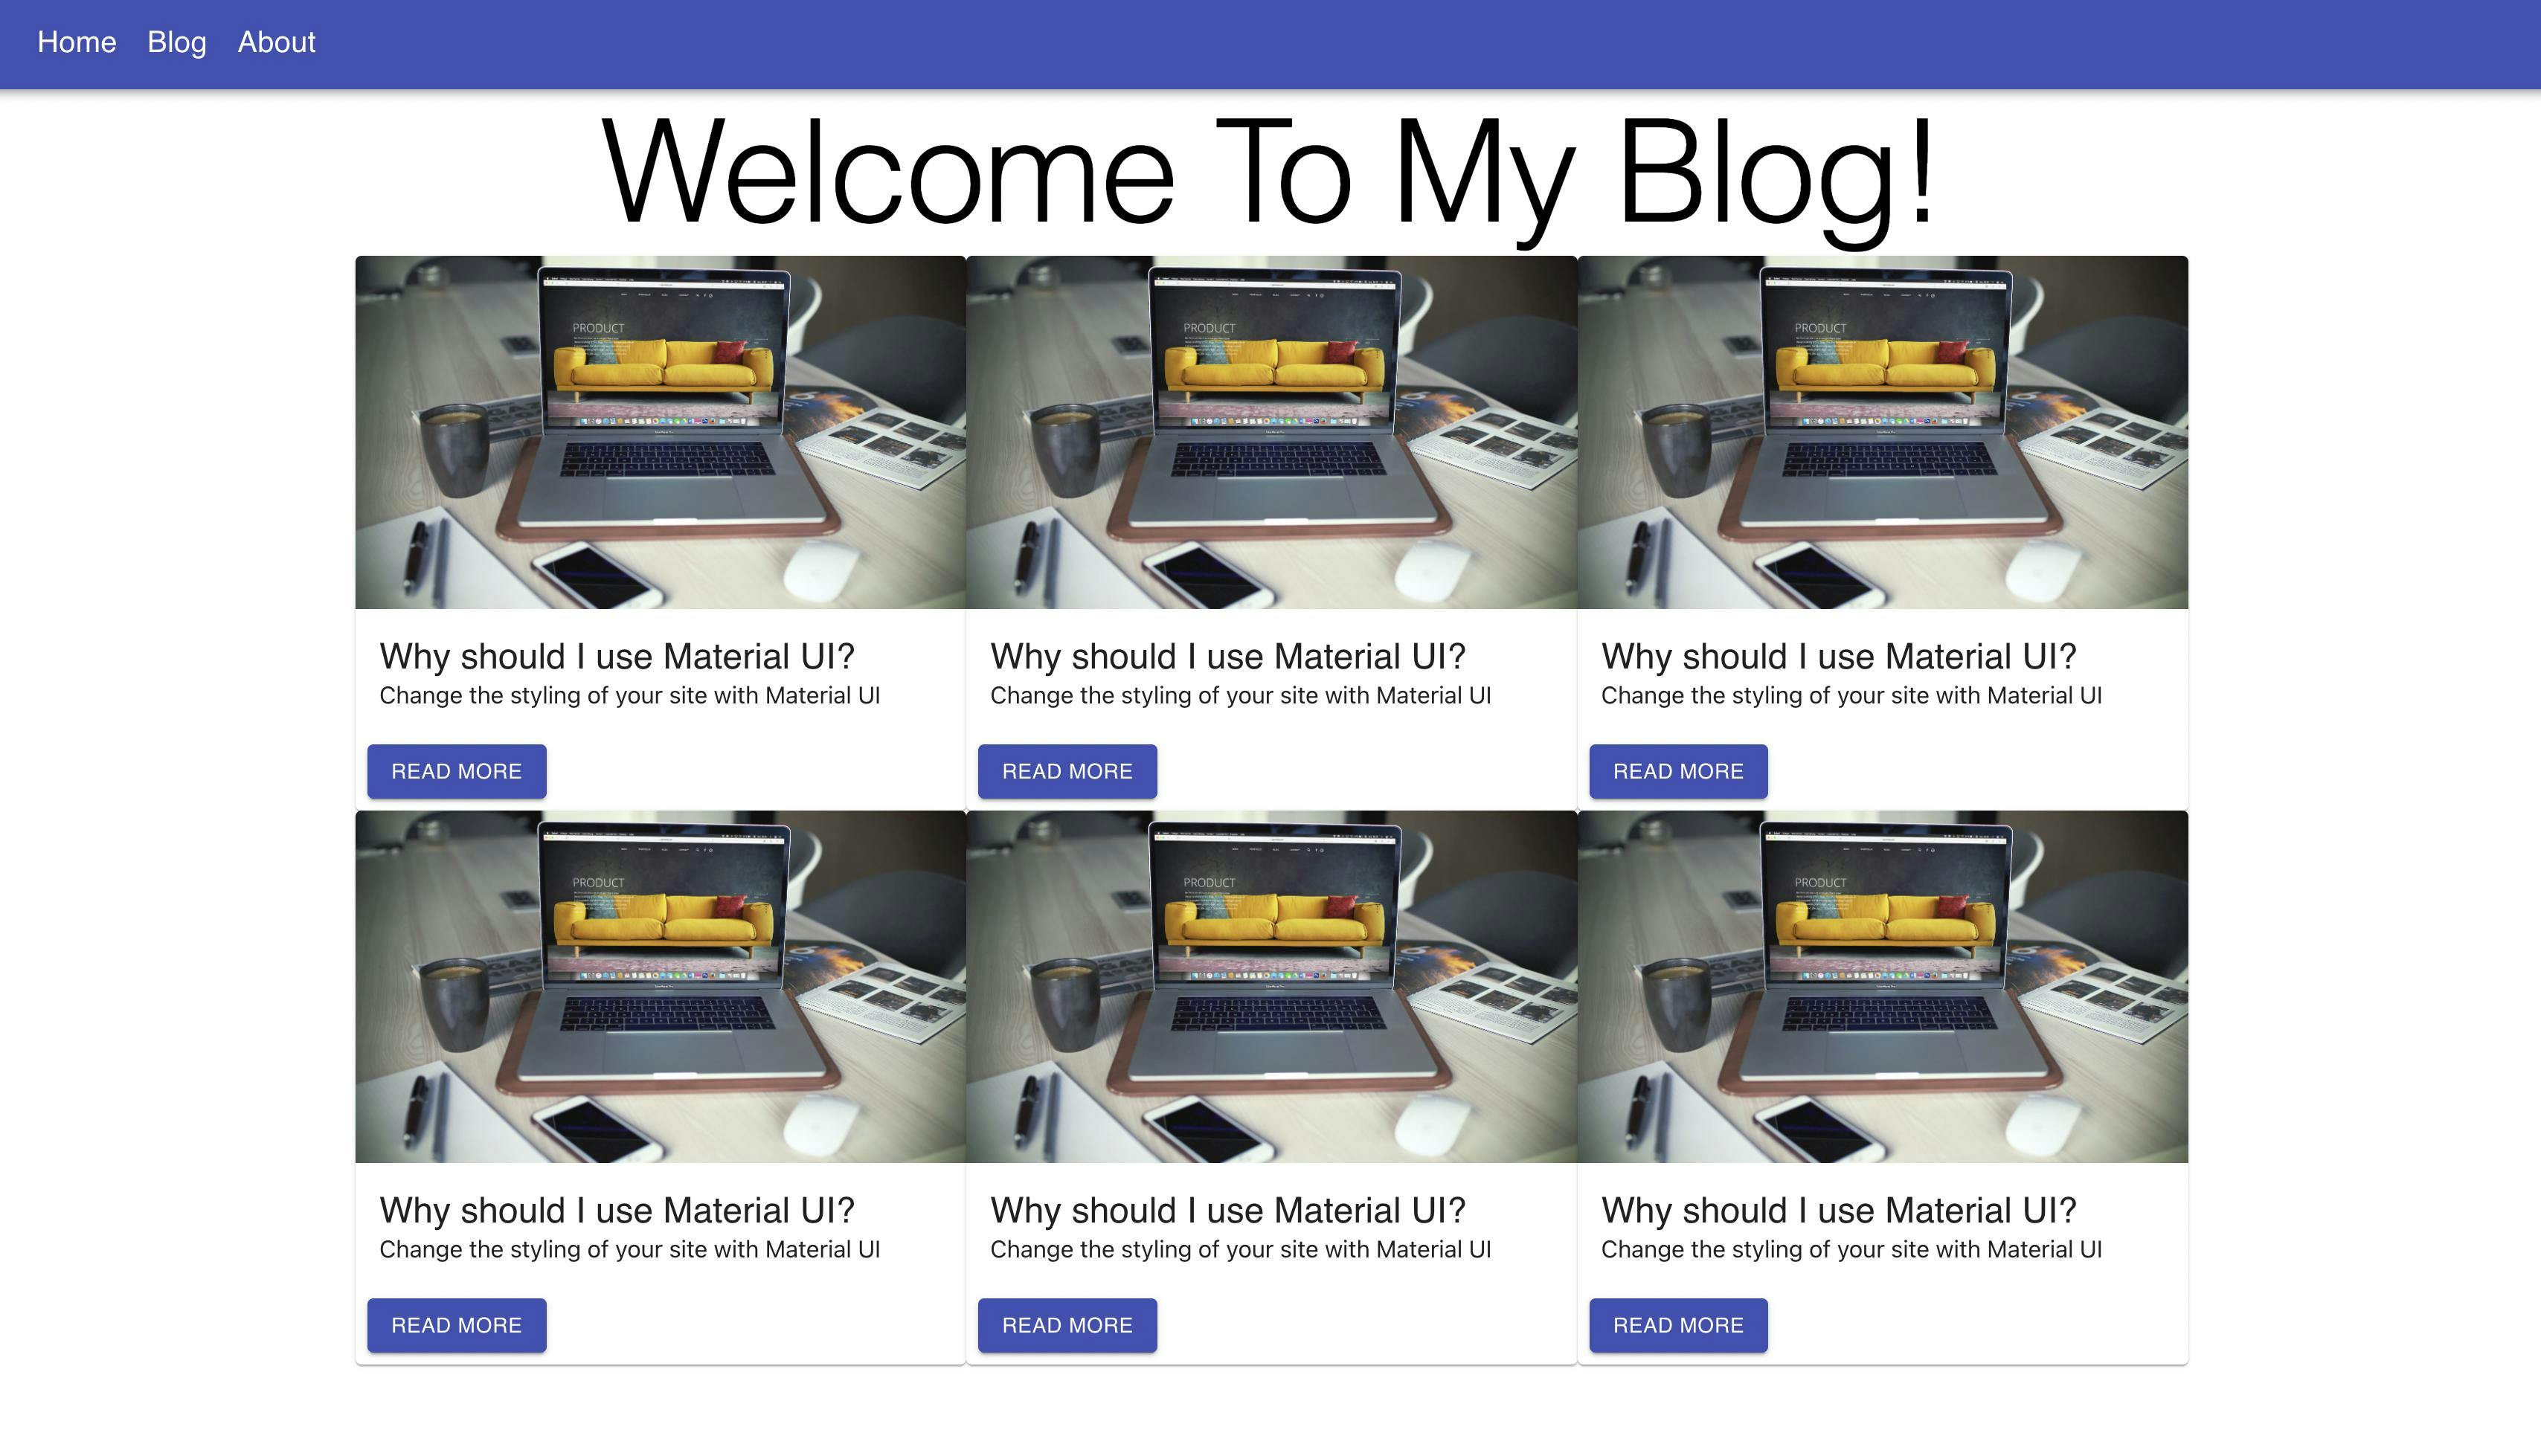
Next, we'll add our actual blog content to the page. This will include images, topics, and buttons which say "Read More". To help organize this content, we'll use the Grid component from Material UI. The first Grid will be given the prop of container, and the second will be the prop of item.
<Container>
    <Typography variant="h1" align="center">
        Welcome To My Blog!
    </Typography>

    <Grid container>
        <Grid item>
        </Grid>
    </Grid>
</Container>
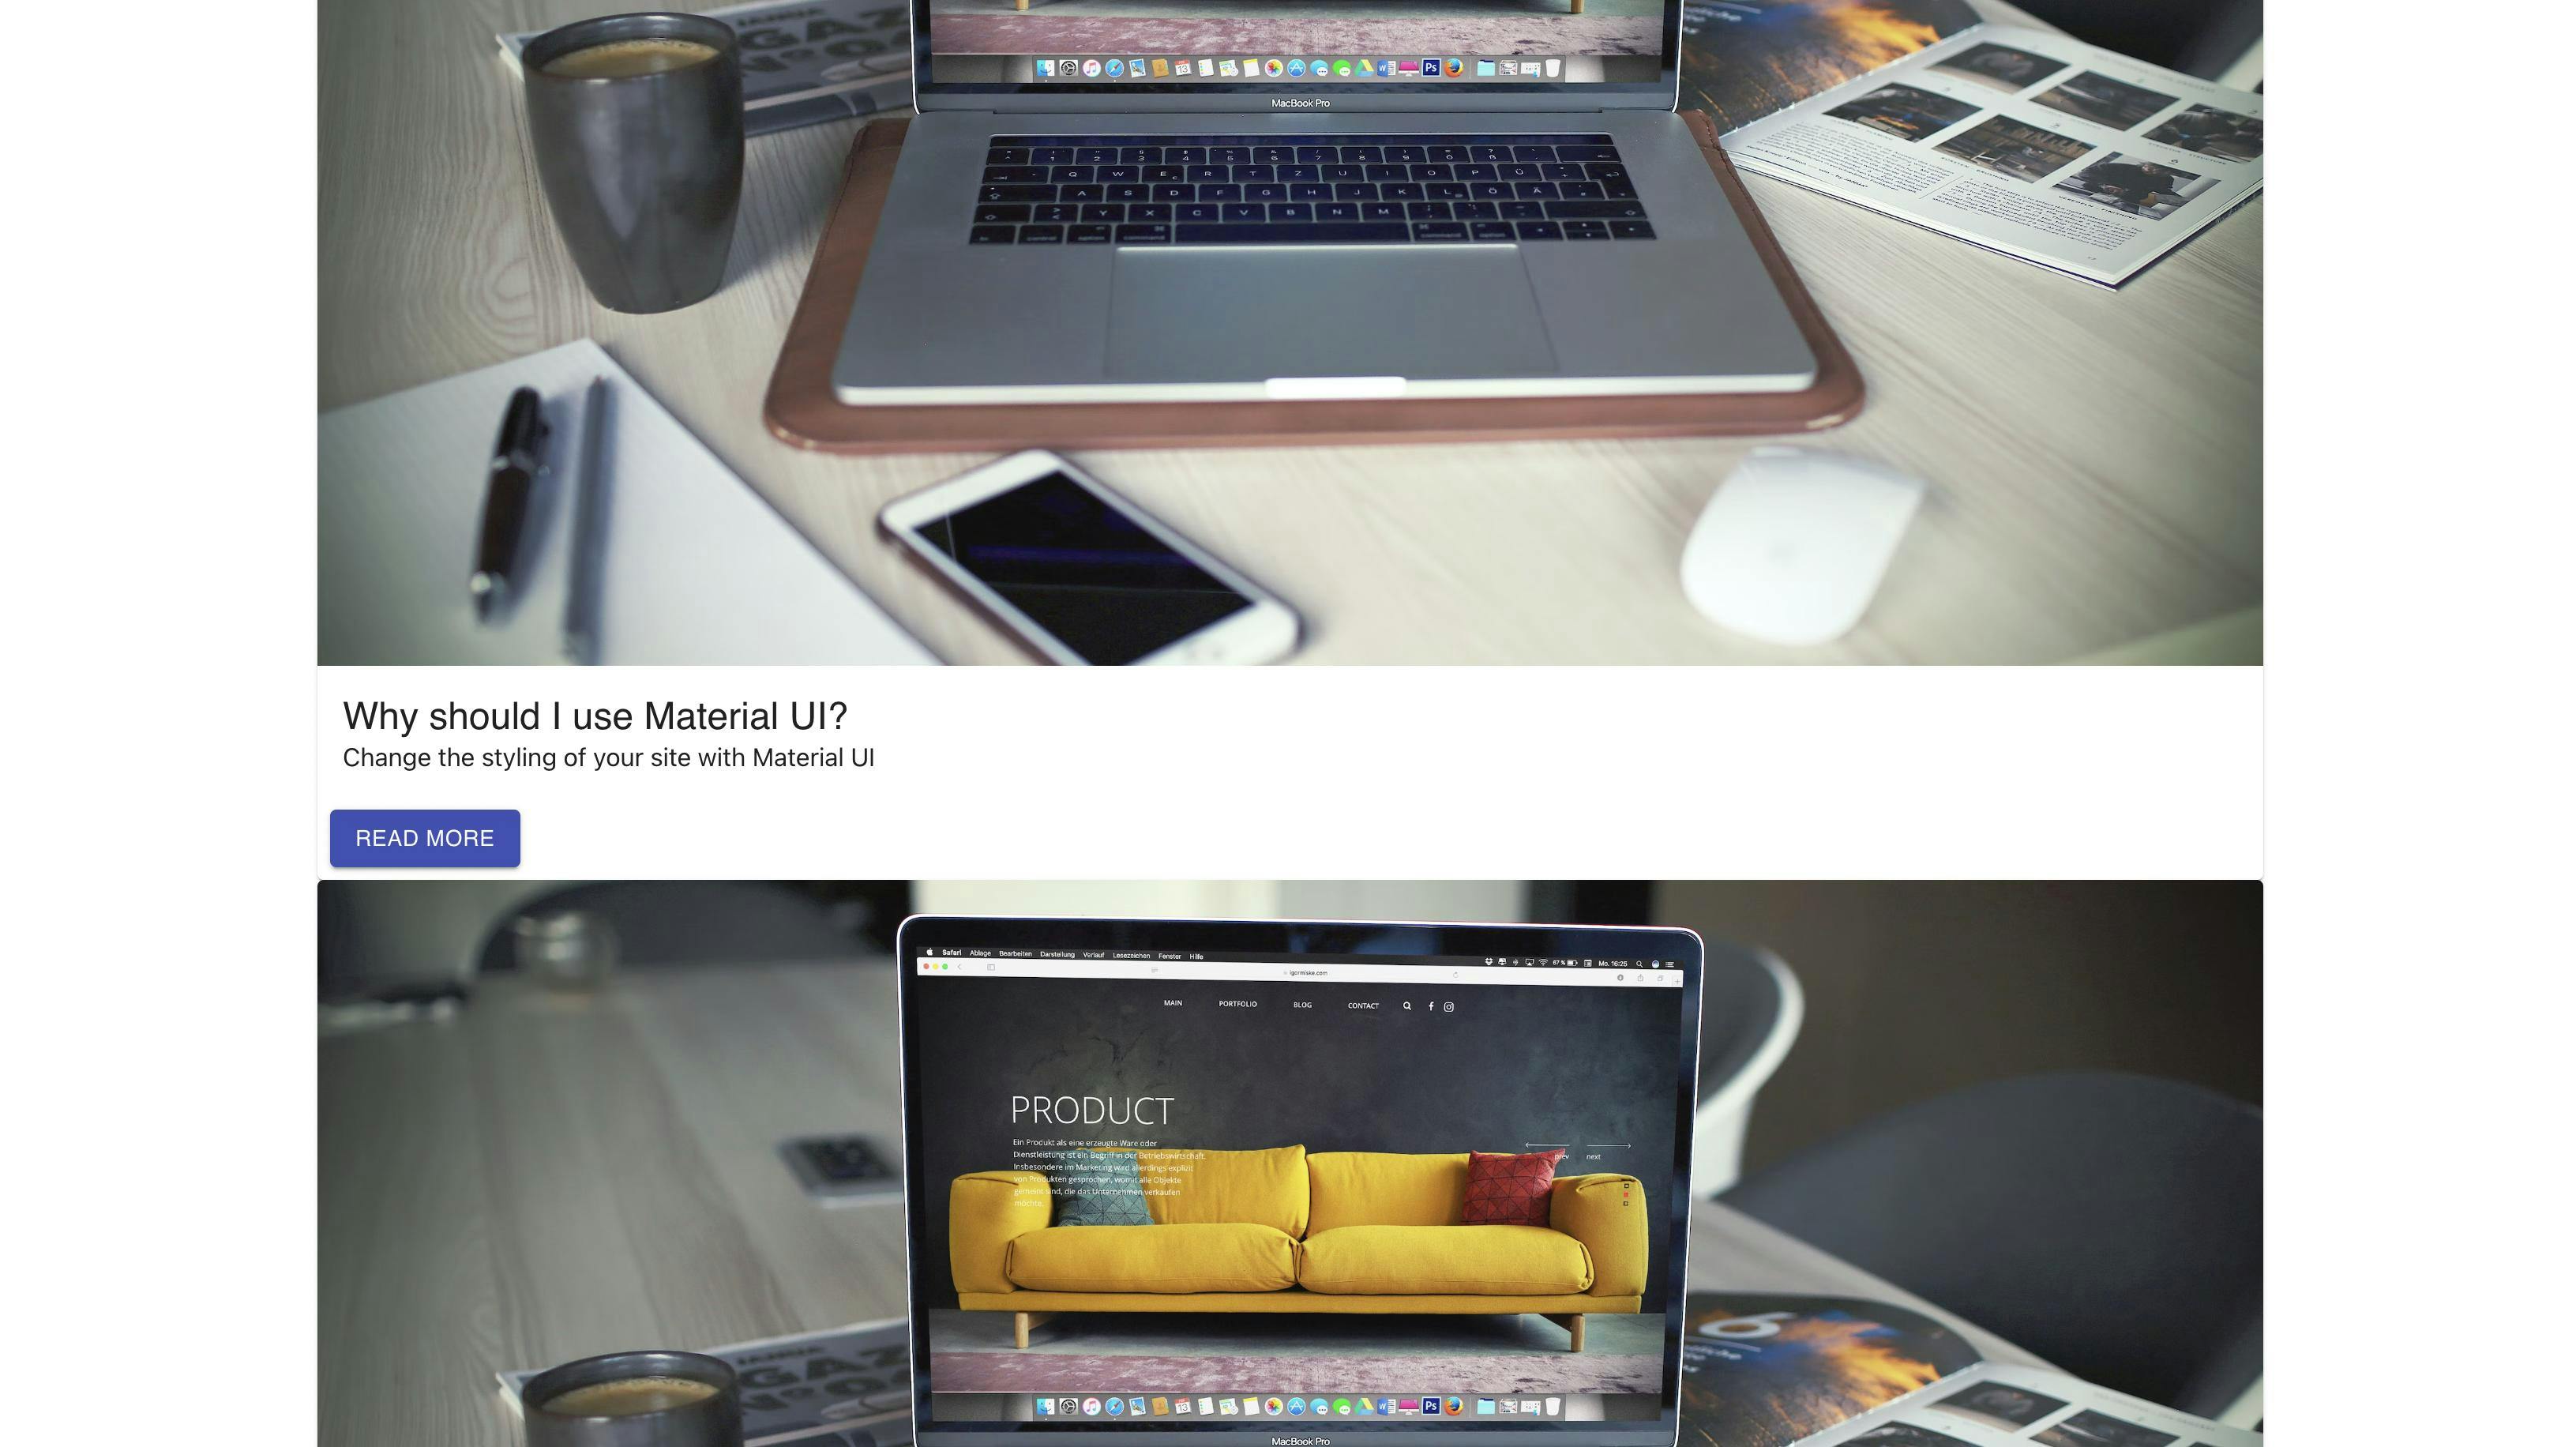
Inside the second Grid we'll use the Card component to hold the CardMedia for our image, the CardContent for our topic, and the CardActions, containing a "Read More" button.
<Grid container>
  <Grid item>
    <Card>
      <CardMedia
          component="img"
          image="https://images.unsplash.com/photo-1487014679447-9f8336841d58?ixlib=rb-4.0.3&ixid=MnwxMjA3fDB8MHxwaG90by1wYWdlfHx8fGVufDB8fHx8&auto=format&fit=crop&w=3405&q=80"
          title="image from unsplash"
        />
      <CardContent>
        <Typography variant="h5">
            Why should I use Material UI?
          </Typography>
        <Typography variant="body">
            Change the styling of your site with Material UI
          </Typography>
        </CardContent>
        <CardActions>
          <Button variant="contained" color="primary">
            Read More
          </Button>
        </CardActions>
    </Card>
  </Grid
</Grid>

Let's add some more blogs to the Grid. We'll create an array of numbers from 1 to 6, map through it and return the same blog content like so:
<Grid container>
  {[1, 2, 3, 4, 5, 6].map((styleKey) => (
    <Grid item key={styleKey}>
      <Card>
        <CardMedia
          component="img"
          image="https://images.unsplash.com/photo-1487014679447-9f8336841d58?ixlib=rb-4.0.3&ixid=MnwxMjA3fDB8MHxwaG90by1wYWdlfHx8fGVufDB8fHx8&auto=format&fit=crop&w=3405&q=80"
          title="image from unsplash"
        />
        <CardContent>
          <Typography variant="h5">
            Why should I use Material UI?
          </Typography>
          <Typography variant="body">
            Change the styling of your site with Material UI
          </Typography>
        </CardContent>
        <CardActions>
          <Button variant="contained" color="primary">
            Read More
          </Button>
        </CardActions>
      </Card>
    </Grid>
  ))}
</Grid>

Adding custom styling
Material UI makes it very easy to write CSS-in-JS code enabling us to make more CSS changes to our taste. To better change the styling of what we already have, we can use the makeStyles function from Material UI, which allows us to create CSS classes with JavaScript.
Create a new file called "sytles.js", Import makeStyles from the Material UI package and create a hook called useStyles to hold the makeStyles component which we give a callback function that returns our styles in a JSON object. We will also return this as a default function:
import { makeStyles } from "@material-ui/core";
const useStyles = makeStyles(() => ({

}));
export default useStyles;
With this, we can define all the CSS we need. For example, we can add some padding to the navigation items like so:
const useStyles = makeStyles(() => ({
  navItems: {
    padding: 10,
  },
}));
To use this style, we first import the useStyles hook and create a new variable called the hook.
import useStyles from "./styles";

function App() {
  const classes = useStyles();
Then use the style we need through the new variable like so:
<AppBar position="relative">
  <Toolbar>
    <Typography className={classes.navItems} variant="h6">
      Home
    </Typography>
    <Typography className={classes.navItems} variant="h6">
      Blog
    </Typography>
    <Typography className={classes.navItems} variant="h6">
      About
    </Typography>
  </Toolbar>
</AppBar>

Media Queries
Media queries are a powerful way to create responsive designs that adjust to different screen sizes. We can set breakpoints and apply specific CSS rules to our components with media queries when the screen size reaches a certain width. For example, let's say we want to change the number of rows in our Grid component from one to three on wider screens; we can achieve this with the xs, sm, md, and lg props.
<Grid sm={4} item key={styleKey}>

Alternatives to Material UI
While Material UI is a popular choice among developers, several alternatives are available, each with unique features and benefits. Here are some of the most popular alternatives to Material UI:
Bootstrap is a popular CSS framework developed by Twitter, offering a comprehensive set of pre-built components for building responsive user interfaces. It provides a range of features, including a powerful grid system, typography, forms, buttons, and more. Bootstrap is easy to use and customize, making it a great choice for developers of all skill levels.
Semantic UI is another CSS framework that offers a range of pre-built components and customizable themes. It provides a clean and intuitive syntax, making it easy to read and write. Additionally, it includes a wide range of UI elements, including buttons, forms, modals, and more.
Bulma is a modern CSS framework that provides a clean and intuitive syntax, making it easy to read and write. It includes various pre-built components, such as forms, buttons, and navigation, and provides a powerful theming system for customization.
Each of these frameworks has unique features and benefits, so it's important to choose the one that best suits your project's needs and personal preferences.
Conclusion
Material UI is an excellent choice for building responsive web applications with a modern look and feel. With its wide range of components, developers can quickly and easily create complex layouts and user interfaces. Moreover, the API documentation for Material UI is thorough and easy to navigate, making learning about each component and customizing it to suit your specific needs is straightforward. Whether building a simple website or a complex web application, Material UI can help you achieve your design and functionality goals while ensuring a smooth and responsive user experience.
