React Location introduces a new perspective to routing, including features not included in other routing libraries like promise-based data loaders, async route loaders, code splitting, etc., for a better routing experience.
In this tutorial, you will learn how to use React Location to handle routing in a React application. You should be familiar with React and have Node installed in your system. We will start by introducing React Location, what it is, and its benefits, then we will learn how to use React Location in a real-world case by building a food recipe web application.
What is React Location, and why use it?
React Location is a routing library for building client-side React applications. React Location was built as a wrapper for the React Router v6 beta release that patched some limitations, but it has since evolved into a fully-fledged routing solution.
React Location has a lot of benefits, including:
- Asynchronous routing: Sometimes, a page in an application might require data from an external source or a function's return value for it to be rendered. If this data is not provided timely, an error might occur, or the page may remain blank until it's available. React Location allows developers to define asynchronous routes that await data return before routing is carried out.
- Nested Routes: With React Location, we can easily define all the routes and their attributes together. All routes for the application can be defined in a single file, making it easier to mutate and maintain.
- React Location Dev tools: React Location allows developers to easily monitor how routing activities are carried out in an application. This makes debugging easier and saves time searching for errors.
Building a food recipe application
For this tutorial, we will practice using React Location while working on building a food recipe application. To get started, clone the starter GitHub repo into a system directory. Within this directory, run npm install to set up the React application. After the installation is complete, you can run the application using the npm start command. You will get a result similar to the below image:
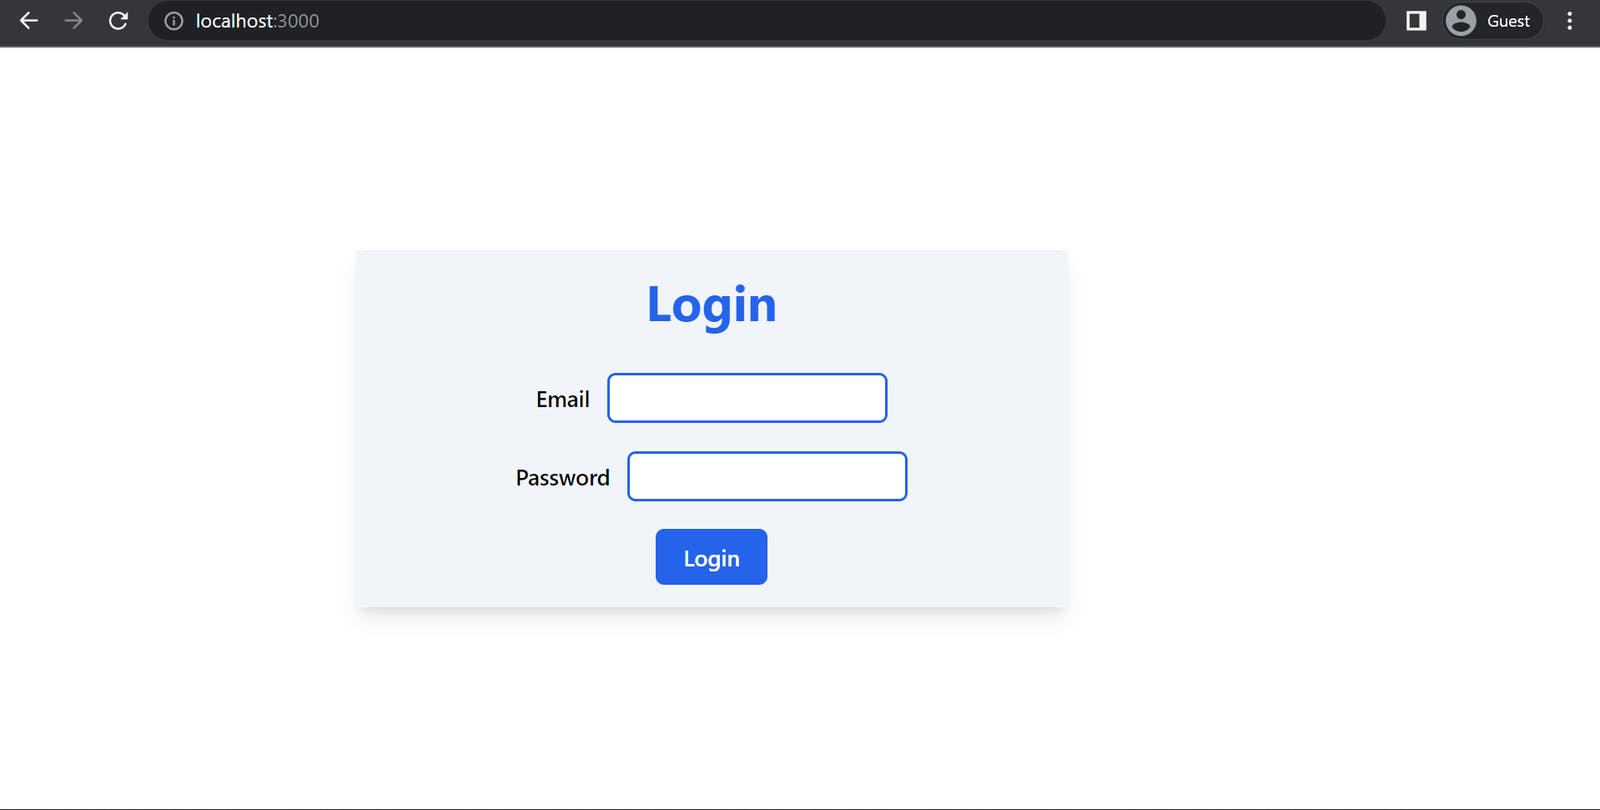
On this page, we have our login component. We will need user authentication to show how we can use protected routes in an application. A protected route is inaccessible via the URL without being authenticated.
Defining Routes
To handle routing in our application, we need to install React-location. We can install this via CLI with the following command:
npm install @tanstack/react-location --save
Once the installation is done, we will define our root Route in App.js. We specify the URL Path, followed by the Element to be displayed on that path:
import {Router, Outlet, ReactLocation} from "@tanstack/react-location";
const routes = [
  {
    path: '/',
    element: <Login />,
  },
]
Here, the Path denotes a specific section the user wants to access; in this case, the home Route. The Element denotes what would be rendered in the specified Route. We will replace the Login component in the return block with the following:
<Router routes={routes} location={location}>
  <div className="">
    <Outlet />
  </div>
</Router>
The Outlet component returns whatever component is in the set route of the application. In this case, the component rendered in the path / will be the Login component. Next, we will establish user authentication and create a protected route for the Search.js page.
Handling User Authentication
For simple authentication measures, we will define the email and password for the application and check it against the user input. We will do this in Login.js:
const [protectedPage, setProtectedPage] = useState(false);
const userEmail = "admin@gmail.com";
const userPassword = "admin";
In the code above, we have defined the userEmail and userPassword. Next, we will use the handleLogin function to check these values against the entry from the input field:
const handleLogin = ()=>{
  if(email === userEmail && password === userPassword){
    setProtectedPage(true);
  }
  else{
    setProtectedPage(false);
  }
}
Then, we can define a Link attribute from the Login button that will lead to the Food Search page if authentication is successful:
    import { Link } from "@tanstack/react-location";
    //...
We will add the Link to this path in the Login button:
<Link to="/search">
  <button
    className=" px-5 py-2 rounded-md bg-blue-600 text-white font-medium"
    onClick={() => {
      handleLogin();
    }}
  >
    Login
  </button>
</Link>
Creating a Protected Route
A protected route is a route inaccessible via URL except a specified condition has been met. This condition could be authentication handling. In this case, we will only allow users who have been authenticated to access the /search route. To handle our protected route, we will create a new file, Protected.js in the components folder and populate it with the following code:
import Navigate from "@tanstack/react-location";

const Protected = ({ isLoggedIn, children }) => {
  if (!isLoggedIn) {
  return <Navigate to="/" />;
  }
  return children;
};
export default Protected;
In App.js, we will wrap the FoodSearch component within the Protected component. This will check if the user is authenticated; if true, it returns the children; FoodSearch.js else it redirects to the root path / using Navigate:
//...
const routes = [
  {
    path: "/",
    element: <Login />,
  },
  {
    path: "/search",
    element: (
      <Protected isLoggedIn={protectedPage}>
        <FoodSearch />
      </Protected>
    ),
  },
];
Now, we just need to get the protected page prop from the Login component. To do this, we will create a function that will get this prop from the Login component in App.js:
const [protectedPage, setProtectedPage ] = useState(false)
const getProtection = (protect)=> setProtectedPage(protect)
Then pass getProtection to the Login component as a prop:
element: <Login getProtection={getProtection}/>
In Login.js we can now pass a true value to this prop if authentication is successful:
const Login = ({getProtection}) => {
//...
const handleLogin = () => {
    if (email === userEmail && password === userPassword) {
      getProtection(true)
      alert("Login Successful");
    } else {
      getProtection(false);
      alert("Login Failed");
    }
  };
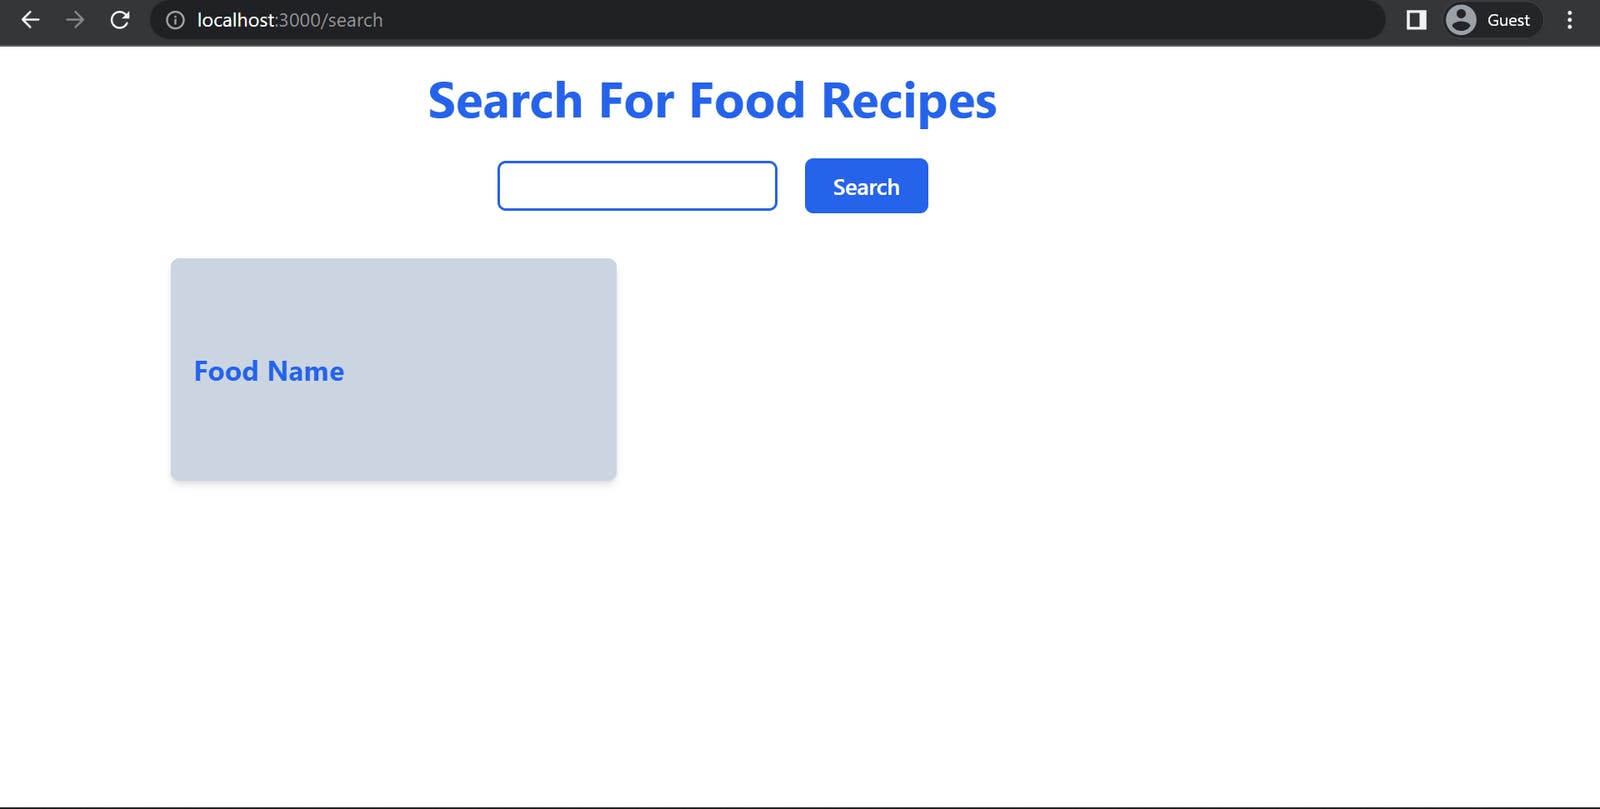
When we enter the correct login credentials, we are directed to the FoodSearch page.
Open Source Session Replay
OpenReplay is an open-source, session replay suite that lets you see what users do on your web app, helping you troubleshoot issues faster. OpenReplay is self-hosted for full control over your data.
Start enjoying your debugging experience - start using OpenReplay for free.
Loading Recipes
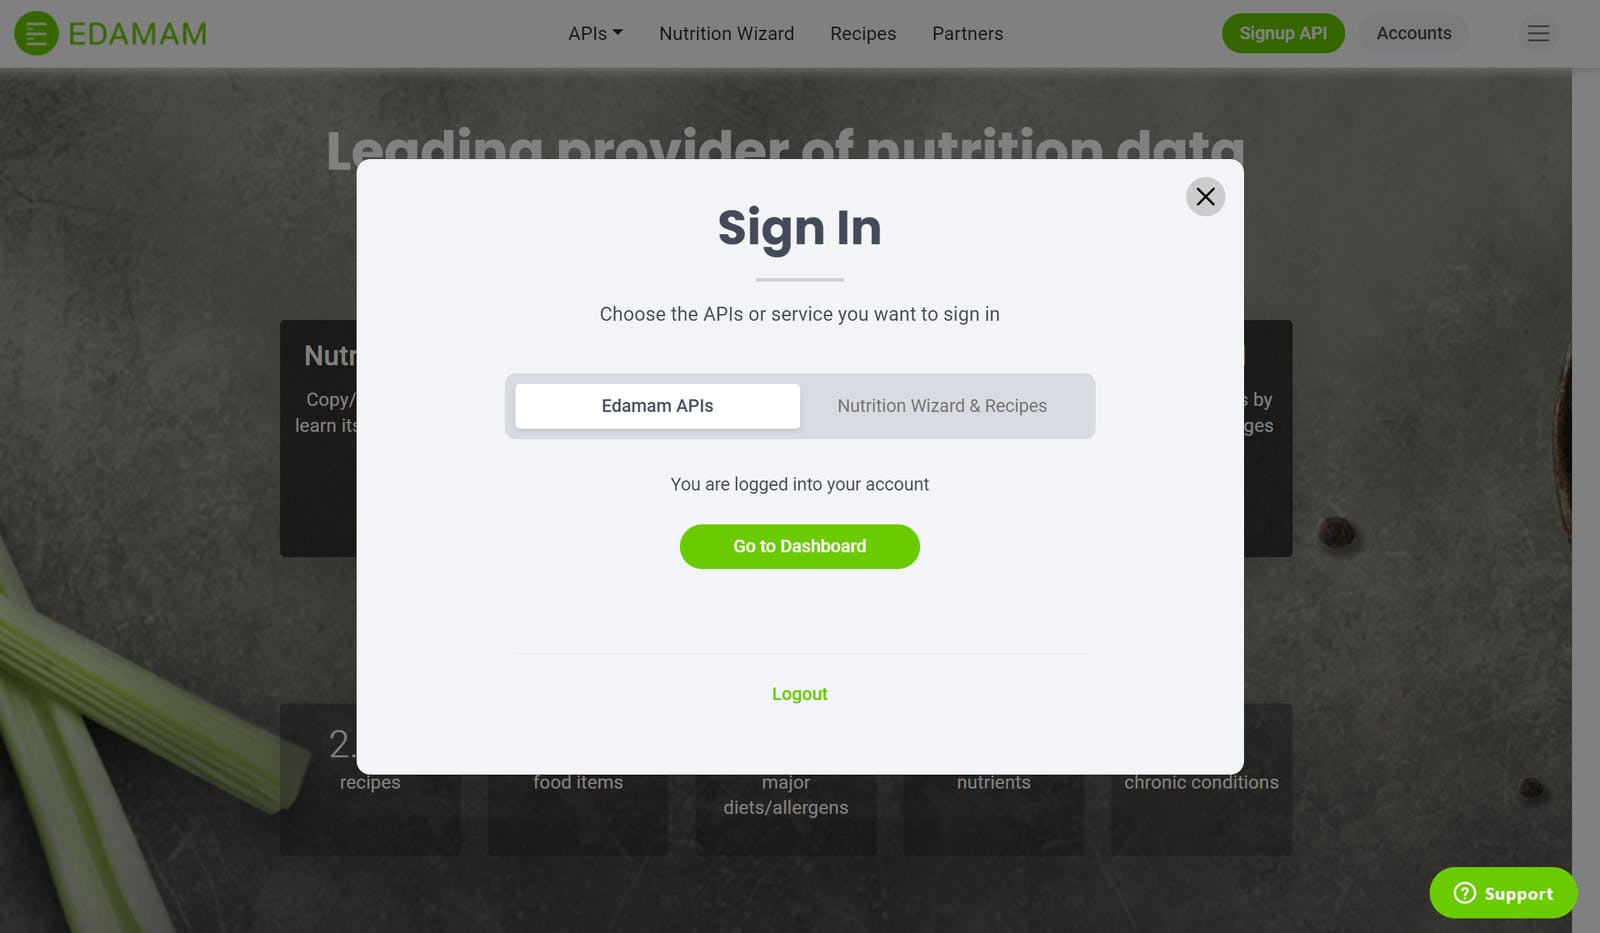
To get our recipes, we will use Edaman API. To gain access to this API, create a new user account. We will use the application ID and Key to access the API. To get this, click on the accounts button and select dashboard:
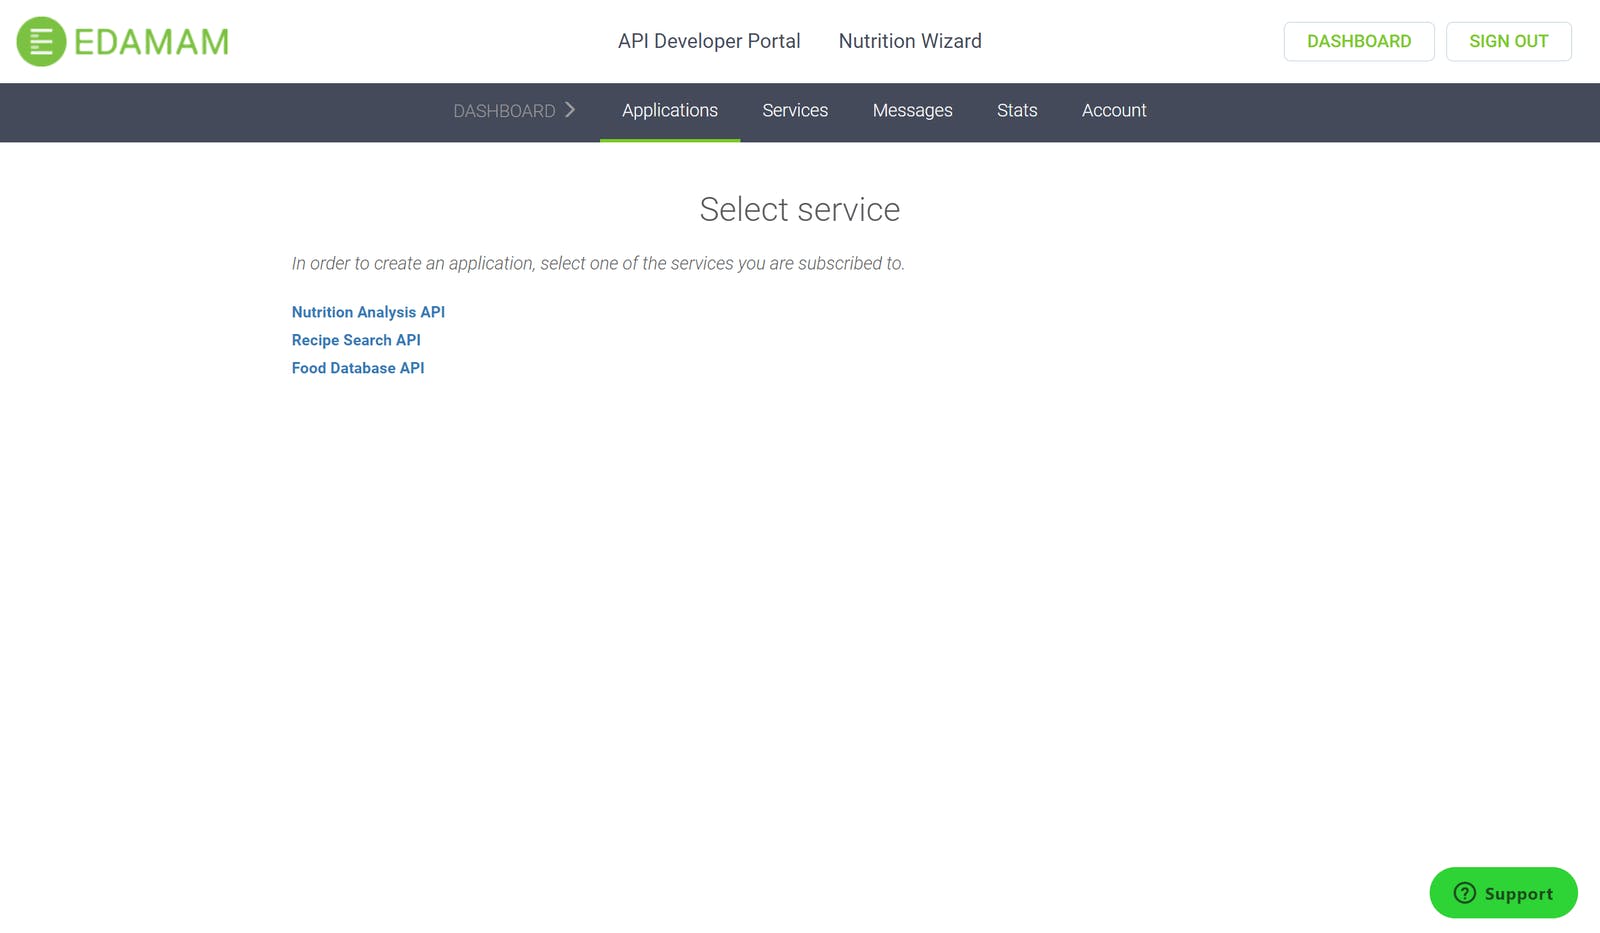
On the dashboard, click on create a new application and select Recipe Search API:
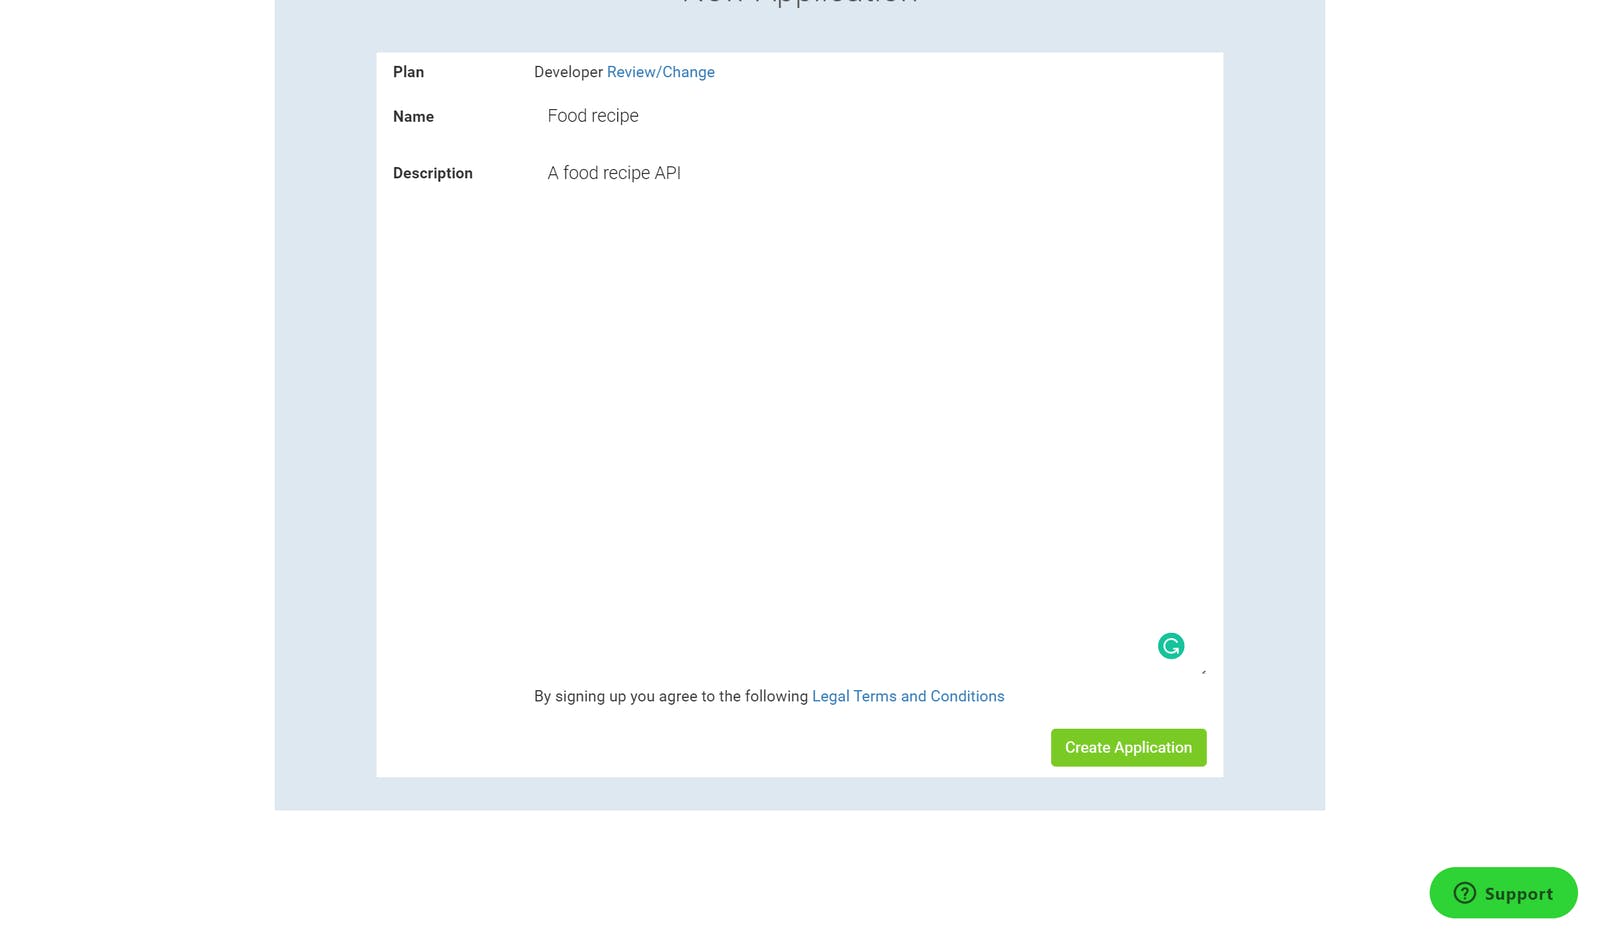
Enter the name and description of the application and click on Create Application:
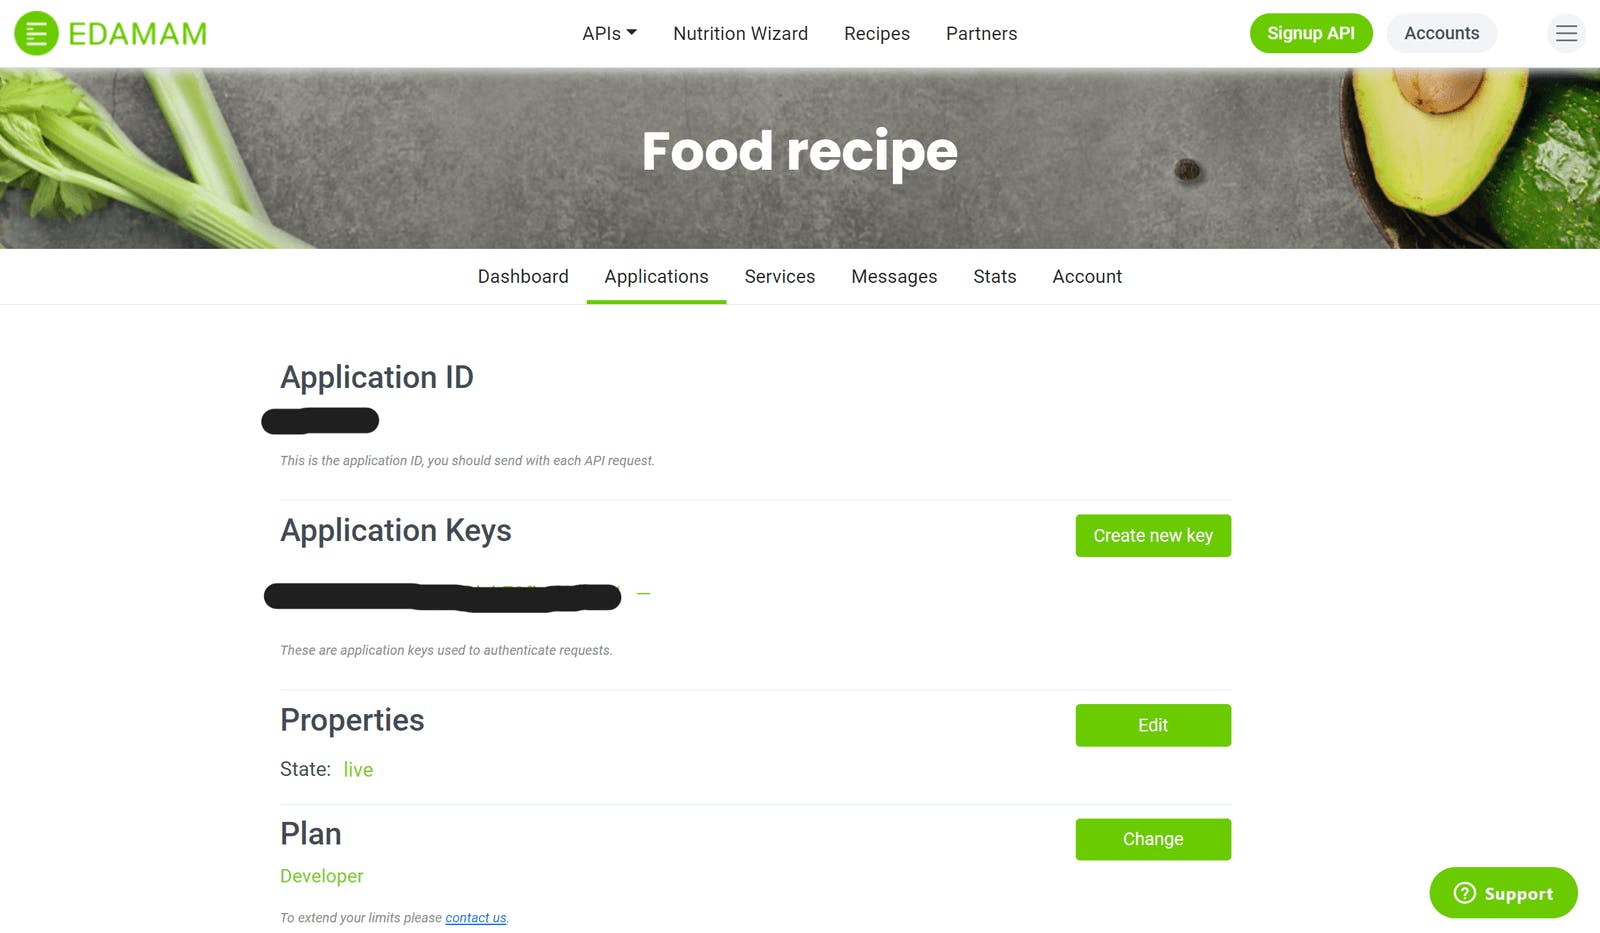
Once the application is created, your app credentials will be displayed on your screen:
In our app, we will make use of Axios to fetch our recipes in Search.js:
import axios from "axios";
//...
const [results, setResults] = useState([]);
const app_id ="Your App ID"
const app_key ="Your App key"

const getFood = async () => {
    try {
      const res = await axios("https://api.edamam.com/api/recipes/v2", {
        params: {
          type: "public",
          q: "rice",
          app_id: app_id,
          app_key: app_key,
        },
      });
      setResults(res.data.hits);
    } catch (error) {
      console.log(error);
    }
  };
Here, for the URL query parameters, we have a type, our app id and key, and a search query q. The search query is the food recipe we want from the API, "rice". The authentication credentials, app_id and app_key, grant us access to the API. We are storing the data returned by the API in the results state, and we will return these data in our application.
Handling Search Params
To get our search query, we will add the SearchItem to the query parameters. Here, q is the search query that will be appended to the URL query parameters. Whatever string is passed to q will determine what food recipes will be returned by the API. We can use the searchItem, which is the entry from the input field as the search query as shown below:
//...
q: searchItem,
With this, when we search for any food, we get a JSON response like the image below:
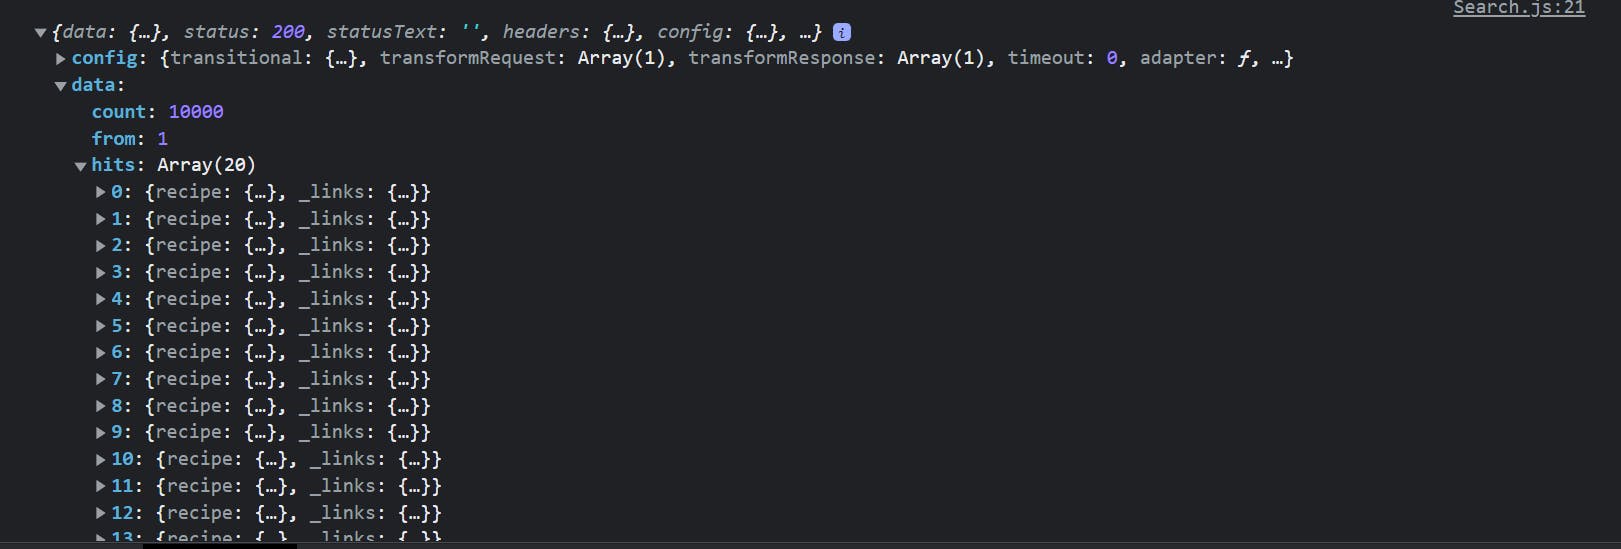
The API, by default, returns an array of 20 food recipes. We will map through these results and display the data in our Results component:
<Results results={results} />
In Results.js we can map through this prop and return the component:
const Results = ({ results }) => {
  return (
    <div className=" mt-5 w-screen flex justify-center items-center">
      <div className="w-4/5 grid grid-cols-3 px-2 py-3 gap-4">
        {results &&
          results.map((result) => {
            return (
              <div className=" h-40 w-80 py-2 px-4 rounded-md shadow-md backdrop-blur-3xl bg-slate-300 flex justify-between items-center hover:cursor-pointer">
                <img src={result.recipe.images.SMALL.url} className="image" alt="food"></img>
                <h1 className=" text-blue-600 font-bold text-xl">{result.recipe.label}</h1>
              </div>
            );
          })}
      </div>
    </div>
  );
};
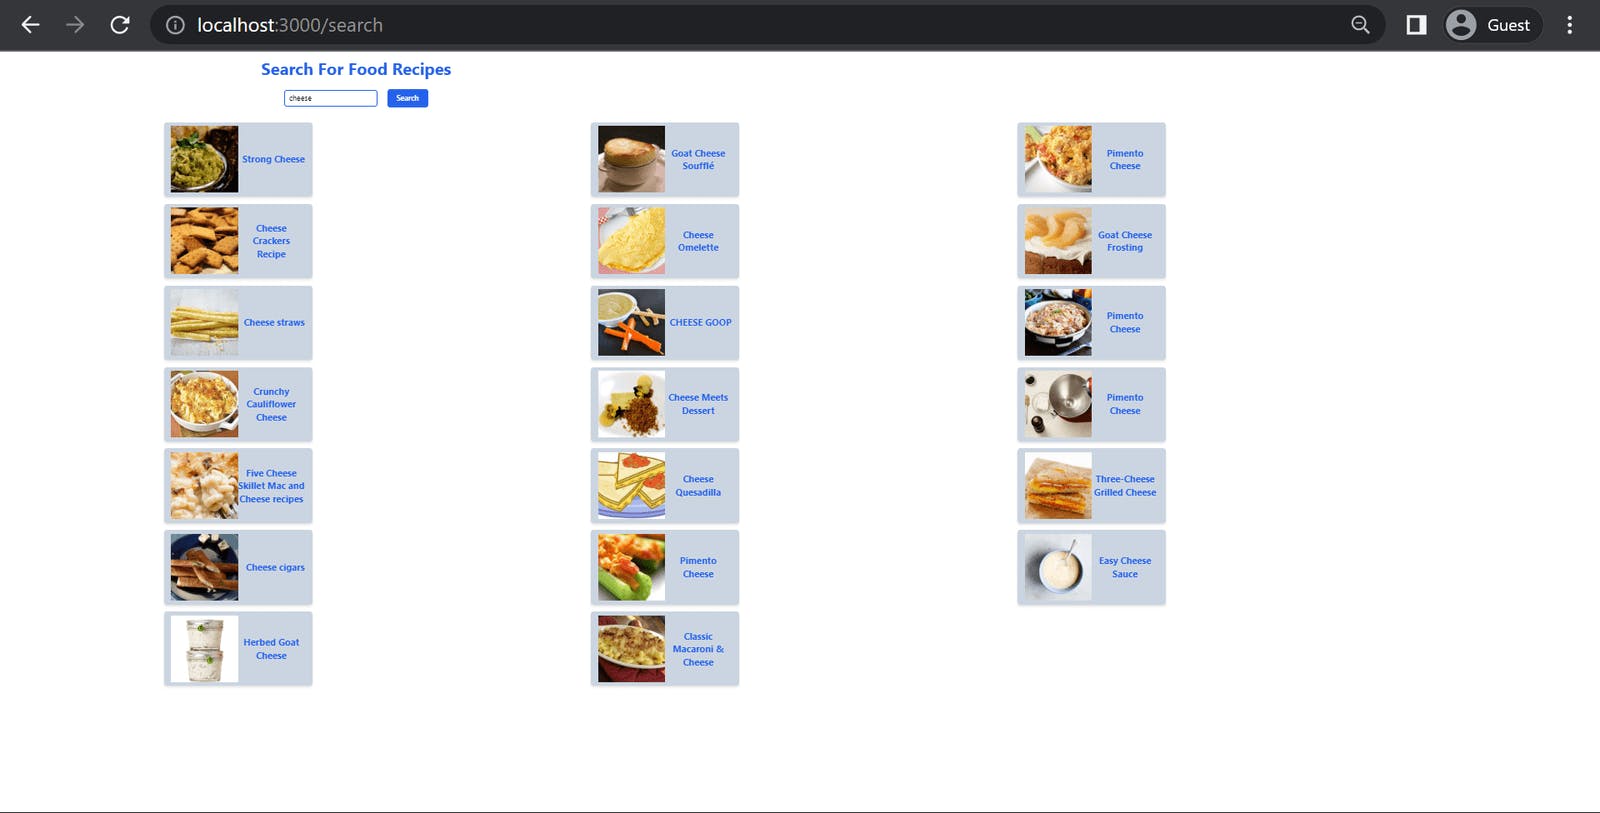
Here, we mapped through the results array and returned the API's image and food title of all the hits. With this, we get the following results in our browser:
Asynchronous Routing
React Location allows developers to define asynchronous routes. These routes use async functions to await specified data before routing is done. With this, we can check if the API data has been returned before navigating to the Details component, which shows specific food details. We will define an asynchronous route for this in App.js:
const app_id = "YOUR APP ID";
const app_key = "YOUR APP KEY";
const searchItem = "cheese";

const routes = [
    //.... previous routes
    {
      path: "/results",
      element: <Details/>,
      loader: async () => ({
        teams: await axios("https://api.edamam.com/api/recipes/v2", {
          params: {
            type: "public",
            q: searchItem,
            app_id: app_id,
            app_key: app_key,
          },
        }),
      }),
    },
  ];
Above, we have defined an asynchronous route to the Details component. This component is only rendered when the async function returns data. For async routes the fetch request to me made or function is passed in Loader. Here, the result from the Axios request will be stored in teams We can access the data returned by this component in the Details.js file using the useMatch hook from React Location:
import { useMatch } from '@tanstack/react-location';

const { data } = useMatch();
  const food = data.teams.data.hits[0];
  return (
    <div className=" h-screen flex justify-center items-center">
      <div>
        <img src={food.recipe.images.SMALL.url} alt="food"></img>
        <h1 className=" font-bold text-2xl">{food.recipe.label}</h1>
        <h2 className=" text-4xl text-blue-600">Ingredients</h2>
        {food.recipe.ingredients.map((ingredient) => (
          <p className="text-2xl" key={ingredient.food}>{ingredient.food}</p>
        ))}
      </div>
    </div>
  );
};
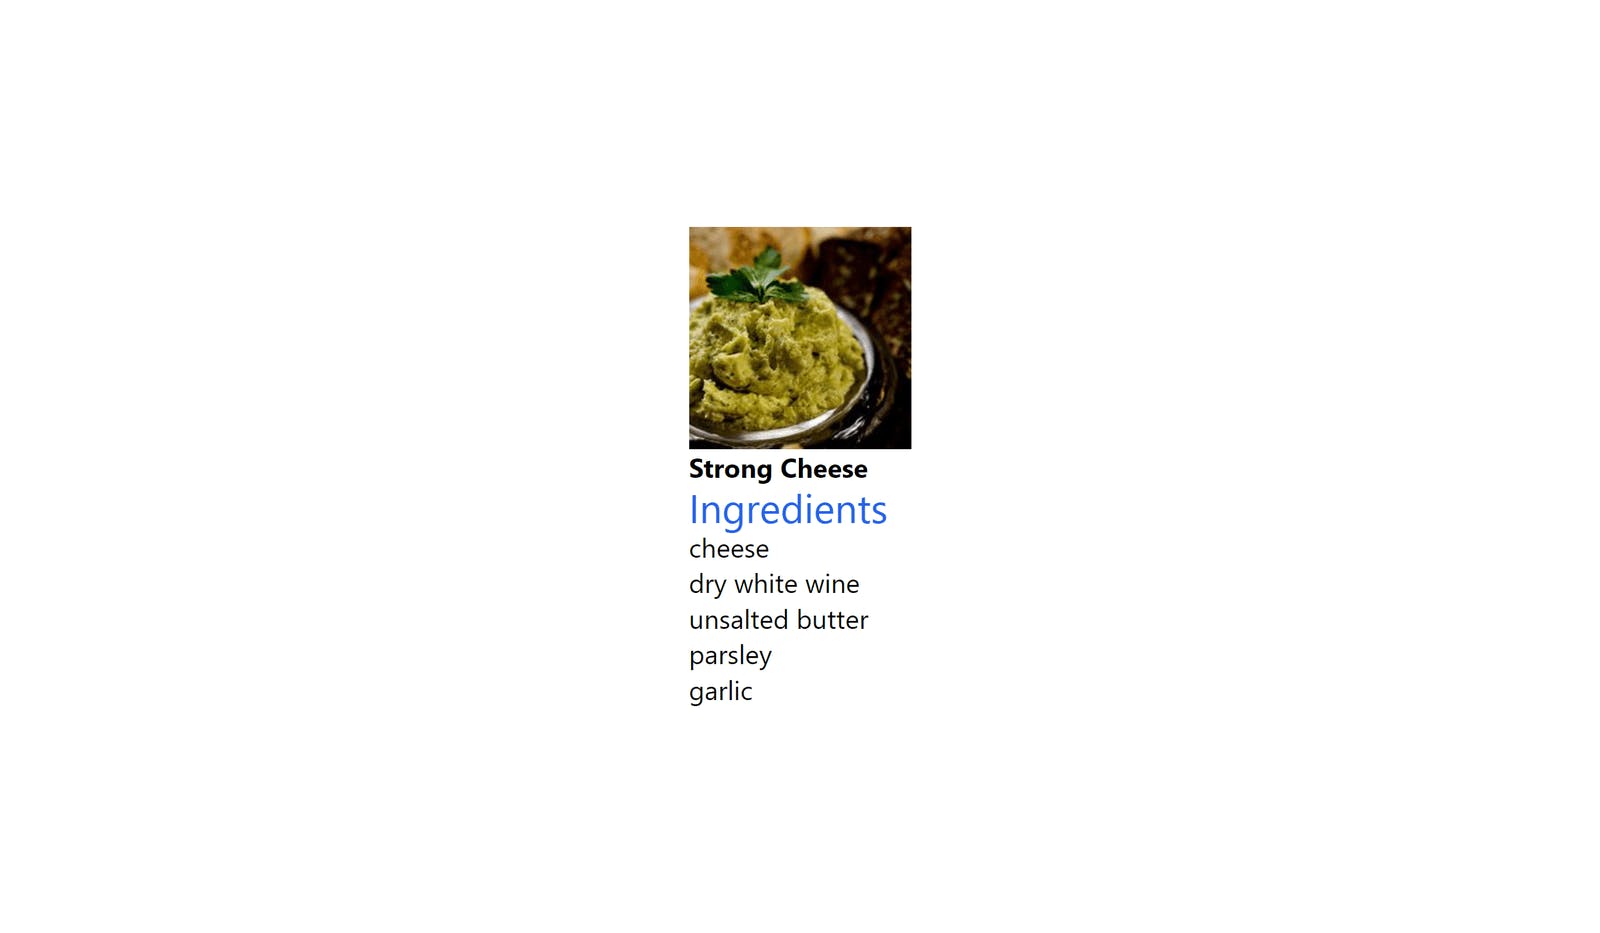
In the code above, we use the useMatch hook to get the data passed in the Loader. We can then store the data from the first position of our array in a variable, food. In the component, we returned the recipe's image, title, and ingredients. In our browser, we have a result similar to the image below:
Pending Element Route
React Location lets us define a pending state component that will be shown if the asynchronous function is not resolved within a specified time. We can do this by modifying our route as shown below:
{
    path: "/results",
    element: <Details/>,
    loader: async () => ({
      teams: await axios("https://api.edamam.com/api/recipes/v2", {
        params: {
          type: "public",
          q: searchItem,
          app_id: app_id,
          app_key: app_key,
        },
      }),
    }),
    pendingElement: <div>Getting your food order...</div>,
    pendingMs: 1000 * 0.5
  },
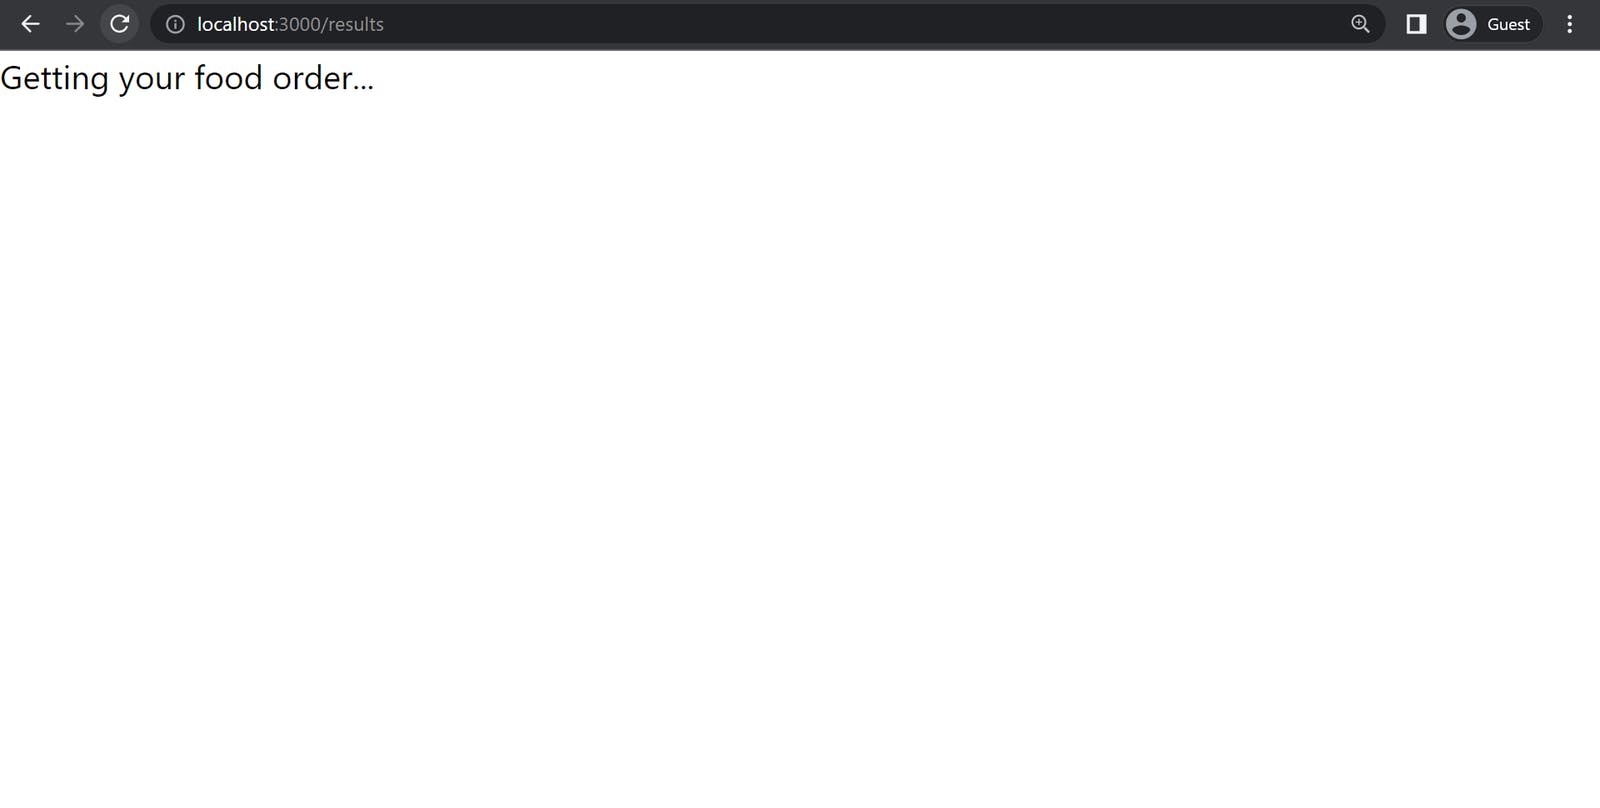
Here, pendingMs is the time interval after which we expect the async function to be resolved. If the function is unresolved, the element in pendingElement is returned. Below is an image of the pendingElement:
Conclusion
In this tutorial, we learned about React-location and its benefits, and how we can use it to build a food recipe application.
