by Obinna Okoro
Sockets are usually best for real-time data communications between clients and servers. They are very beneficial over REST APIs, especially for online games. They help users interact with their game and send their data to the server, and then the server forwards this data to other players in the game.
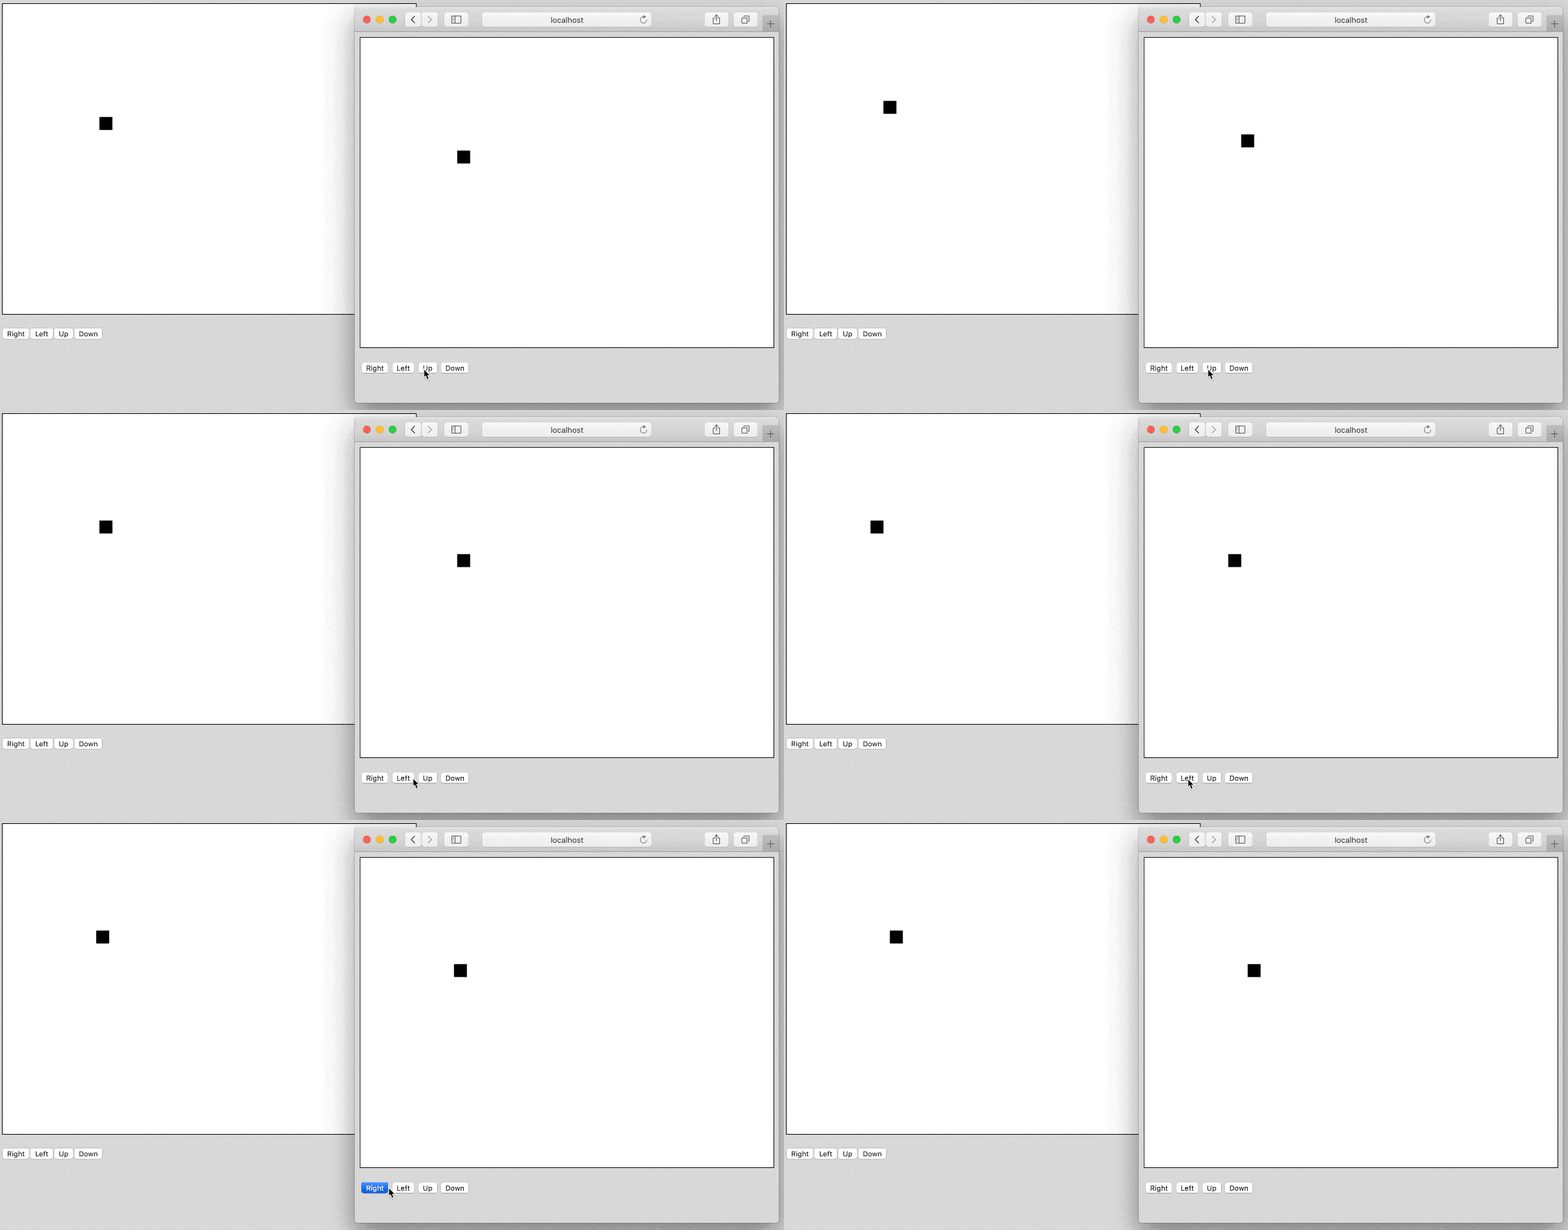
In this tutorial, I will show you how to render real-time data over the server and how sockets are used. We will create a very simple block game using Vue.Js, Node.Js, and Socket.io. We are using Socket.io over REST APIs because we need real-time data, which is only deliverable over sockets. This game isn't going to be very hardcore; all we will do is render 2D objects using an HTML canvas, and interact with them through various clients, as seen in the image below. Clicking on the buttons moves the block for all players. There will be various components involved in this tutorial.

Getting started at the server side
We will start with the server-side component, then head straight into the Vue.js client component afterward. I take it that you have Node.js installed. Create a directory for the server side and navigate to your directory, and input the following
nnpm init -y
touch index.js
If the touch command doesn't seem to work on your end, you can create an index.js file manually inside the directory. This creates a package.json which will carry all the dependencies we will apply throughout this tutorial within the server. Before we proceed further, we will install some packages we would need for this project. We will need the nodemon package, and we need to configure it. Then we will require the express framework and the socket.io package.
npm install express socket.io --save
npm install nodemon --save-dev
We will focus now on our index.js file and quickly set things up. We will be tracking a player's position, and we are going to store our player's position server side. (This means when the server restarts, it terminates all of our data, which is OK for this tutorial.) So in the index.js, I will make an object named position to store the x and y values.
const Express = require("express")();
const Http = require("http").Server(Express);
const Socketio = require("socket.io")(Http, {
  cors: {
    origin: "*",
  },
});

//inputting our position values
let position = {
  x: 200,
  y: 200,
};

//listening to a PORT
Http.listen(3000, () => {
  console.log("Server up and running...");
});
The whole logic behind what will happen here is that the Vue client will never be in control of our player's position: it will all be determined server-side. The server will broadcast the positions to all the clients, and they will just display the positions on the screen. The client will request the server to move, and the latter will change the position. We will not make any direct changes from the client level; it will all depend on the server, which would help prevent users from cheating and spoofing player positions.
We will do one more thing before we leave the server component, but we are not done with it just yet; we will return to it. We are going to listen for a particular event, as seen below.
let position = {
  x: 200,
  y: 200,
};

Socketio.on("connection", (socket) => {
  socket.emit("position", position);
});
The connection above is a reserved kind of label for messages, so every time a client connects to the server, it will trigger the connection event. We will emit a particular message to that particular socket that just connected, and that message will contain the x and y value positions.
The client side
We will take a break from the server side and head into the Vue component. Assuming you have the Vue CLI installed, we can create a new Vue project and give it the project name.
vue create client
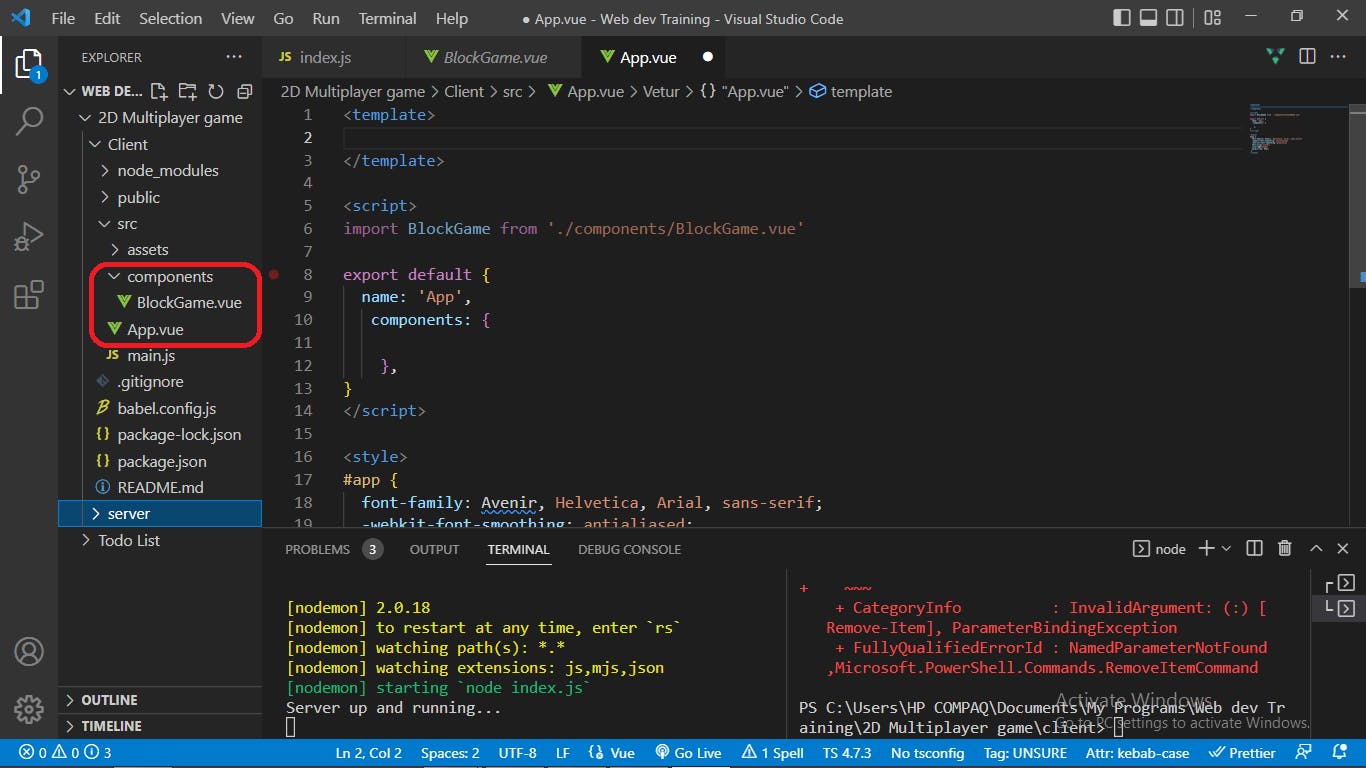
We also need to install socket.io as we did earlier for the server component. After installation, quickly rename the file in the src folder to App.vue and the Hello-world file in the components folder to BlockGame.vue.

Once you have successfully changed the file names, the next thing we have to do is to set up the App.vue file. Navigate to App.vue and remove the template tag's and style tag's initial content, import the blockgame file into the script tag, and set the component object to BlockGame. Input the BlockGame component in the template tag wrapped in a div. Your App.vue file should look like this:
<template>
  //calling the BlockGame to the template tag
  <div id="app">
    <BlockGame />
  </div>
</template>

<script>
//importing the BlockGame component into the app file
import BlockGame from "./components/BlockGame.vue";
export default {
  name: "app",
  components: {
    BlockGame,
  },
};
</script>
<style></style>
After setting up the App.vue file, we head into our BlockGame file in the component folder and set it up. Then we will add a canvas in the div tag and give it a reference name (game) because in Vue you cannot just access the DOM components with querySelectors; you have to use references. We will add width, height, and border information so that you can easily see what the canvas consists of. Now inside our script, we would need to import the socket.io we downloaded earlier and then declare a few variables inside the class object, including the socket connection object, which would be empty at the moment. We add a context object and a position object consisting of an x and y value so we don't encounter null data floating around.
<template>
  <!-- creating the HTML canvas -->
  <div>
    <canvas ref="game" width="640" height="480" style="border: 1px solid black">
    </canvas>
    <p>
      <button v-on:click="move('right')">Right</button>
      <button v-on:click="move('left')">Left</button>
      <button v-on:click="move('up')">Up</button>
      <button v-on:click="move('down')">Down</button>
    </p>
  </div>
</template>
<script>
//importing the socket.io we installed
import io from "socket.io-client";
export default {
  name: "BlockGame",
  data() {
    return {
      socket: {},
      context: {},
      position: {
        x: 0,
        y: 0,
      },
    };
  },
};
</script>
<style scoped></style>
We now have the option to connect to our server, and then we have the option of listening to events and issuing events. First, we need to establish a connection, which is best done in the created lifecycle hook for Vue before the Vue renders. We would have to specify our host for the sockets we defined, which is done in the created method.
Once the Vue renders, we want to start listening to events. We want to start working alongside our canvas. To do this, we would have to use the mounted lifecycle event and then, grab the context object and then add some references (2d) to it. This would add a large empty square box to the left side of your web page. The next step is to draw a rectangle inside the empty square box, set its position, and give it a size. We will be using 20 by 20 pixels for the size of the rectangular block, which should create a small rectangular black block at the left end of the square box.
Open Source Session Replay
OpenReplay is an open-source, session replay suite that lets you see what users do on your web app, helping you troubleshoot issues faster. OpenReplay is self-hosted for full control over your data.

Start enjoying your debugging experience - start using OpenReplay for free.
Listening for messages
Now that we have the boxes and have initialized their position, we need to listen for messages. So just like we did for the server side, we will call the socket.on to listen for the position we emitted from the index.js file. We will add a data object which will carry our rectangular block in it, but it will not render until we get a position back from the application. To solve that, we are going to initialize the position to data. If you go into your web browser, you'd observe that the rectangular block has moved because of the x and y value positions (200, 200) we set in our index.js file. We will receive different positions from time to time, and because of that, we have to set our canvas to clear on each interval. The next step is to make the rectangle move. To do that, you have to create a method and set a moving object that would emit two things, the label name, and the directions. For now, if you go into your webpage and try moving it, the rectangle won't move, but not to worry, we aren't done yet.
  return {
      socket: {},
      context: {},
      position: {
        x: 0,
        y: 0,
      },
    };
  },
  //the created lifecycle hook
  created() {
  //connecting to our host
    this.socket = io("http://localhost:3000");
  },
  //the mounted lifecycle hook
  mounted() {
    //creating the 2d canvas
    this.context = this.$refs.game.getContext("2d");
    this.socket.on("position", (data) => {
      this.position = data;
      //clearing the rectangular block at intervals
      this.context.clearRect(
        0,
        0,
        this.$refs.game.width,
        this.$refs.game.height
      );
      //creating a rectangular block sized 20x20
      this.context.fillRect(this.position.x, this.position.y, 20, 20);
    });
  },
  //creating a method to emit the directions to the server side
  methods: {
    move(direction) {
      this.socket.emit("move", direction);
    },
  },
};
</script>
<style scoped></style>
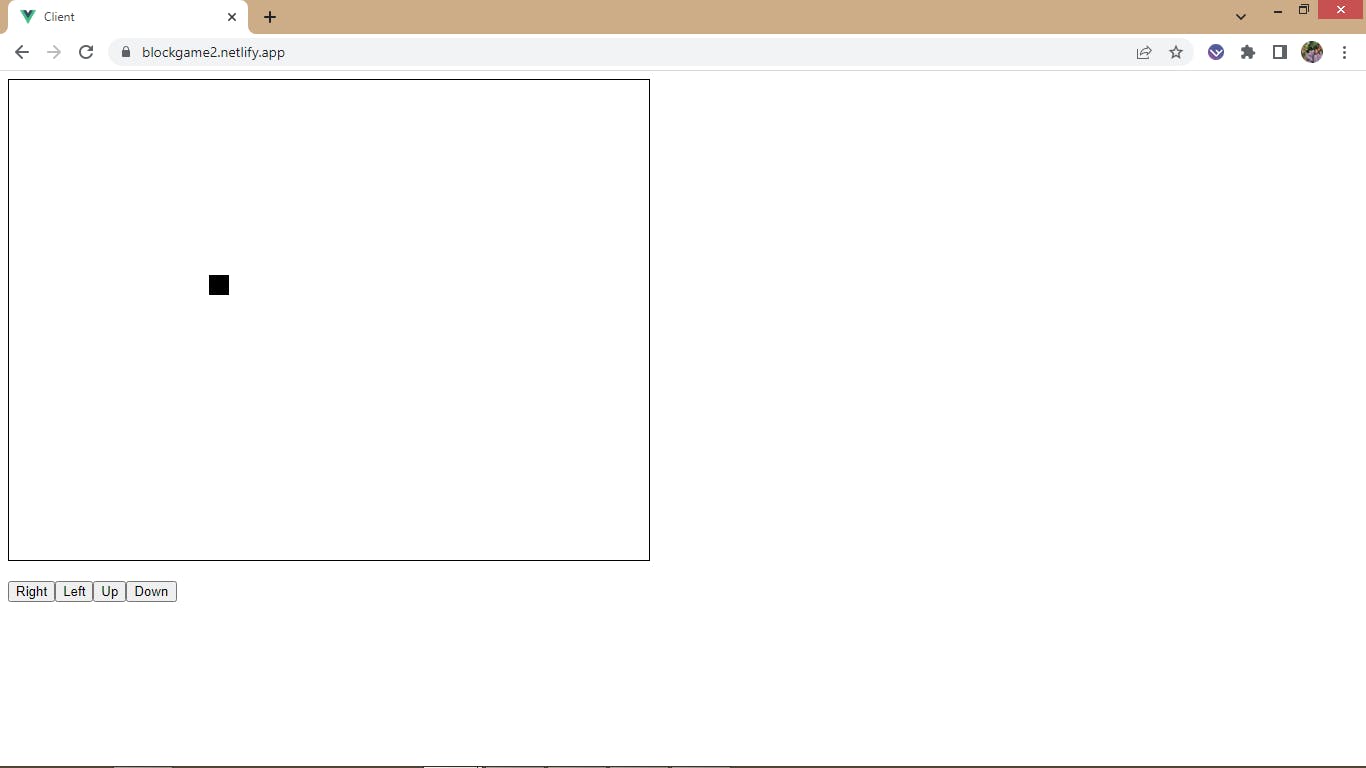
Next up, we need to create a couple of buttons in our template div to use the method we created. Inside these buttons, we will add an onclick listener, name it move, pass in a direction, and then close the tag and do the same for the rest of the buttons. Once done, we should have an up, down, left, and right button in the web browser.
<template>
  <!-- creating the HTML canvas -->
  <div>
    <canvas ref="game" width="640" height="480" style="border: 1px solid black">
    </canvas>
  <!--create a p tag to format the button properly in your browser-->
    <p>
      <button v-on:click="move('right')">Right</button>
      <button v-on:click="move('left')">Left</button>
      <button v-on:click="move('up')">Up</button>
      <button v-on:click="move('down')">Down</button>
    </p>
  </div>
</template>
So now, let's go back into our index.js and start planning to listen to the directions. Head inside the sockets connection and set up a new socket.on to listen for the move messages and create a data object that would hold different switch events. In the first case (left), set the position x to equal -5, and then the socketio emits the position. Observe that we used socketio instead of just socket because sockets emit to just a particular client while socketio emits to all connected clients, then breaks the case. You are to do the same for the rest of the cases; the right should have a position x of +5, the up should have the position y of -5, and finally, the down should have the position y of +5 accompanied by their socketio emit to emit these positions and then break to end the cases.
//connection to emit the positions to all connected clients
Socketio.on("connection", (socket) => {
  socket.emit("position", position);
//connection to the move buttons and method to send back conditions to perform
  socket.on("move", (data) => {
    switch (data) {
      case "left":
        position.x -= 5;
        Socketio.emit("position", position);
        break;
      case "right":
        position.x += 5;
        Socketio.emit("position", position);
        break;
      case "up":
        position.y -= 5;
        Socketio.emit("position", position);
        break;
      case "down":
        position.y += 5;
        Socketio.emit("position", position);
        break;
    }
  });
});
If you head into your browser and click any of the buttons, you will observe that the rectangle will move in that clicked direction. The client is now receiving the positions we set earlier in the server and then broadcasting them to the browser to make all the various movements.

Conclusion
This is a good example of using socket.io and Vue.js. It's a better example than just doing the typical chat server that everybody does! This game is pretty simple because it has no competitive angle; all we did was create a server with Node.js and a client with Vue.js. The server sends position information to the client, and the client uses this information to render the 2D canvas on your screen, which means we now have a game component to this, and we are using it as if it was a game server. It's a great example of using sockets with vue.js and node.js.
Git repo: github.com/christofa/2d-Blockgame.git

