

Playwright and Puppeteer are the two major prominent headless browser frameworks for automation testing. To achieve your test suites, they are some of the best frameworks to choose from, especially when working with Node.js-related projects for web-browser test automation. Both are go-to for web automation programmers’ toolkits. This guide explores and compares both tools to help you determine which one to choose.
Tests ensure that code behaves as expected and catches bugs early on. They help to maintain and improve the codebase and provide assurances when making changes. You can ensure that your web application behaves as anticipated by composing tests for your code. A written test also tells you if you have accidentally broken something based on how your application should function. This way, you can any errors and bugs in your application’s design structure and functionality.
One typical testing tool web developers and testers use is a headless browser. Testers interact with web apps without the need for a graphical user interface. Headless browsers’ main use case is automated testing and simulated user interactions to verify the behavior of web applications.
Playwright vs Puppeteer: The Competitive Background
Puppeteer and Playwright are headless browsers designed for end-to-end (E2E) automated testing of web apps. Puppeteer was introduced by the Chrome team at Google in 2017. Puppeteer programmatically controls Google Chrome and Chromium browsers in headless mode using JavaScript and gets started with browser automation. It’s maintained by the Chrome DevTools team and has limited Firefox and Microsoft Edge support. Basically, Puppeteer automation in JavaScript/Node.js exclusively without cross-browser support.
Soon after, Playwright was inspired by Puppeteer and shares similarities in API methods and automation capabilities. Microsoft developed it and entered the scene in 2020 as a newer alternative to Puppeteer to not only support Chromium browsers.
Playwright testing provides browser automation for Chromium, WebKit, and Firefox (sorry, no Internet Explorer!) with maintainable scripts using a simple and intuitive API. It is essentially a Node.js library made for browser automation. It supports other languages such as Python, Golang, Java, JavaScript, and C#.
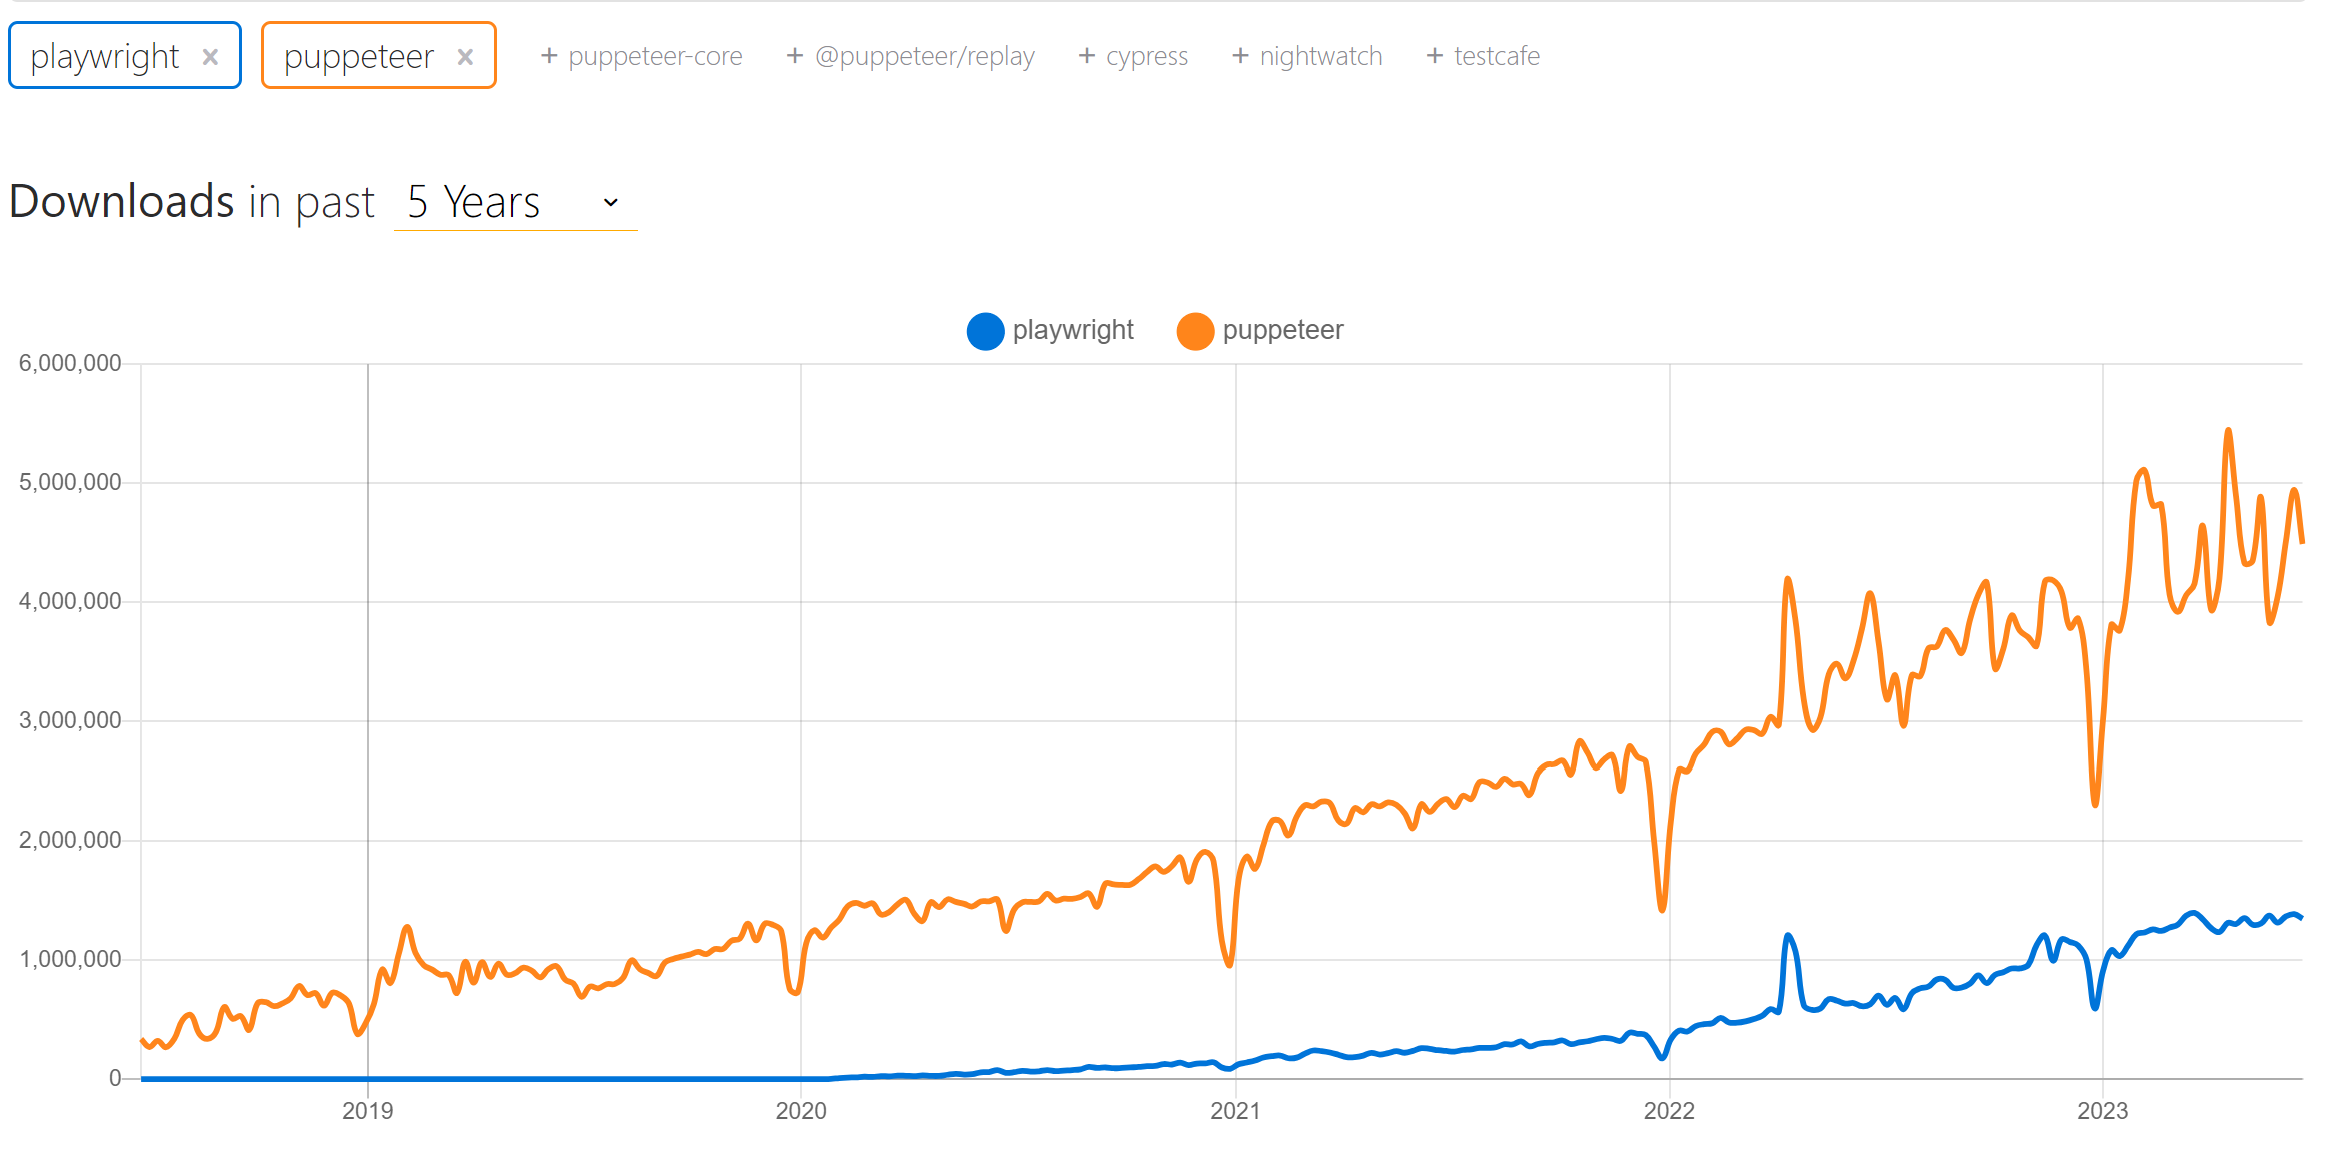
These two have now gained growing popularity among every developer. Check out this NPM trend graph for each growing community:
The Main Differences and Feature Breakdown
Puppeteer makes the test easier by using Headless browsers. These browsers run without a GUI and are controlled programmatically using command-line commands. This way, developers automate tasks and test web applications without requiring a visible browser window. The rendering and JavaScript engines normally work, just that the browser’s user interface is not displayed during script execution, which is ideal for an automated test. With Puppeteer, you can:
Run Chrome/Chromium in headless mode by default to interact with and manipulate the DOM of web pages while writing sophisticated automation scripts.
Intercept and modify network requests and responses for testing and debugging web applications.
Profiling the performance insights to diagnose performance issues such as page load times, network traffic, and JavaScript execution.
Perform accessibility UI testing, such as detecting missing and improperly labeled form fields and checking for sufficient color contrast.
Generate screenshots and PDFs for testing results.
Integrate with other popular testing libraries such as Mocha, Jest, and Jasmine.
Easy installation. Puppeteer requires zero setups. Just install Puppeteer, which will automatically download a compatible version of Chromium.
The key advantage of using Playwright is its capacity to provide a single API that works across different browsers, reducing the complexity of cross-browser testing. The automation tool gives you the following capabilities:
Test retry to automatically re-run tests when it fails.
It auto-waits for all relevant checks to pass and only performs the actions to avoid test flakiness.
It has built-in support for headless browsers.
Provide emulation capability for mobile devices, geolocations, and permissions for testing responsive designs and location-based features.
Provide network intercepting capabilities for stubbing and mocking network requests.
Provides assertions that ensure tests are automatically retried until the necessary conditions are met.
Trace viewer to capture screenshots and videos of the test execution.
playwright inspector GUI tool that helps debug the scripts.
It can handle multiple pages, domains, and iframes.
Capable of scraping dynamic web pages.
Playwright provide components testing to existing React, Vue, Svelte, or Solid project.
Playwright vs Puppeteer: The Migration Between Puppeteer and Playwright
Because Puppeteer inspired Playwright, these two APIs have similarities, making it very convenient to start with one and migrate from another. For example, Puppeteer uses the await puppeteer.launch() method to launch the Chromium browser.
const puppeteer = require('puppeteer');
const browser = await puppeteer.launch();
This can as well be used to launch the same browser using Playwright. Considering Playwright supports many browsers, await playwright.chromium.launch() is equivalent to await puppeteer.launch(). You can use these examples as follows:
const { chromium } = require('playwright');
const browser = await chromium.launch();
Check the following line-by-line migration example from Puppeteer to Playwright. The following example uses We’ll use a simple Puppeteer to open a page, performs a Google search, and takes a screenshot:
const puppeteer = require('puppeteer');

async function runPpt() {
 const browser = await puppeteer.launch();
 const page = await browser.newPage();
 await page.goto('https://www.google.com');
 await page.type('input[name="q"]', 'Playwright vs Puppeteer');
 await page.click('input[type="submit"]');
 await page.waitForNavigation();
 await page.screenshot({ path: 'screenshot.png' });
 await browser.close();
}

runPpt();
Let’s migrate this example to use Playwright line by line:
const { chromium } = require('playwright');

async function runPwt() {
 const browser = await chromium.launch();
 const context = await browser.newContext();
 const page = await context.newPage();
 await page.goto('https://www.google.com');
 await page.type('input[name="q"]', 'Playwright vs Puppeteer');
 await page.click('input[type="submit"]');
 await page.waitForNavigation();
 await page.screenshot({ path: 'screenshot.png' });
 await browser.close();
}

runPwt();
The main difference here is how each testing framework launches the browser using launch() and how Playwright uses context to lunch newPage() on your browser.
Session Replay for Developers
Uncover frustrations, understand bugs and fix slowdowns like never before with OpenReplay — an open-source session replay tool for developers. Self-host it in minutes, and have complete control over your customer data. Check our GitHub repo and join the thousands of developers in our community.
Playwright vs. Puppeteer: Showcase a testing case
Now that you understand what these libraries are and what they provide. Let’s dive in and create examples demonstrating how to use them to test the application. I have created a simple demo Node.js application. It contains a Node.js login and registration form. Clone this GitHub Repository to have a demo example on your computer, and once you have done that, go to the newly cloned directory:
cd nodejs_auth_api
- Install the dependencies:
npm install
- Start the development server:
npm run dev
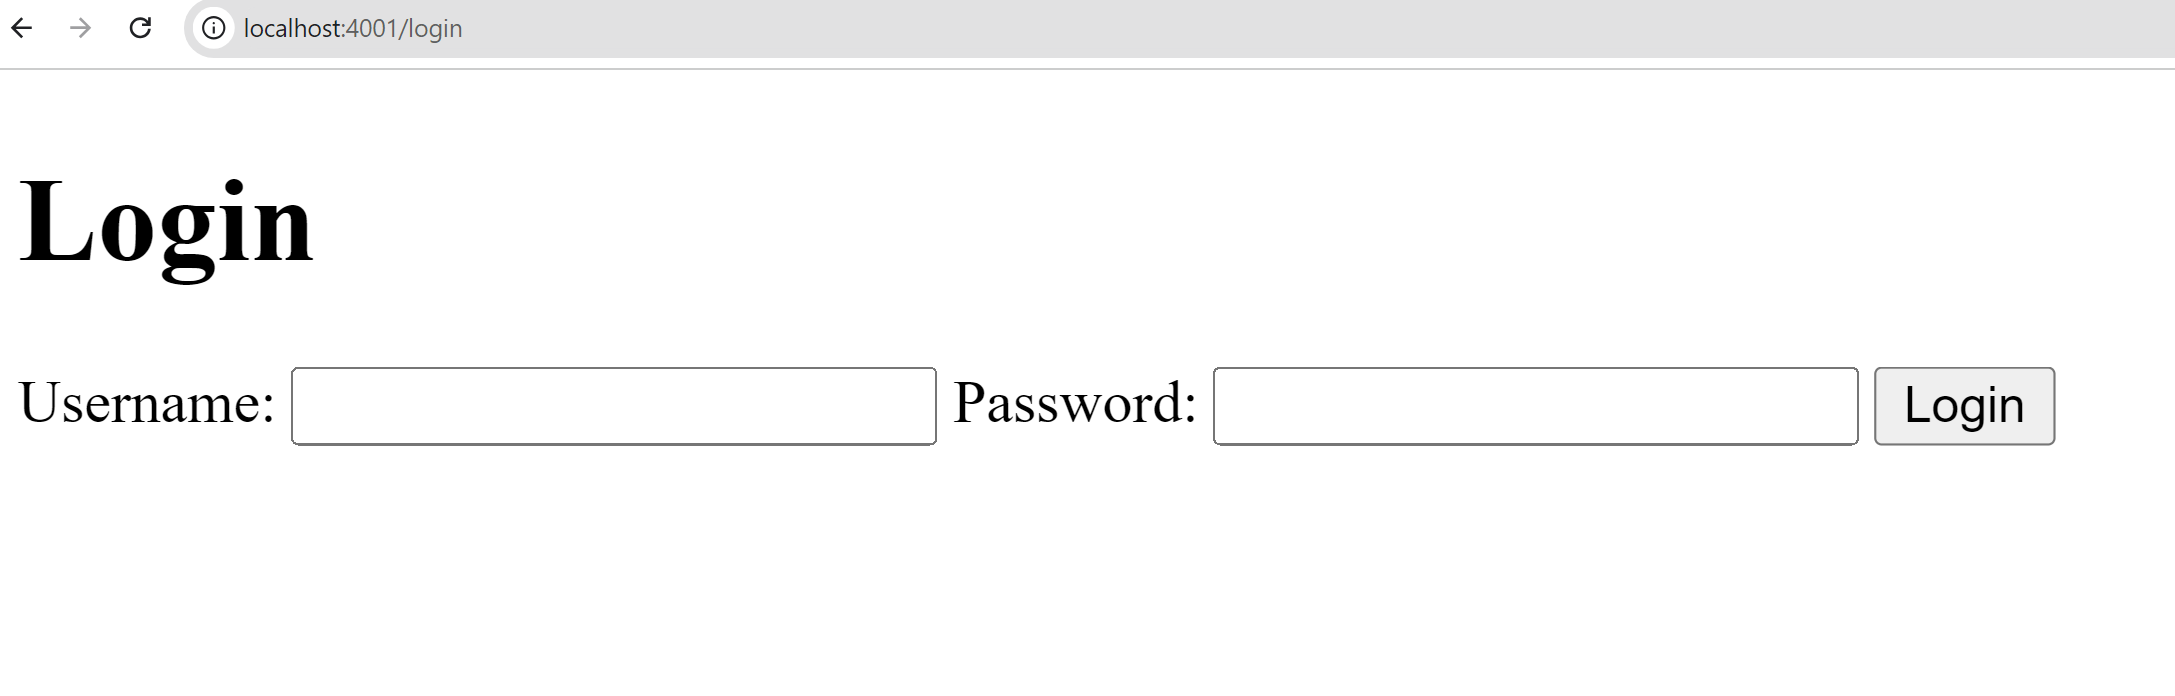
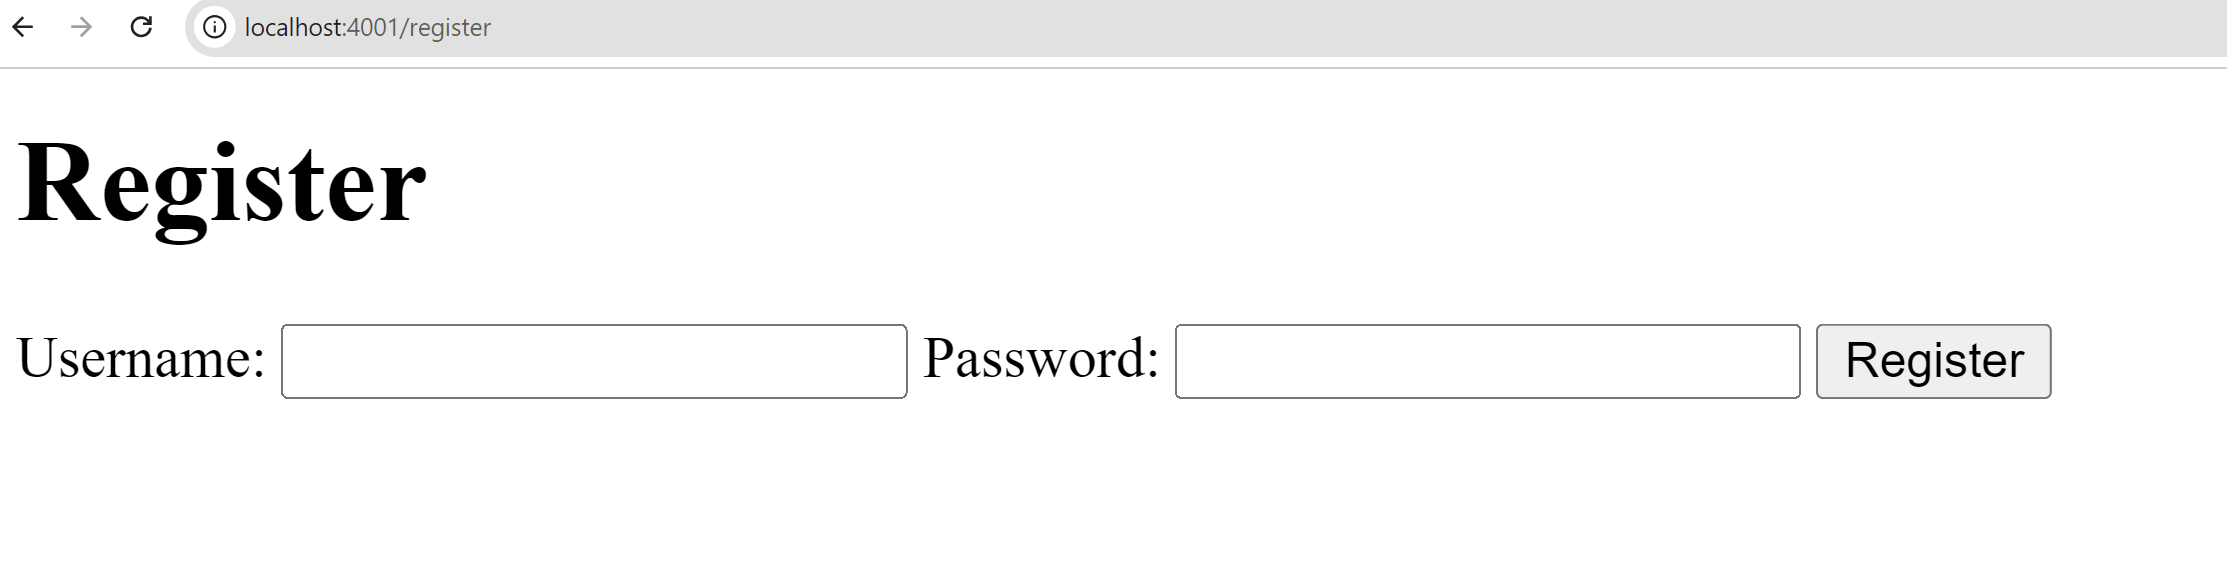
Your login and register page should be similar to the ones below:
Login page:
Register page:
Testing using Puppeteer
In your previous cloned directory, install the following Puppeteer testing dependencies:
npm i jest jest-puppeteer puppeteer
To run tests, this example will combine Jest and Puppeteer to show how Puppeteer integrates with other testing libraries. Therefore, at the root of your application, create a jest-puppeteer.config.js and add the following configurations:
module.exports = {
   preset: 'jest-puppeteer',
   roots:['specs'],
   launch:{
       headless:false,
       args:["--window-size=1366,768"]
   },
   browser:'chromium'
}
In summary, this configuration will specify:
Jest-puppeteer for configuring Jest with Puppeteer.
The root directory for Jest to search for test files.
Configure the options for launching the browser with Puppeteer.
How you will run your browser in headless mode.
The command-line arguments to pass to the browser instance, such as window size.
The browser to use with Puppeteer.
Once you comprehend that, you can proceed and create a jest.config.js to configure jest-puppeteer:
module.exports = {
   preset:"jest-puppeteer",
   roots: ['specs'] // the directory where the tests will reside.
}
Create a specs directory. This directory is specified in the above roots configurations and will house the test files to be checked in the proceeding step. In the package.json file, add the below script for running the tests:
"e2e":"jest"
To test the login form using Puppeteer, in the specs directory created from the previous step, create a login.test.js file and require the puppeteer package:
const puppeteer = require("puppeteer");
Add a describe function to define the steps:
describe('Login form', () => {
});
The describe function will create the test checks as follows:
- Define the variables:
let browser, page;
- Launch puppeteer and open a new page:
beforeAll(async () => {
   browser = await puppeteer.launch({headless:true});
   page = await browser.newPage();
});
- Close the browser after the test is done:
afterAll(async () => {
   await browser.close();
});
- Create the login test step by step:
test('Logs in successfully with valid credentials', async () => {
   await page.goto('http://localhost:4001/login'); // go to the login page
   await page.type('#username', 'admin'); // key in the username
   await page.type('#password', 'password'); // key in the password
   await page.click('button[type="submit"]'); // submit the form
   await page.waitForNavigation(); // wait for navigation
   const url = await page.url(); // get the new url
   expect(url).toBe('http://localhost:4001/dashboard'); // expect it to be a dashboard if all is OK else; there is an error
});
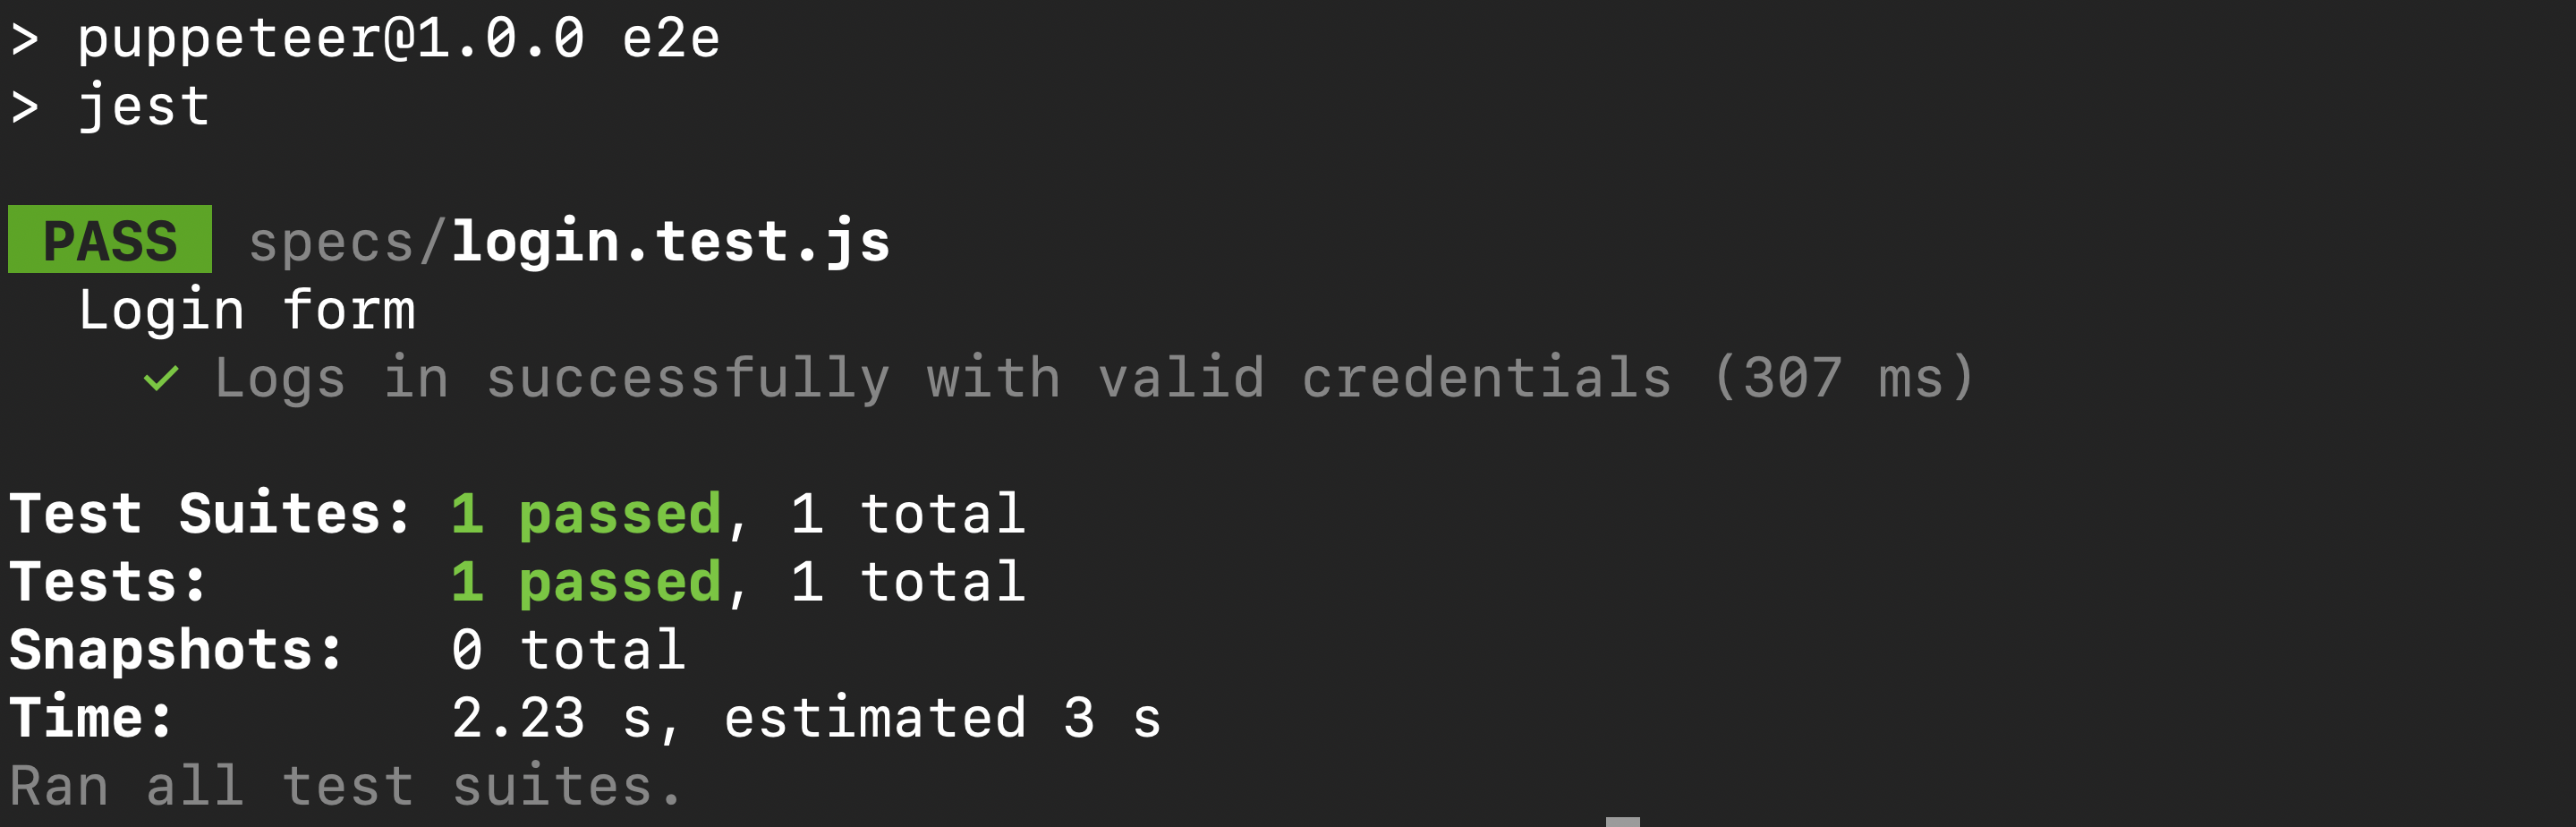
You can now run the application’s E2E tests using the test command:
npm run e2e
Since your tests checks are using the correct credentials, then all the tests will pass as below:
Else if you have the wrong credentials, you will get the test failed.

Likewise, to test the registration form using Puppeteer, in the specs directory, create a register.test.js file as follows.
- Require the puppeteer package:
const puppeteer = require("puppeteer");
- Describe the tests flow:
describe('Register form', () => {
   let browser, page;

   beforeAll(async () => {
   browser = await puppeteer.launch({headless:true});
   page = await browser.newPage();
   });

   afterAll(async () => {
   await browser.close();
   });

   test('Registers successfully with valid credentials', async () => {
   await page.goto('http://localhost:4001/register');
   await page.type('#username', 'admin');
   await page.type('#password', 'password');
   await page.click('button[type="submit"]');
   await page.waitForNavigation();
   const url = await page.url();
   expect(url).toBe('http://localhost:4001/dashboard');
   });
});
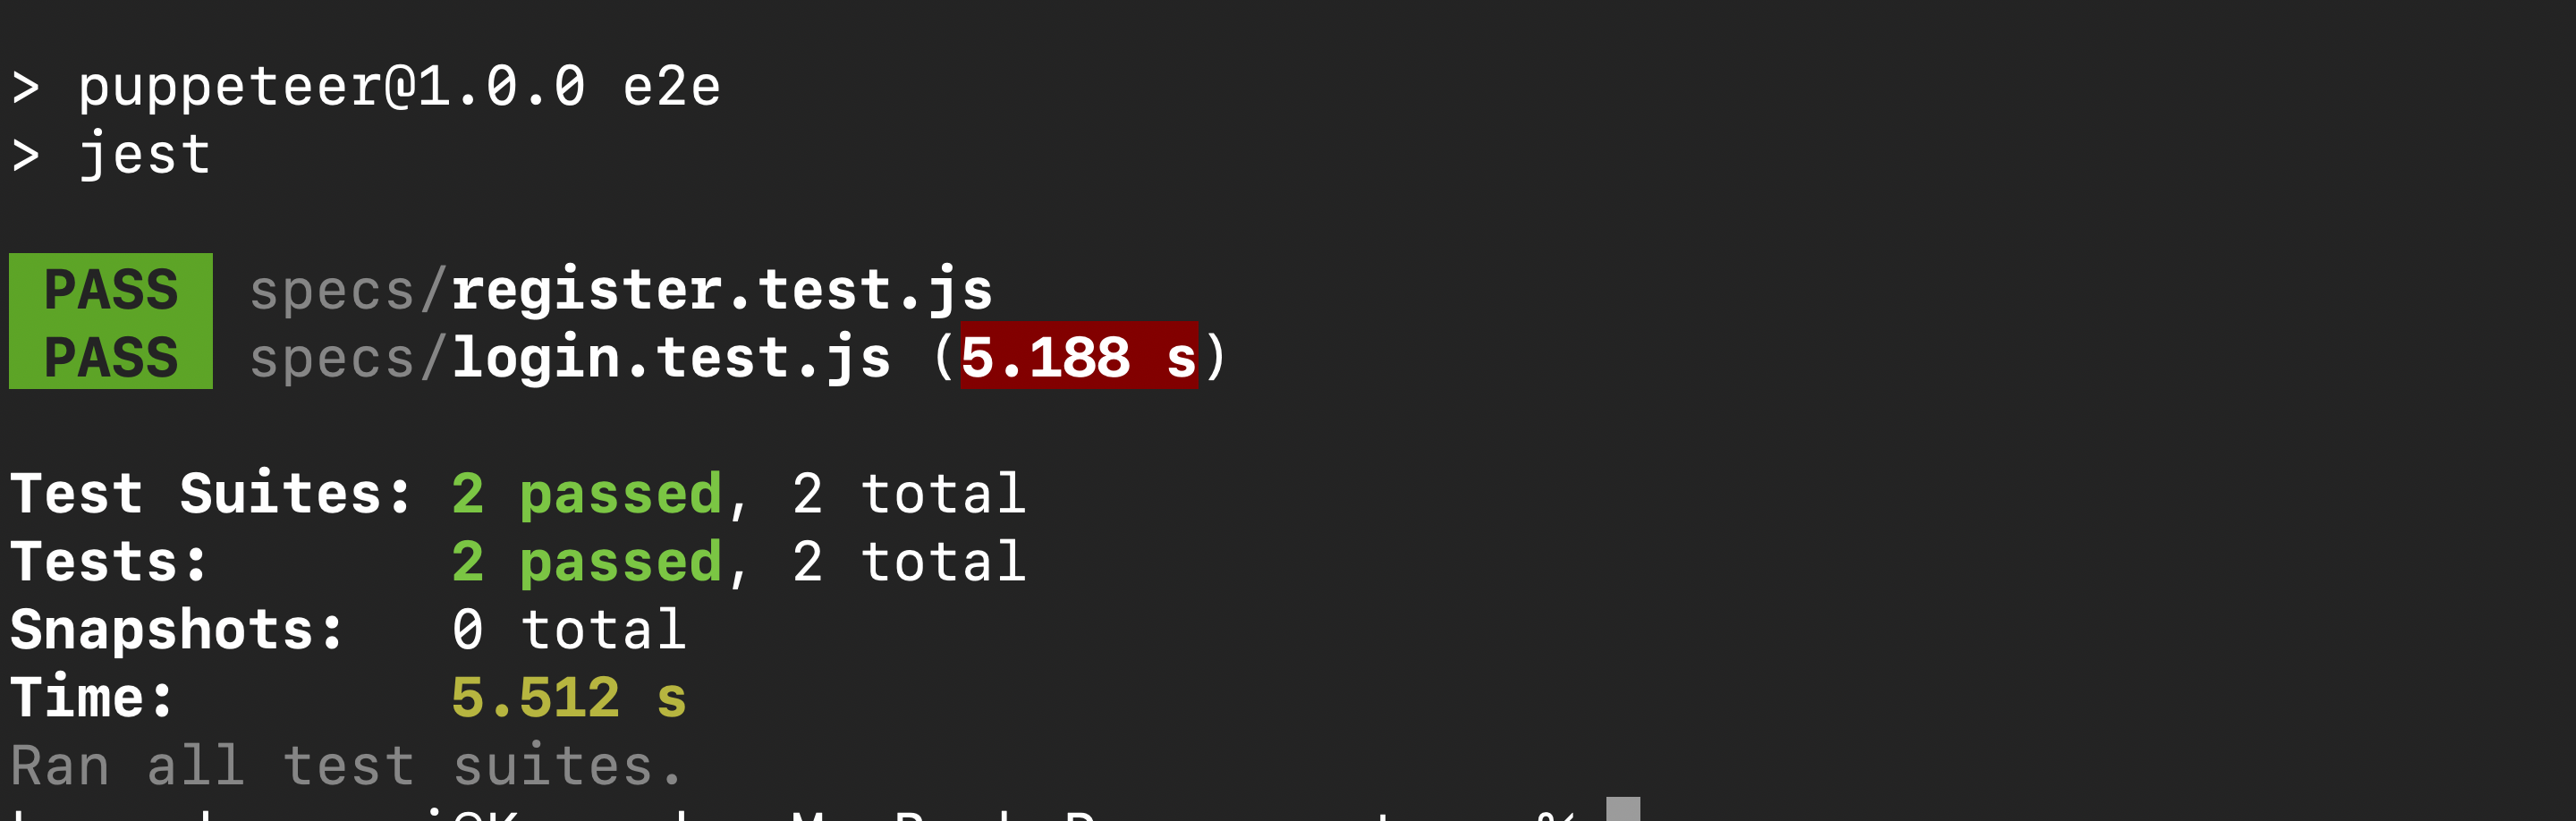
Re-run your test command. Your test output should be similar to the following:
Testing using Playwright
Ensure you have installed Playwright using NPM or Yarn, and if you are using VS Code, you can run your Playwright tests using this VS Code Extension.
npm i puppeteer
To use Playwright, first, initialize a playwright application:
npm init playwright@latest
The above command will initialize a Playwright playwright.config.ts/.js file with everything already set for you. You will you tests/example.spec.js to describe your login form tests as follows:
- Import chromium from playwright:
const { chromium } = require('playwright');
- Describe a step-by-step testing process for the login form:
test.describe('Login form', () => {
   let browser, page;

   test.beforeAll(async () => { // launch chromium and open a new page
       browser = await chromium.launch();
       page = await browser.newPage();
   });

   test.afterAll(async () => { // after the test is done, close the browser
       await browser.close();
   });

   test('Logs in successfully with valid credentials', async () => {
       await page.goto('http://localhost:4001/login'); // go to the login page
       await page.fill('#username', 'admin'); // type in the username
       await page.fill('#password', 'password'); // type in the password
       await Promise.all([
       page.waitForNavigation(), // wait to be redirected
       page.click('button[type="submit"]') // submit the button
       ]);
       const url = await page.url(); // get the current page url
       expect(url).toBe('http://localhost:4001/dashboard'); // expect to be directed to the dashboard page
   });
});
Similarly, in the test/example.spec.js, define step by step the flow for testing the registration form as follows:
test.describe('Registration form', () => {
   let browser, page;

   test.beforeAll(async () => {
       browser = await chromium.launch();
       page = await browser.newPage();
   });

   test.afterAll(async () => {
       await browser.close();
   });

   test('Registers with valid credentials', async () => {
       await page.goto('http://localhost:4001/register');
       await page.fill('#username', 'admin');
       await page.fill('#password', 'password');
       await Promise.all([
       page.waitForNavigation(),
       page.click('button[type="submit"]')
       ]);
       const url = await page.url();
       expect(url).toBe('http://localhost:4001/dashboard');
   });
});
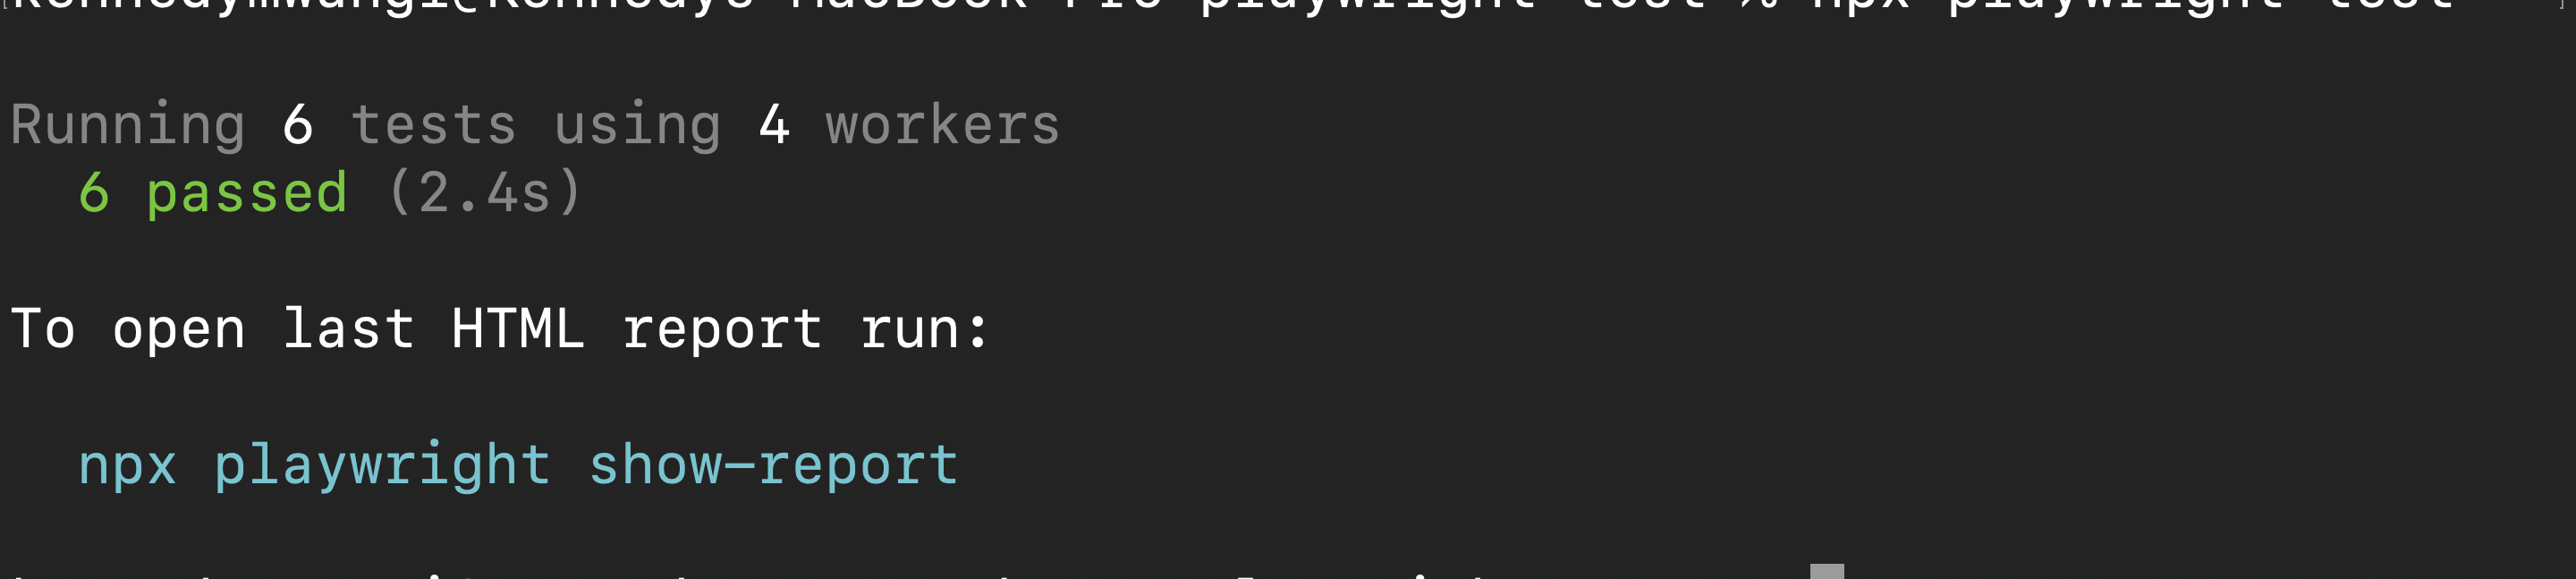
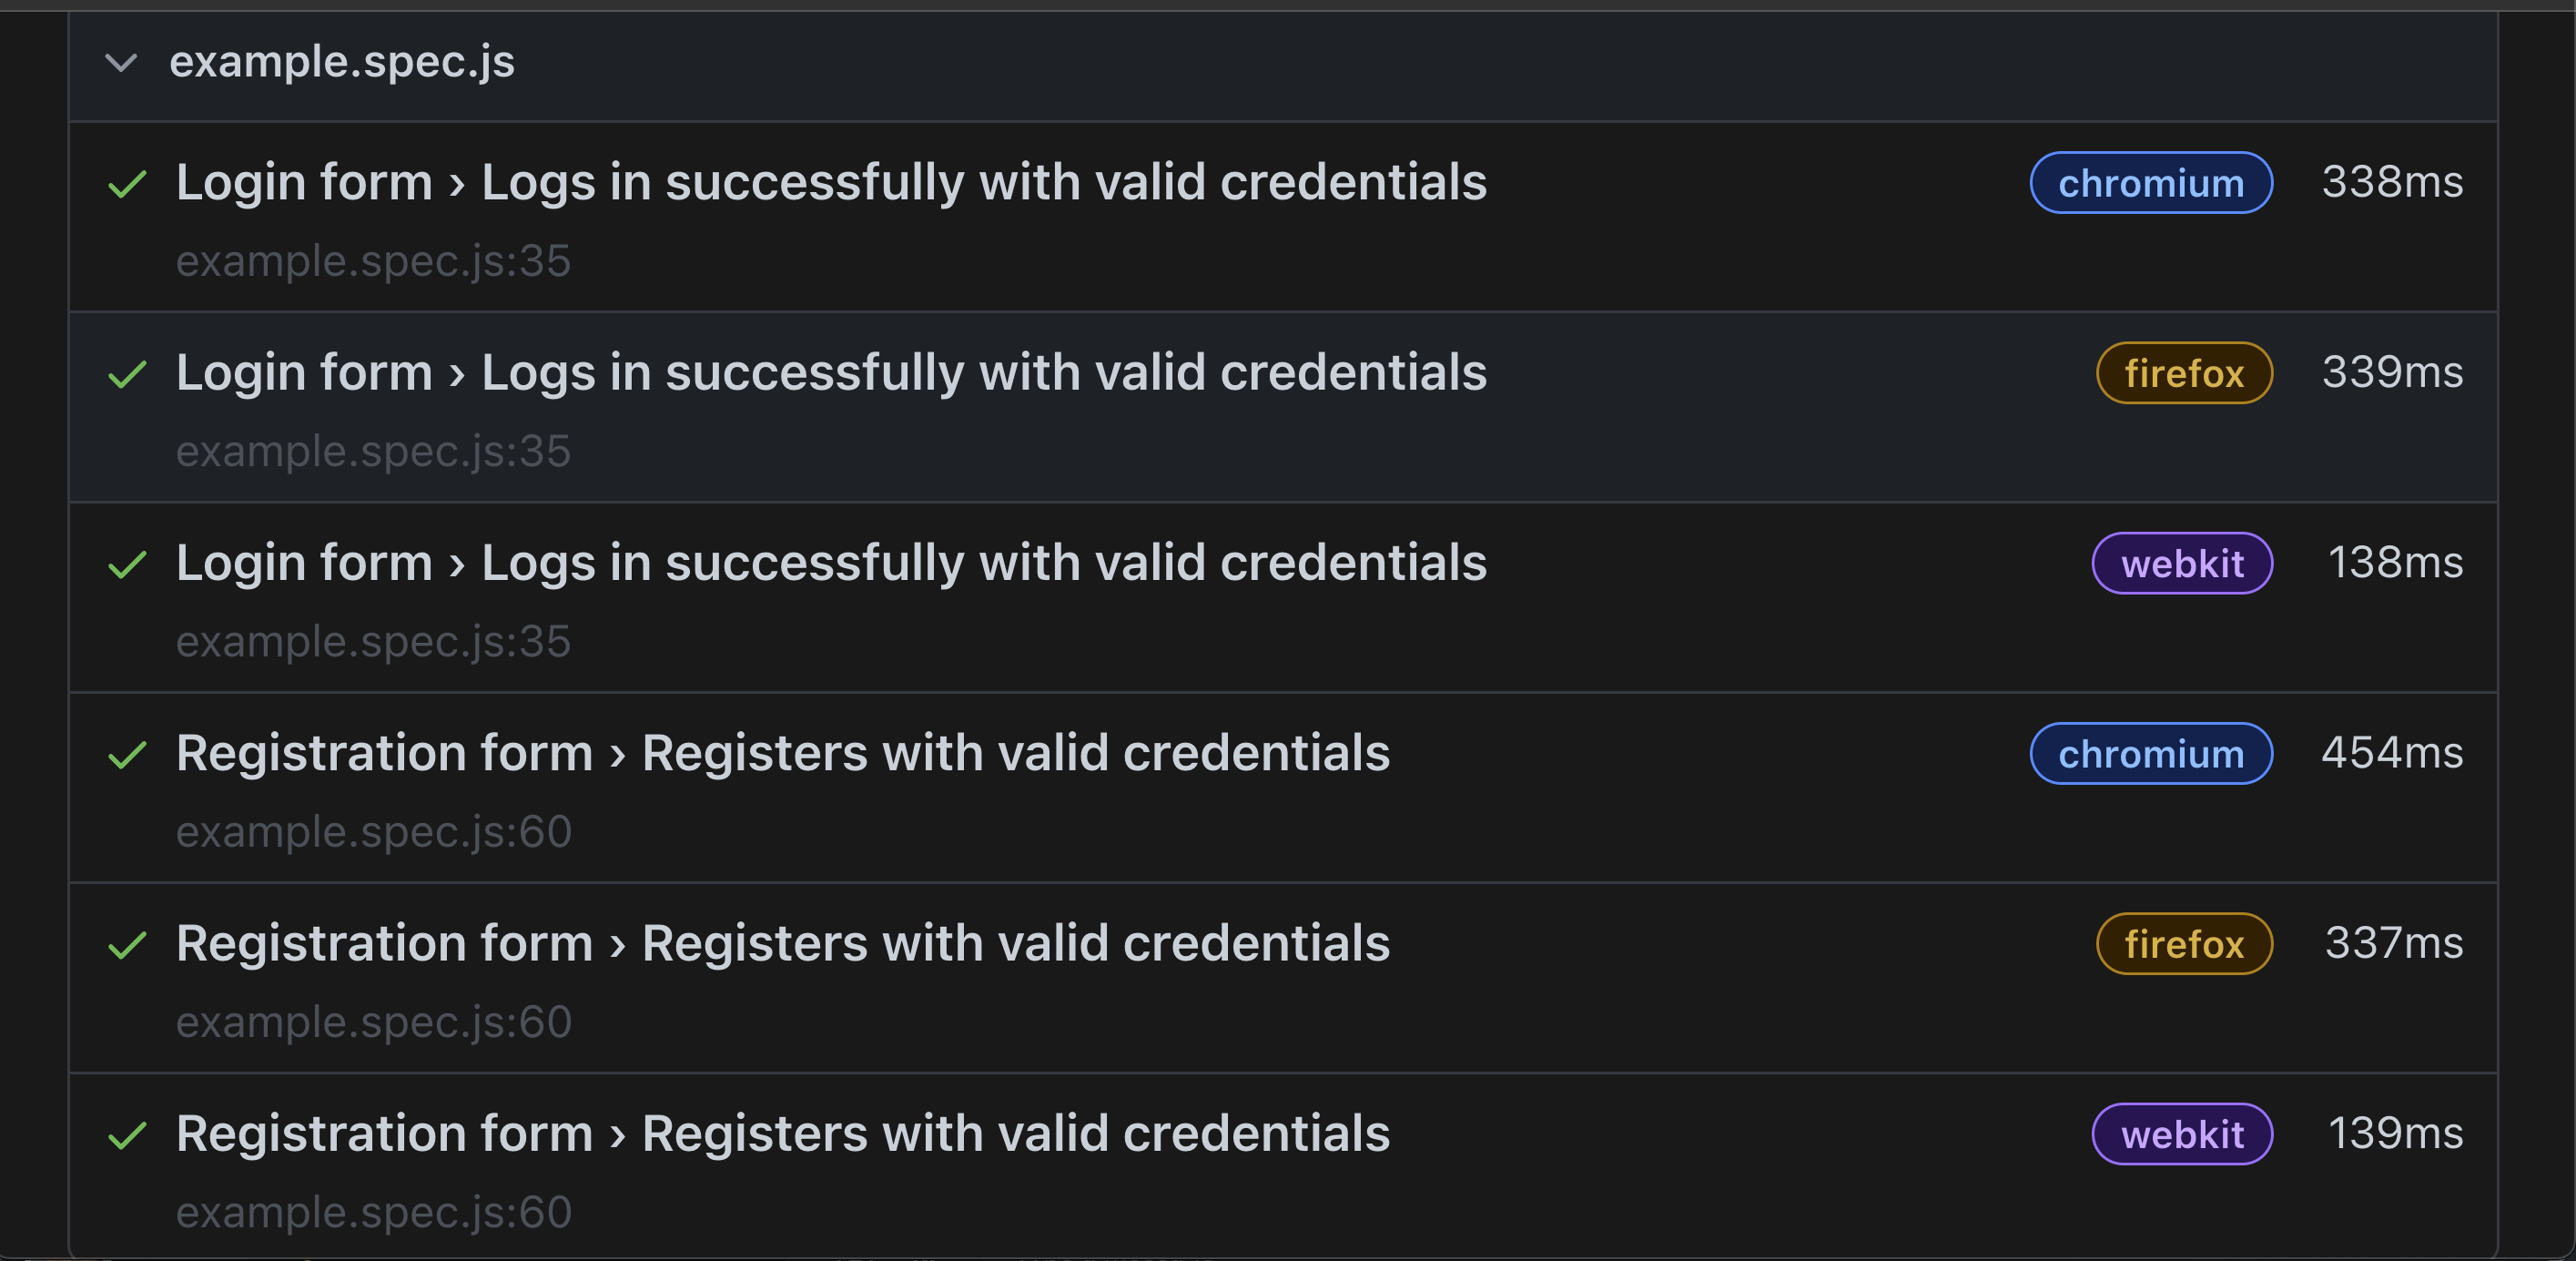
To run tests with Playwright, use the following command:
npx playwright test
Note: Playwright tests are run in headless mode. So, when running the tests, no browser will launch. The terminal will display the test results and test logs:
Playwright vs Puppeteer: Which one to choose?
This article focuses on Playwright and Puppeteer; their selection largely depends on individual goals. Puppeteer and Playwright were generally developed by the same team and have similar APIs.
Even though you can prefer one over the other, switching from Puppeteer to Playwright is relatively easy. This is because Playwright’s syntax is remarkably identical to Puppeteer’s, with only a few small variations, for example, when launching the browser.
Choosing Playwright and Puppeteer, the optimal alternative for your specific scenario, will be influenced by factors such as:
Language support
Browsers integration
As discussed earlier, Playwright allows you to write your code in Python, C#, or Java, as Puppeteer only supports JavaScript and TypeScript.
Again, when testing, the browsers you need to work with are relevant. This means Playwright’s first-class support for Chromium, Firefox, and WebKit browsers gives you flexibility in multiple browser options. While Puppeteer primarily focuses on Chromium with added support for Firefox. Considering that the majority use Chrome, you should also consider this alternative viewpoint.
Conclusion
Playwright and Puppeteer are great libraries for browser automation and testing. The choice between Playwright and Puppeteer depends on your needs and priorities. This guide helped you compare testing using Puppeteer vs Playwright. I hope you found this guide helpful.