Image manipulation involves altering an image using various methods and techniques to achieve desired results. This allows you to concentrate on an image aspect while ignoring others. As a result, the image aspect ratio, form, or size are reduced. Image manipulation plays an important role in front-end apps.
The react-easy-crop package is a free open-source JavaScript library. It supports image formats (JPEG, PNG, and GIF) as URL or base64 string and video formats supported in HTML5. It's an efficient tool for manipulating images/videos in front-end apps.
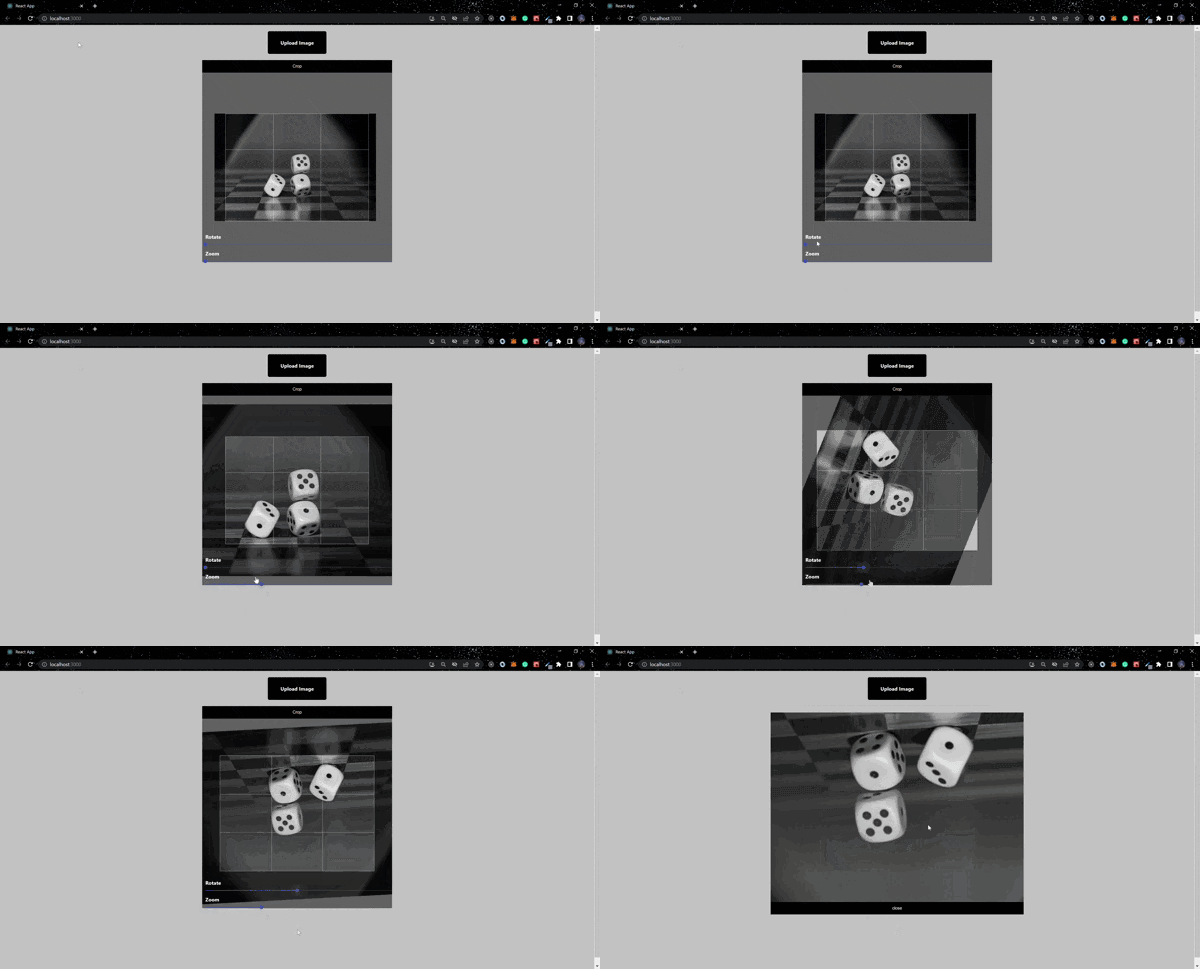
In this article, our focus will be on manipulating images with react-easy-crop. We will create a simple file upload application. The result of the cropped area will be displayed using the following functionalities supported by react-easy-crop:
- Drag feature
- Aspect ratio
- Cropping
- Zooming
- Crop shape
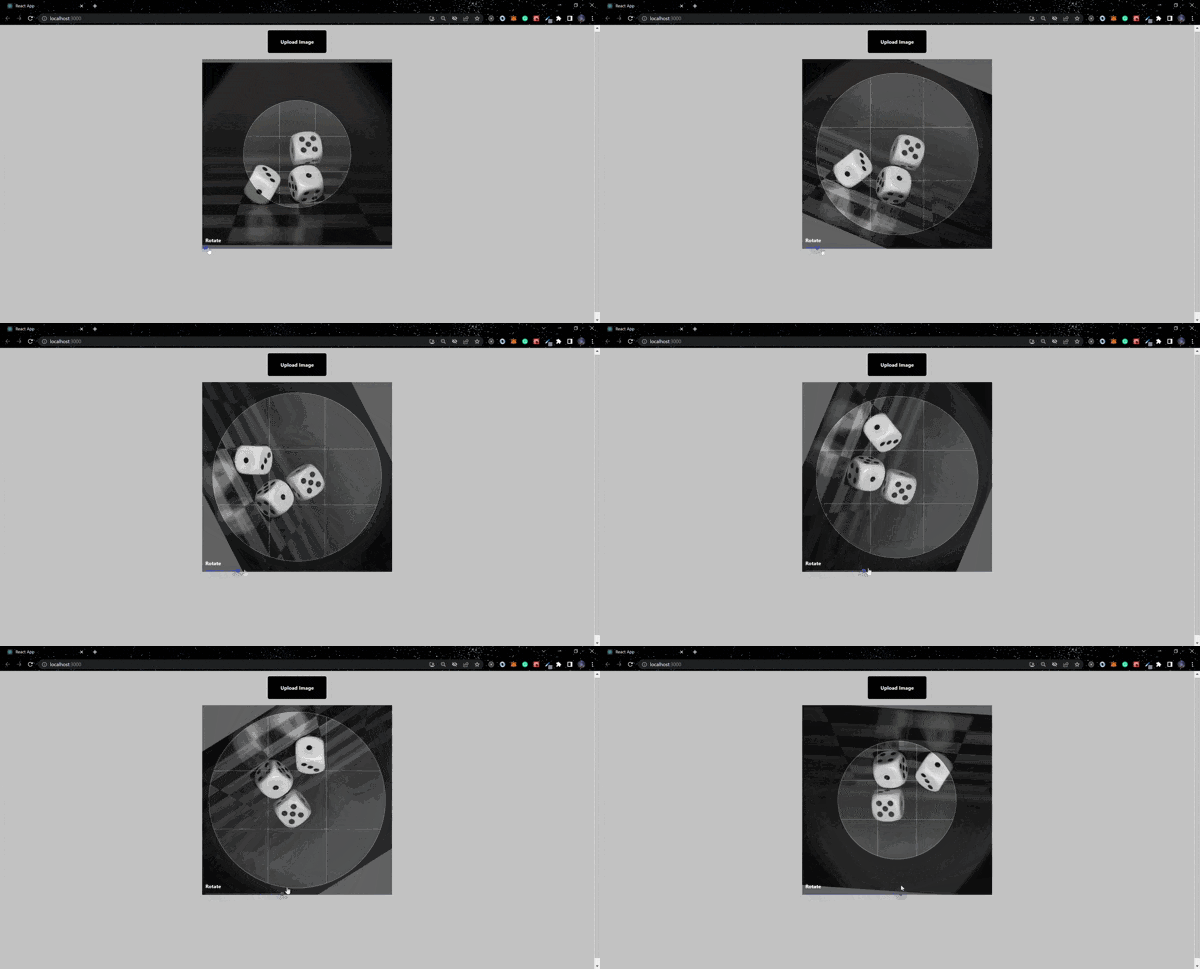
- Rotate interactions
Creating our React app
To start, use the commands below to launch the React application.
 npx create-react-app easy-crop
 cd easy-crop
 npm i react-easy-crop
 npm i @material-ui/core
 npm start
Before we begin, we will modify app.css to add some styling to the application. Copy and paste the code block below into app.css.
.App {
  background-color: #c4c4c4;
  font-family: 'Helvetica Neue', sans-serif;
}

.App-header {
  padding-top: 20px;
  height: 100vh;
  display: flex;
  flex-direction: column;
  align-items: center;
  justify-content: flex-start;
  color: #fff;
}

label {
  font-weight: bold;
  padding-left: 10px;
}

button {
  z-index: 2;
  cursor: pointer;
  width: 100%;
  background-color: #000;
  color: #fff;
  padding: 10px 0;
}

.cropped-image {
  height: 600px;
  width: auto;
}

.cropped-image-container {
  margin-top: 20px;
  display: flex;
  flex-direction: column;
}

._coverImage-holder  {
  padding: 25px 40px;
  background-color:black;
  border-radius: 5px;
  cursor: pointer;
  margin-bottom: 20px;
}


.container {
  display: flex;
  flex-direction: column;
  position: relative;
}

.crop-container {
  height: 600px;
  width: 600px;
}

.controls {
  display: flex;
  flex-direction: column;
  width: 600px;
  position: absolute;
  bottom: -15px;
}
Setting up react-easy-crop
We'll create a component called EasyCrop.js and paste the code block below into it.
import React, { useState } from "react";
import Cropper from 'react-easy-crop';

const EasyCrop = () => {
 const [crop, setCrop] = useState({ x: 0, y: 0 });

  return (
    <Cropper
      image="https://cdn.pixabay.com/photo/2016/07/07/16/46/dice-1502706__340.jpg"
      crop={crop}
      onCropChange={setCrop}
    />
  )
}

export default EasyCrop;
Before we dive into the functionalities that react-easy-crop supports, we will update our App.js component with the code block below.
import EasyCrop from "./EasyCrop";

function App() {
  return (
    <div className="App">
      <header className="App-header">
        <EasyCrop  />
      </header>
    </div>
  );
}

export default App;
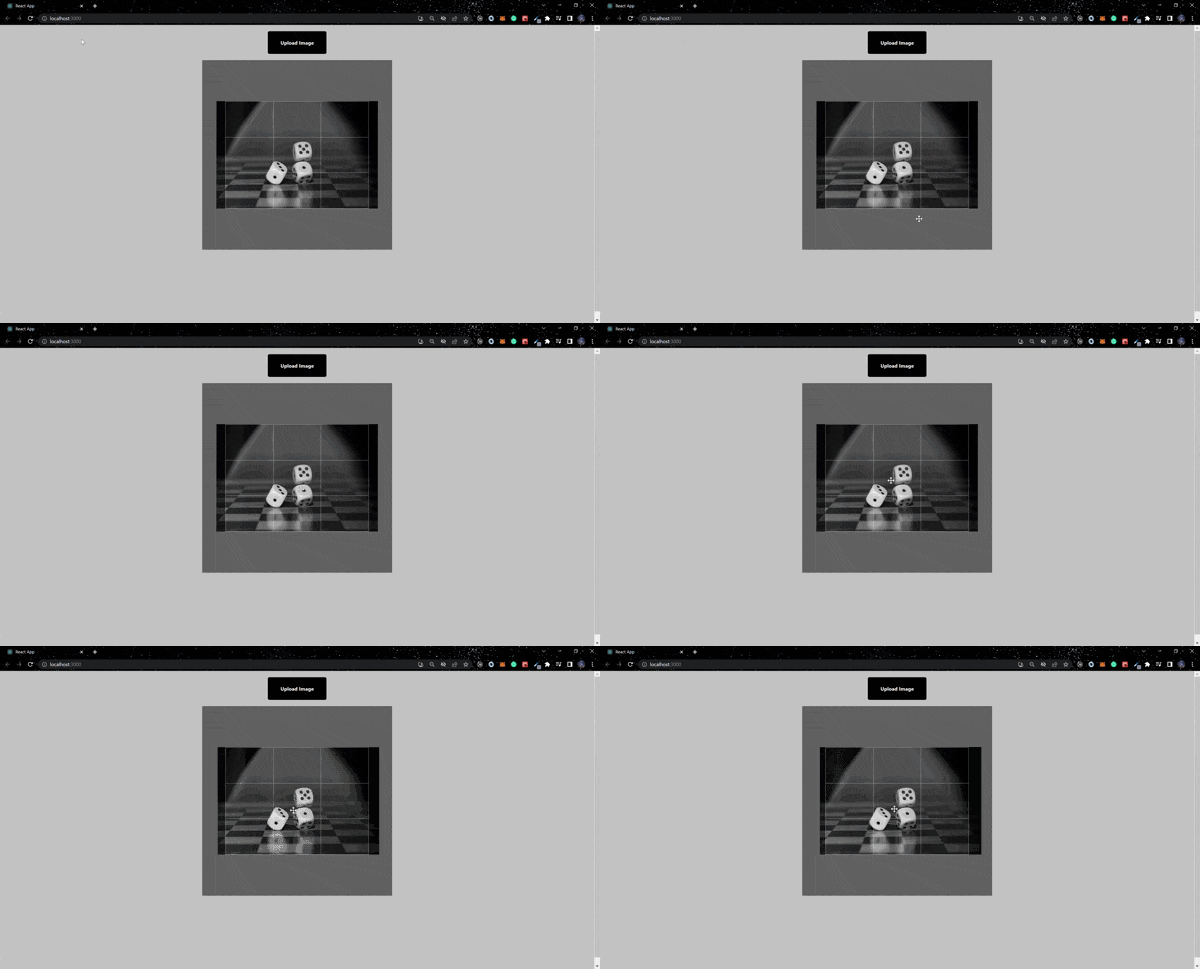
The drag functionality is enabled by default. Moving forward, we will implement other functionalities react-easy-crop has to offer.
Aspect Ratio
The aspect ratio represents the image's width and height. It can be manipulated by adding the aspect prop to the Cropper component.
The prop's value syntax is width/height, and its default value is 4/3.
We will modify the value to 5/5 for our' Cropper' component.
<Cropper
  image="https://cdn.pixabay.com/photo/2016/07/07/16/46/dice-1502706__340.jpg"
  crop={crop}
  aspect={5 / 5}
  onCropChange={setCrop}
/>
Crop Shape
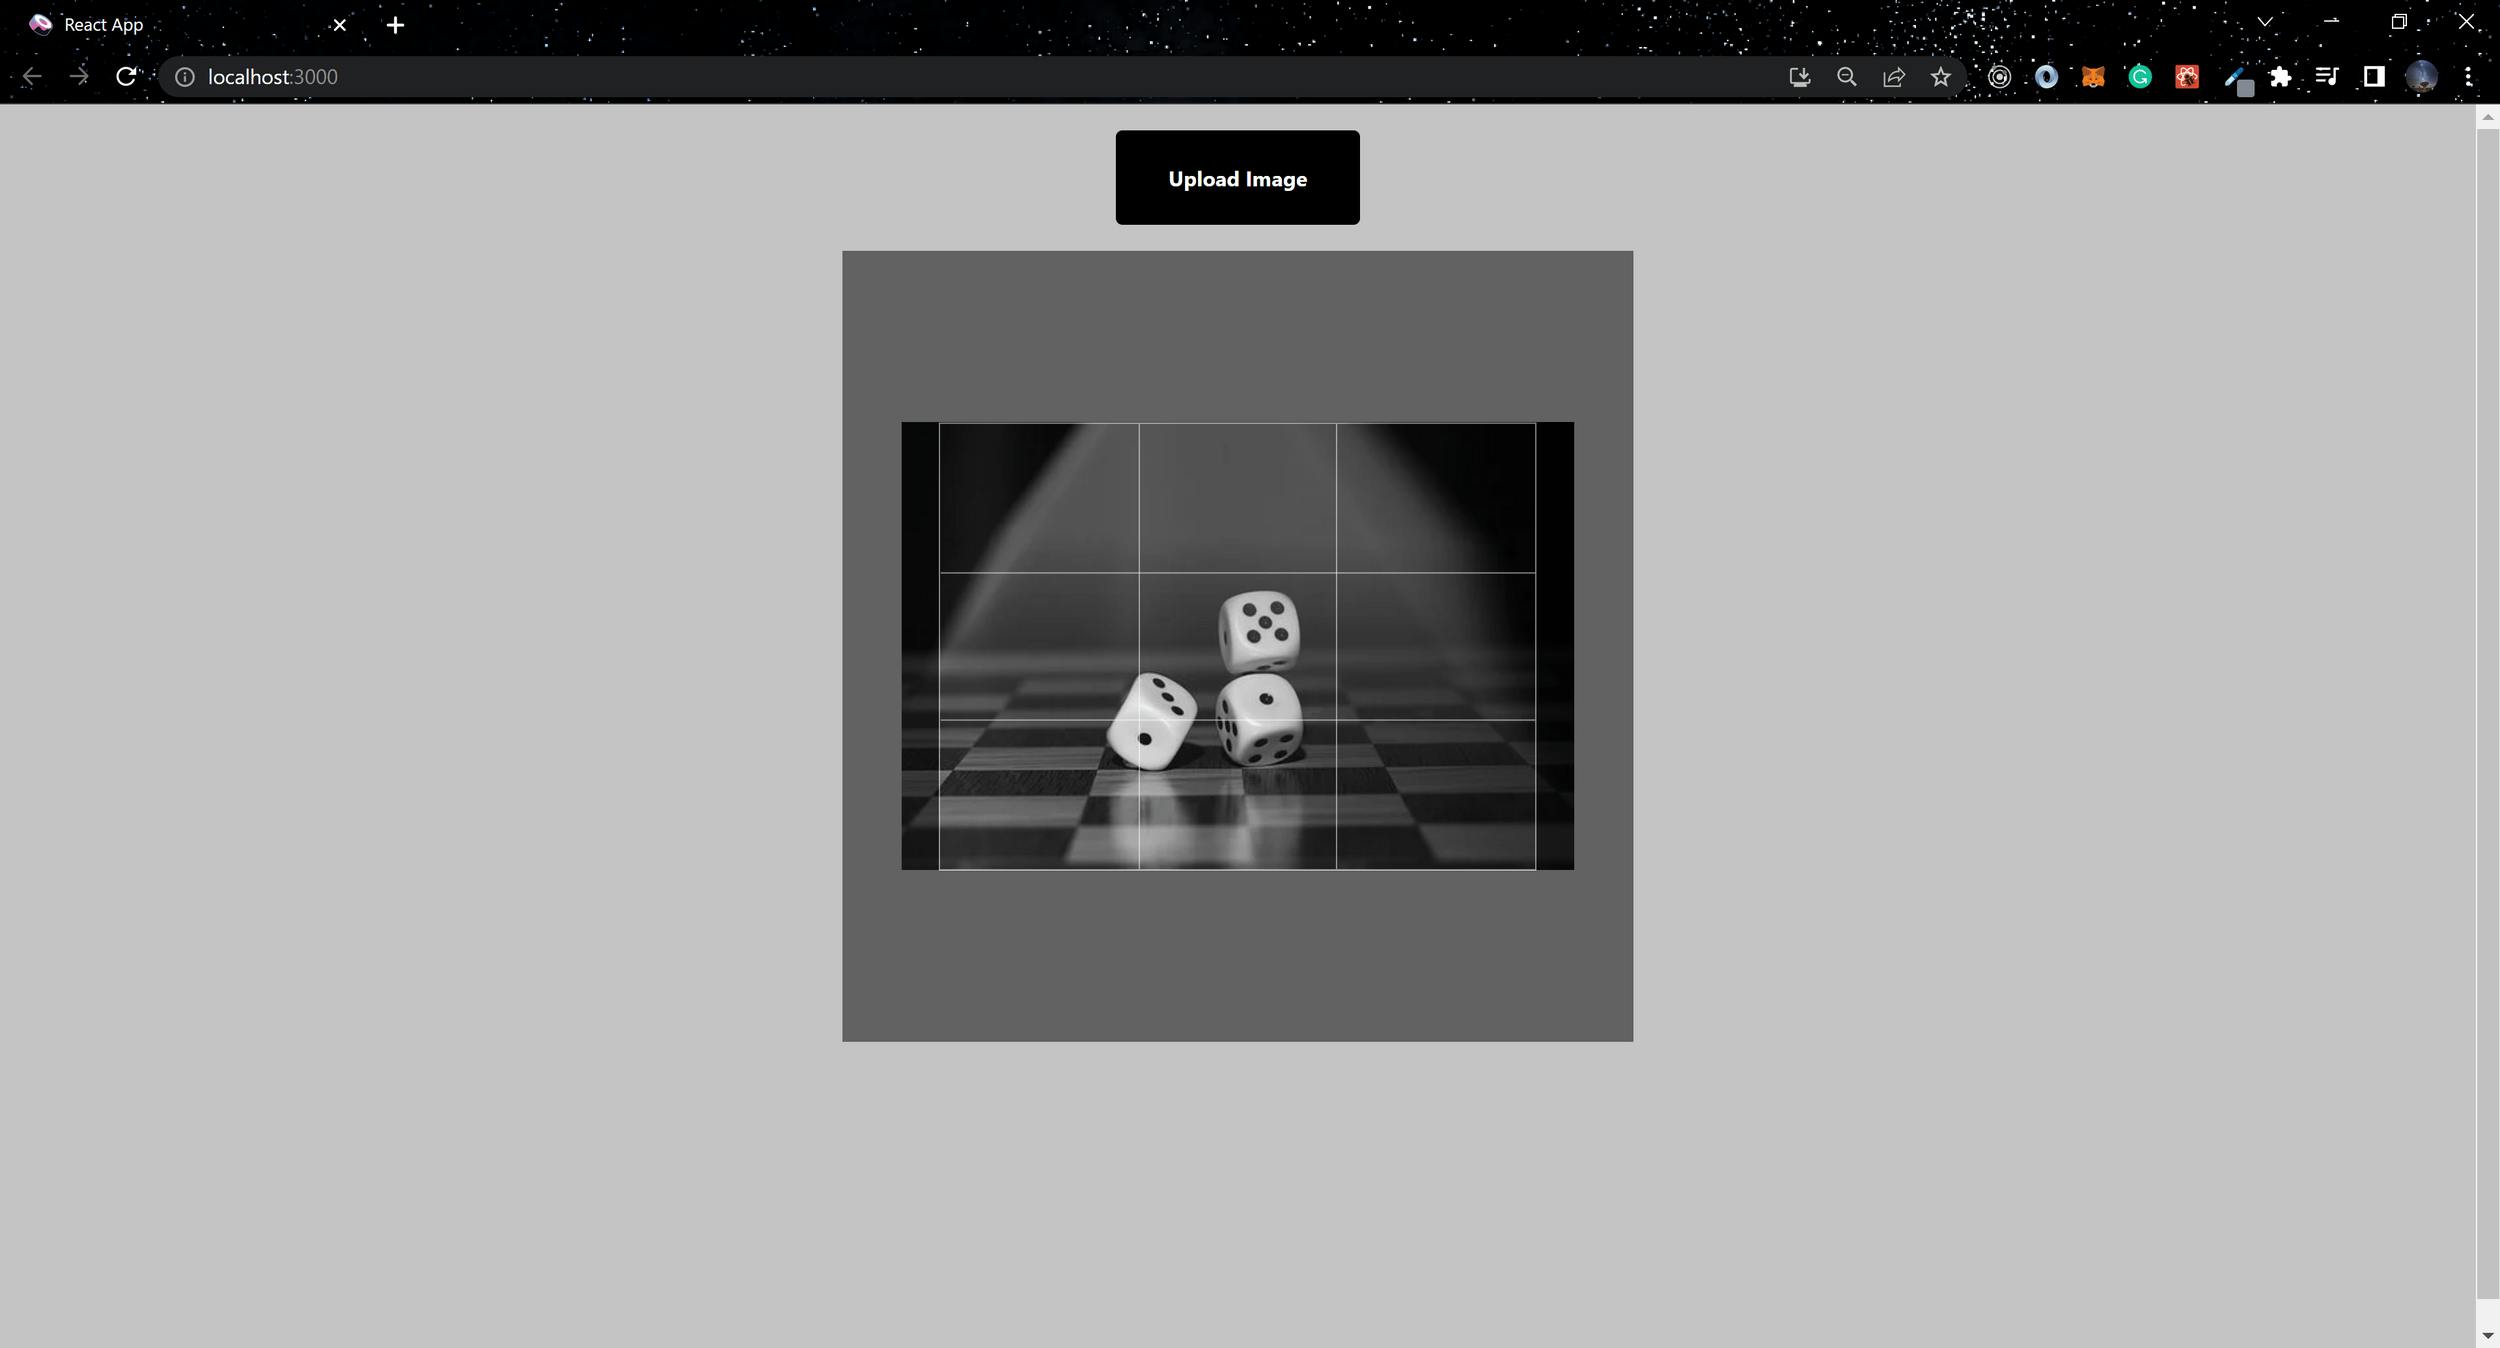
The image shape can be changed by adding the cropShape prop. This prop accepts a string of rect or round. The default value is rect; to make the image rounded, we will change the value of cropShape to round.
<Cropper
  image="https://cdn.pixabay.com/photo/2016/07/07/16/46/dice-1502706__340.jpg"
  crop={crop}
  aspect={4 / 4}
  cropShape="round"
  onCropChange={setCrop}
/>
Zoom
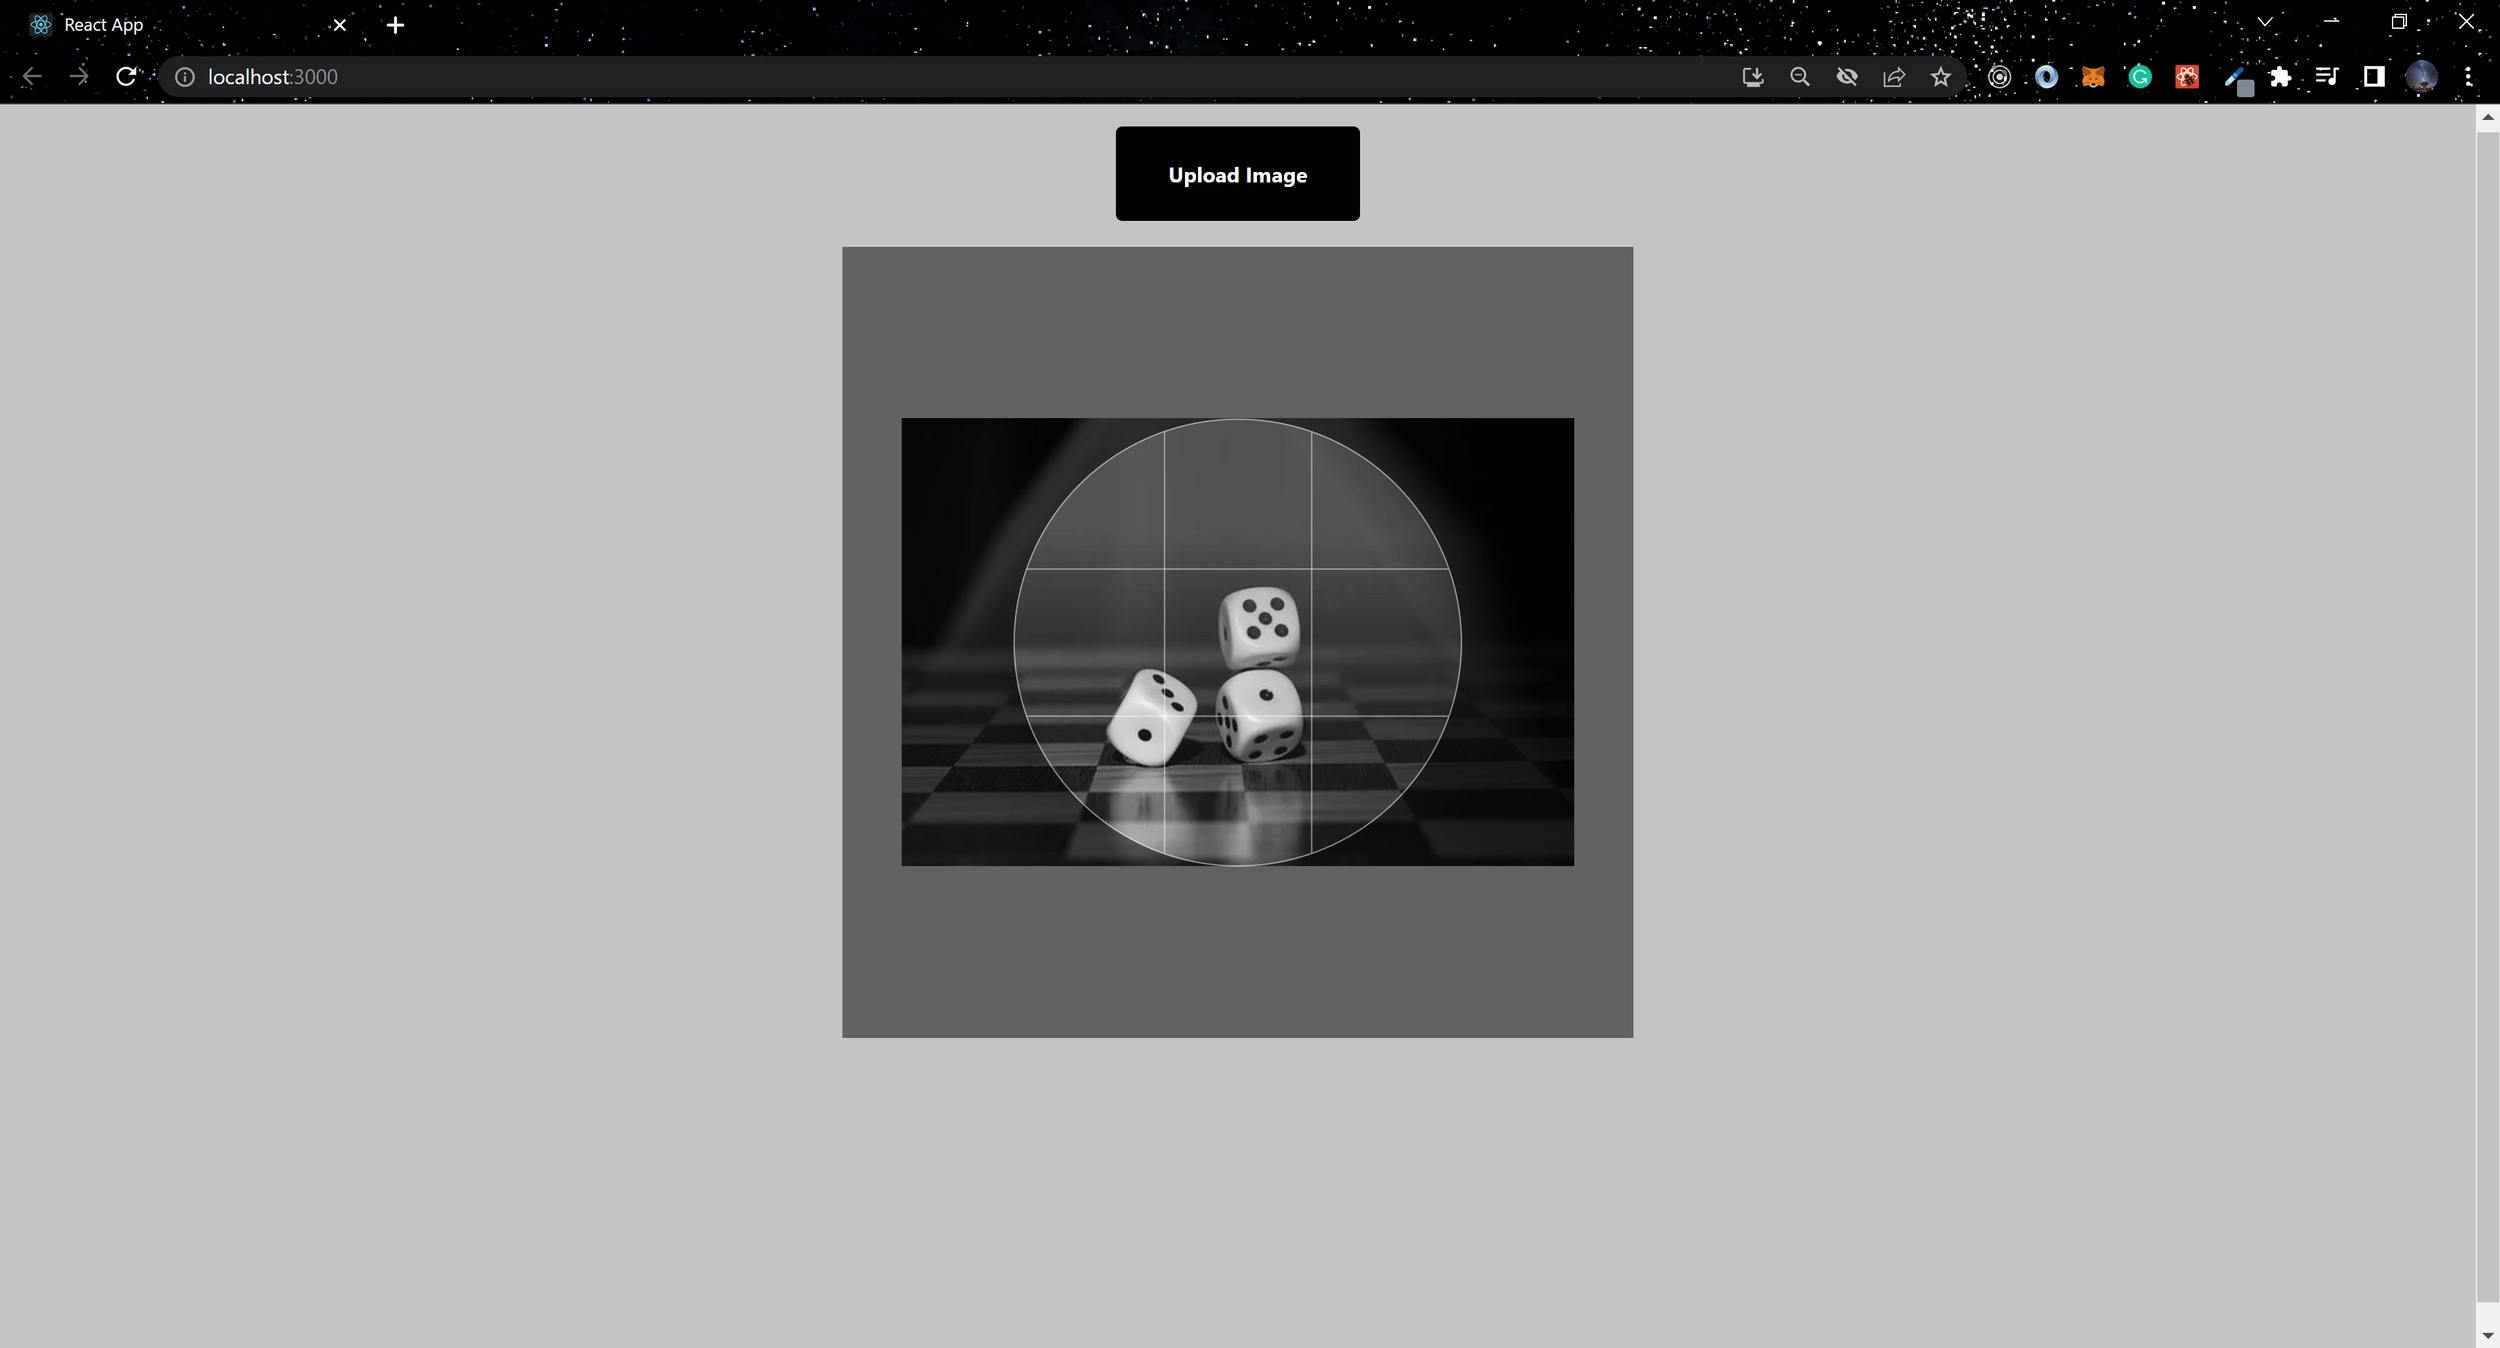
To activate the zoom functionality, react-easy-crop offers five props. These props include zoom, zoomWithScroll, zoomSpeed, minZoom, and maxZoom.
import React, { useState } from "react";
import Slider from "@material-ui/core/Slider";
import Cropper from "react-easy-crop";

const EasyCrop = () => {
  const [crop, setCrop] = useState({ x: 0, y: 0 });
  const [zoom, setZoom] = useState(1);

  return (
    <div>
      <div className="crop-container">
        <Cropper
          image="https://cdn.pixabay.com/photo/2016/07/07/16/46/dice-1502706__340.jpg"
          crop={crop}
          zoom={zoom}
          zoomSpeed={4}
          maxZoom={3}
          zoomWithScroll={true}
          showGrid={true}
          aspect={4 / 3}
          onCropChange={setCrop}
          onZoomChange={setZoom}
        />
      </div>
      <div className="controls">
        <label>
          Zoom
          <Slider
            value={zoom}
            min={1}
            max={3}
            step={0.1}
            aria-labelledby="zoom"
            onChange={(e, zoom) => setZoom(zoom)}
            className="range"
          />
        </label>
      </div>
    </div>
  );
};

export default EasyCrop;
Rotation
Rotation functionality can be added using two props: rotation and onRotationChange.
import React, { useState } from "react";
import Slider from "@material-ui/core/Slider";
import Cropper from "react-easy-crop";

  const EasyCrop = () => {
  const [crop, setCrop] = useState({ x: 0, y: 0 });
  const [zoom, setZoom] = useState(1);
  const [rotation, setRotation] = useState(0);

  return (
     <div>
        <div className="crop-container">
          <Cropper
            image='https://cdn.pixabay.com/photo/2016/07/07/16/46/dice-1502706__340.jpg'
            crop={crop}
            rotation={rotation}
            zoom={zoom}
            zoomSpeed={4}
            maxZoom={3}
            zoomWithScroll={true}
            showGrid={true}
            aspect={4 / 3}
            onCropChange={setCrop}
            onZoomChange={setZoom}
            onRotationChange={setRotation}
          />
        </div>
        <div className="controls">
          <label>
            Rotate
            <Slider
              value={rotation}
              min={0}
              max={360}
              step={1}
              aria-labelledby="rotate"
              onChange={(e, rotation) => setRotation(rotation)}
              className="range"
            />
          </label>
        </div>
      </div>
  );
};

export default EasyCrop;
Open Source Session Replay
OpenReplay is an open-source, session replay suite that lets you see what users do on your web app, helping you troubleshoot issues faster. OpenReplay is self-hosted for full control over your data.

Start enjoying your debugging experience - start using OpenReplay for free.
Display cropped image
Next, using the supported functionalities that react-easy-crop offers, we will implement the file upload feature into the application to make it dynamic. To do this, we will first create a component named Crop.js and paste the code block below.
export const createImage = (url) =>
  new Promise((resolve, reject) => {
    const image = new Image();
    image.addEventListener("load", () => resolve(image));
    image.addEventListener("error", (error) => reject(error));
    image.setAttribute("crossOrigin", "anonymous");
    image.src = url;
  });

export function getRadianAngle(degreeValue) {
  return (degreeValue * Math.PI) / 180;
}

export function rotateSize(width, height, rotation) {
  const rotRad = getRadianAngle(rotation);

  return {
    width:
      Math.abs(Math.cos(rotRad) * width) + Math.abs(Math.sin(rotRad) * height),
    height:
      Math.abs(Math.sin(rotRad) * width) + Math.abs(Math.cos(rotRad) * height),
  };
}

export default async function getCroppedImg(
  imageSrc,
  pixelCrop,
  rotation = 0,
  flip = { horizontal: false, vertical: false }
) {
  const image = await createImage(imageSrc);
  const canvas = document.createElement("canvas");
  const ctx = canvas.getContext("2d");

  if (!ctx) {
    return null;
  }

  const rotRad = getRadianAngle(rotation);

  const { width: bBoxWidth, height: bBoxHeight } = rotateSize(
    image.width,
    image.height,
    rotation
  );

  // set canvas size to match the bounding box
  canvas.width = bBoxWidth;
  canvas.height = bBoxHeight;

  ctx.translate(bBoxWidth / 2, bBoxHeight / 2);
  ctx.rotate(rotRad);
  ctx.scale(flip.horizontal ? -1 : 1, flip.vertical ? -1 : 1);
  ctx.translate(-image.width / 2, -image.height / 2);

  ctx.drawImage(image, 0, 0);

  const data = ctx.getImageData(
    pixelCrop.x,
    pixelCrop.y,
    pixelCrop.width,
    pixelCrop.height
  );


  canvas.width = pixelCrop.width;
  canvas.height = pixelCrop.height;

  ctx.putImageData(data, 0, 0);

  return new Promise((resolve, reject) => {
    canvas.toBlob((file) => {
      resolve(URL.createObjectURL(file));
    }, "image/jpeg");
  });
}
The subsequent stage involves modifying the EasyCrop.js component, making the image prop dynamic.
import { useCallback, useState } from "react";
import Slider from "@material-ui/core/Slider";
import Cropper from "react-easy-crop";
import getCroppedImg from "./Crop";

const EasyCrop = ({ image }) => {
  const [crop, setCrop] = useState({ x: 0, y: 0 });
  const [zoom, setZoom] = useState(1);
  const [rotation, setRotation] = useState(0);
  const [croppedAreaPixels, setCroppedAreaPixels] = useState(null);
  const [croppedImage, setCroppedImage] = useState(null);

  const onCropComplete = useCallback((croppedArea, croppedAreaPixels) => {
    setCroppedAreaPixels(croppedAreaPixels);
  }, []);

  const showCroppedImage = useCallback(async () => {
    try {
      const croppedImage = await getCroppedImg(
        image,
        croppedAreaPixels,
        rotation
      );
      console.log("donee", { croppedImage });
      setCroppedImage(croppedImage);
    } catch (e) {
      console.error(e);
    }
  }, [croppedAreaPixels, rotation, image]);

  const onClose = useCallback(() => {
    setCroppedImage(null);
  }, []);

  return (
    <div>
      <button
        style={{
          display: image === null || croppedImage !== null ? "none" : "block",
        }}
        onClick={showCroppedImage}
      >
        Crop
      </button>
      <div
        className="container"
        style={{
          display: image === null || croppedImage !== null ? "none" : "block",
        }}
      >
        <div className="crop-container">
          <Cropper
            image={image}
            crop={crop}
            rotation={rotation}
            zoom={zoom}
            zoomSpeed={4}
            maxZoom={3}
            zoomWithScroll={true}
            showGrid={true}
            aspect={4 / 3}
            onCropChange={setCrop}
            onCropComplete={onCropComplete}
            onZoomChange={setZoom}
            onRotationChange={setRotation}
          />
        </div>
        <div className="controls">
          <label>
            Rotate
            <Slider
              value={rotation}
              min={0}
              max={360}
              step={1}
              aria-labelledby="rotate"
              onChange={(e, rotation) => setRotation(rotation)}
              className="range"
            />
          </label>
          <label>
            Zoom
            <Slider
              value={zoom}
              min={1}
              max={3}
              step={0.1}
              aria-labelledby="zoom"
              onChange={(e, zoom) => setZoom(zoom)}
              className="range"
            />
          </label>
        </div>
      </div>
      <div className="cropped-image-container">
        {croppedImage && (
          <img className="cropped-image" src={croppedImage} alt="cropped" />
        )}
        {croppedImage && <button onClick={onClose}>close</button>}
      </div>
    </div>
  );
};

export default EasyCrop;
Additionally, we make the final changes to the App.js component, including the file upload feature.
import React, { useState } from "react";
import EasyCrop from "./EasyCrop";

function App() {
  const [image, setImage] = useState(null);

  const handleImageUpload = async (e) => {
    setImage(URL.createObjectURL(e.target.files[0]));
  };

  return (
    <div className="App">
      <header className="App-header">
        <label className="_coverImage-holder">
          Upload Image
          <input
            type="file"
            name="cover"
            onChange={handleImageUpload}
            accept="img/*"
            style={{ display: "none" }}
          />
        </label>
        <EasyCrop image={image}  />
      </header>
    </div>
  );
}

export default App;
Conclusion
React-easy-crop is efficient in manipulating images in React applications. It offers the flexibility to achieve desired results when altering images for the web. Here are links to the source code and live app.
A TIP FROM THE EDITOR: On the topic of working with images, our React 18 - What's New and How it Will Benefit Developers article highlights some advantages of the latest version of React.
