

Deployment is the process of transferring our code from a source control system to a hosting platform, where it is kept and can be made available to users as an application. Usually, this is carried out on a local server or in the cloud.
In this article, we'll discuss Netlify, why to use it, and how to manage the needed deployment.
What Is Netlify, and why use it?
Netlify is a hosting platform that automatically creates, distributes, maintains, and serves your front-end websites and online applications. Other features include split testing, serverless functions, and form processing.
The advantages of Netlify are numerous, and the following are only a few of them:
Netlify saves money over time because it requires less money to set up and maintain a static website.
Netlify lets you preview any deployments you make or want to make, so you and your team can see what changes will look like in production without having to deploy them on your current website.
Netlify boosts site speed through global distribution and automatic pre-rendering.
We can quickly deploy only a specific branch of our Git project - there are several advantages to doing so, including testing new features or quickly seeing how a pull request will affect your website.
Netlify makes it easy to deploy a website, especially if you utilize GitHub, GitLab, or Bitbucket for continuous deployment.
Netlify's built-in DNS management solution makes it simple to launch websites.
Getting Started
In this guide, we'll deploy a data visualization application to Netlify. It is a simple React app that renders data in the form of visuals like pie charts and bar charts with the help of the react-google-chart package.
Let's go over some of the requirements for using Netlify before we begin:
- You must have an account with any Git provider, such as GitHub, GitLab, or Bitbucket.
- Npm is preinstalled with Node or Yarn, so if you have Node, you have npm.
- However, you may find it helpful to have a basic understanding of the terminal.
Let's Begin….
Push To Github
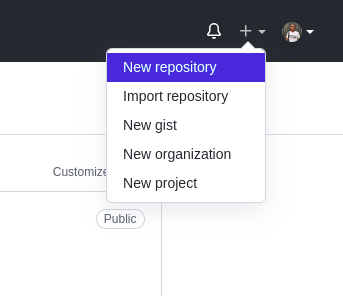
Before we can publish our websites to Netlify, we must publish our React application to GitHub using the command line in our terminal. First, let's create a GitHub repository. We'll go to our GitHub page and click on New Repository.
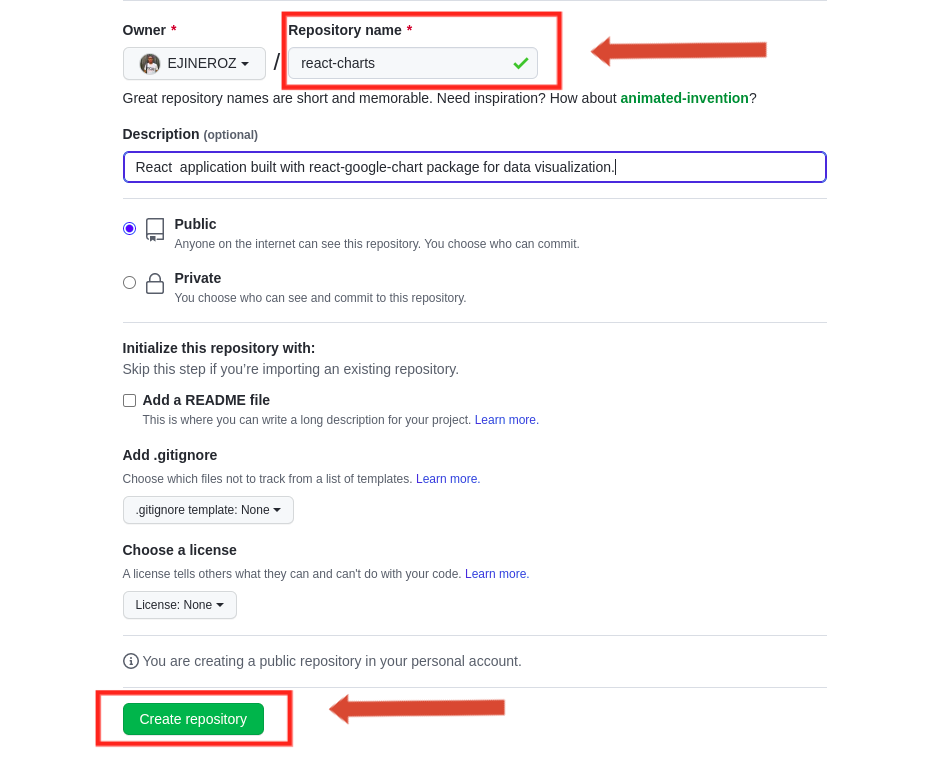
Provide the required information and click Create repository:
Let's get back to the terminal and begin by staging all of our files so we can commit them to the repository. Next, use the following instructions to establish a new branch called main:
$ git init
$ git add .
$ git commit -m "first commit"
$ git branch -M main
Once this is complete, we can use the following commands to push our React app to the newly formed remote repository:
$ git remote add origin https://github.com/username/git-repo.git
$ git push -u origin main
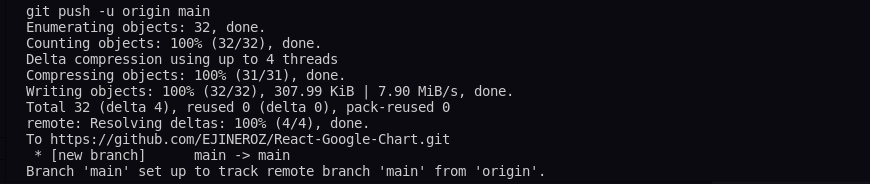
Once all that is done, we'll get a successful message like the one above.
We should reload the repository to see our code! The few main ways to create Netlify installations are as follows. Let's examine each approach individually before comparing them all.
Deploying App To Netlify
Netlify offers a free plan (as seen in the image below). Establish an account or log in using any of the methods provided on the login page.
We'll deploy our app to Netlify using both the drag-and-drop approach and the project import method after logging in from our Netlify dashboard.
Deploy React App With Drag and Drop
We'll start by creating a build version of our react application by running the following command:
$ npm run build
NB: The reason for running the
npm run buildcommand is the fact that the drag and drop methods only work for static files, which are HTML, CSS, and JavaScript, which can be obtained when running the above-stated command.
The production-ready files (the ones we'll use for the drag-and-drop upload to Netlify) will be found in our build folder, which will be created once this is finished successfully.
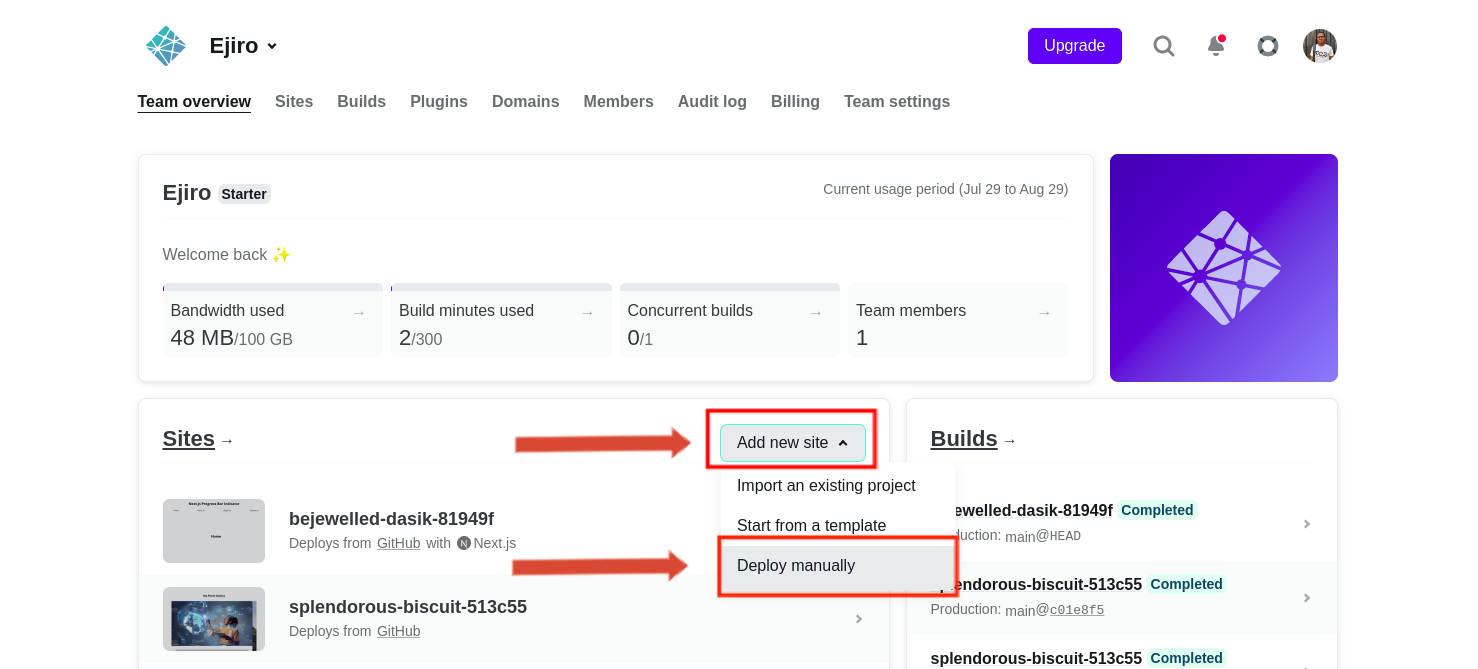
On our Netlify Overview page, choose "Add New Site"> "Deploy Manually." Doing this will send us to the page where we will drop our static files. As long as we are logged in, we may also view the drop page from this location.
The created build folder would then be dropped, as seen below, to cause an immediate deployment to a live URL.
Open Source Session Replay
OpenReplay is an open-source, session replay suite that lets you see what users do on your web app, helping you troubleshoot issues faster. OpenReplay is self-hosted for full control over your data.

Start enjoying your debugging experience - start using OpenReplay for free.
Import Project To Netlify
Drag and drop deployment of a React app has been demonstrated thus far. We can complete everything manually by importing the project from your Git provider into our Netlify portal.
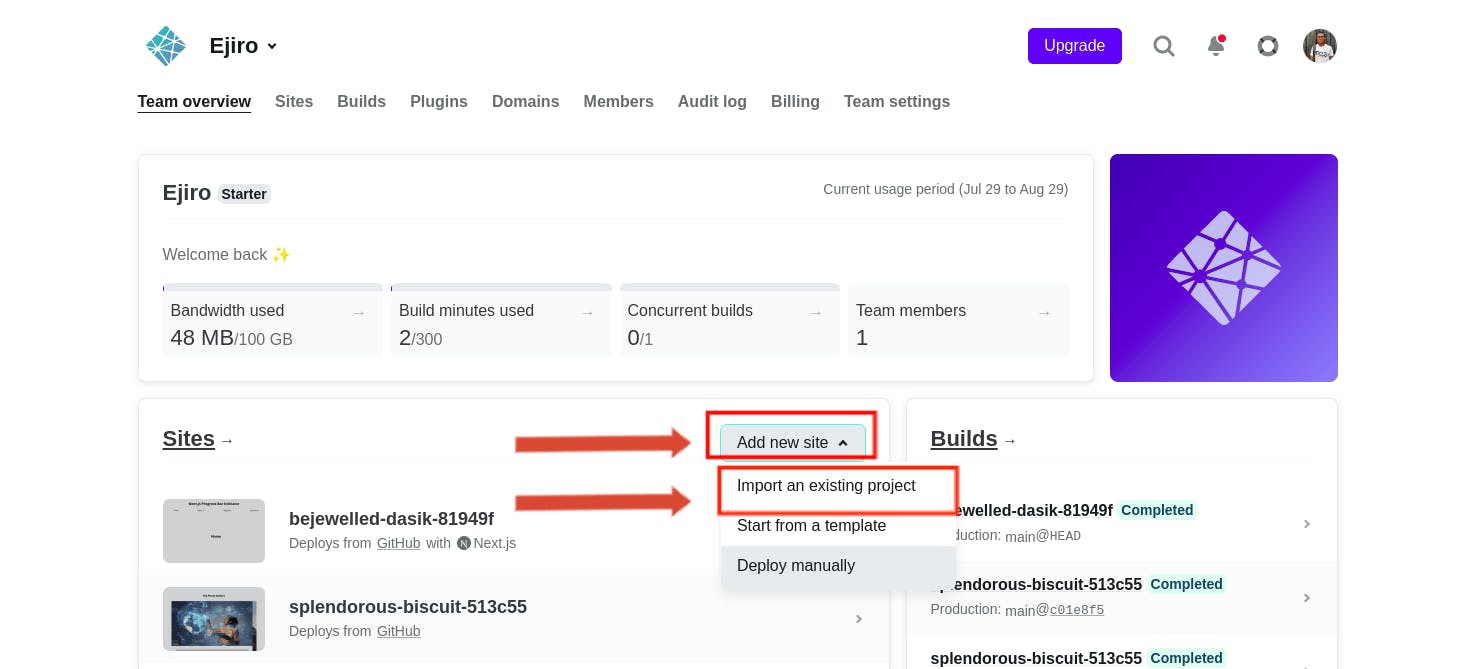
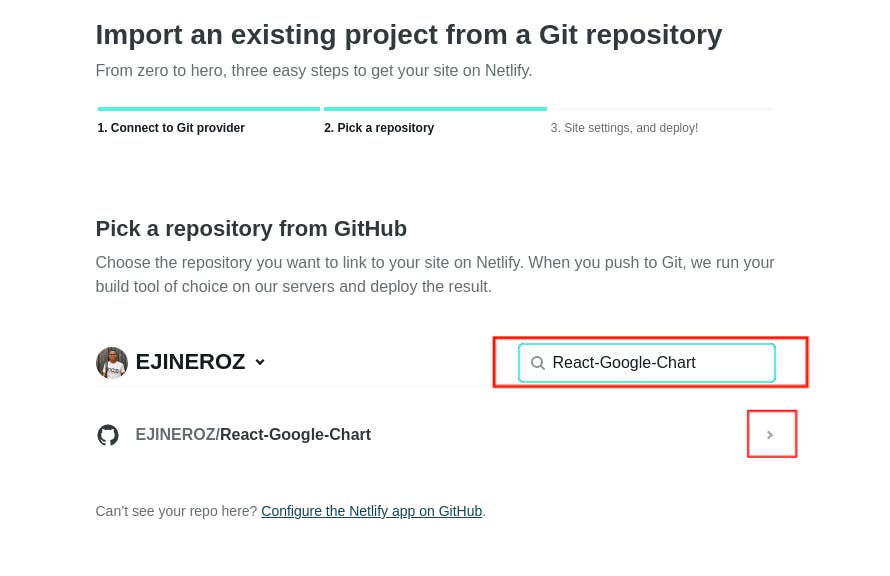
In this method, visiting our Netlify team website and selecting "Add new site"> "Import an existing project" as seen below, would be the first step.
After that, it will direct us to a screen where we may choose the Git provider that hosts the source code for your website or application. In our situation, we chose GitHub. Now that the GitHub repository has been allowed, we may search for it:
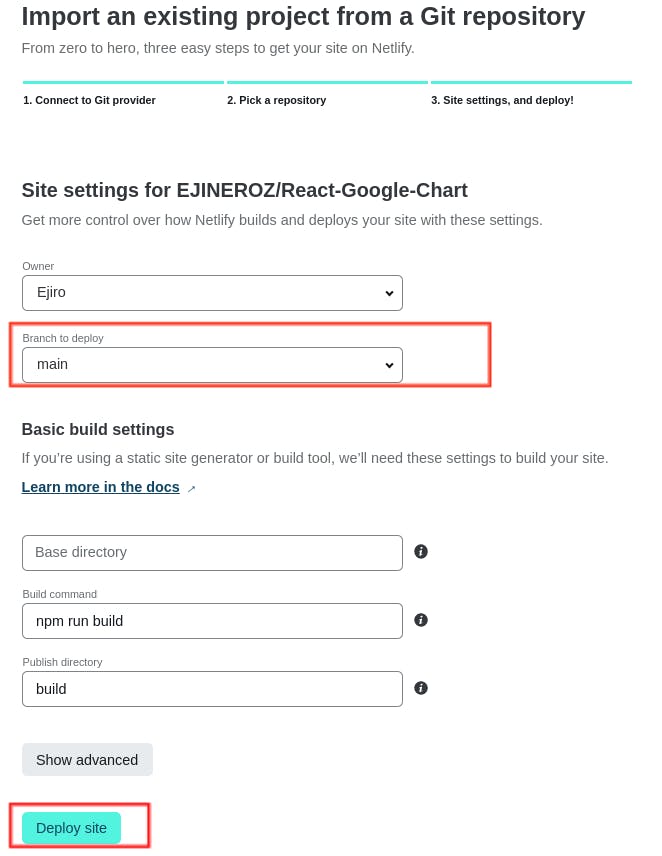
We can take care of deployment now that we've located the project. This leads us to a screen where, for instance, we may indicate which branch we want to deploy if we're testing a particular version. Additionally, we may give the build command and build file location on this page (this is automatically handled by Netlify, except if we wish to change it). After finishing, we would press the "Deploy Site" button.
We ought to receive a Live URL after our deployment is successful. On the settings overview page, we may change the domain settings, check deployment logs, and other settings.
Deploy React App To Netlify With Netlify CLI
We can deploy our app straight from the command line using Netlify's command-line interface (CLI), and we can set up continuous deployment so that Netlify deploys new versions of our site whenever we push commits to the associated Git repository.
Installing the CLI with the following command would be the first step:
$ npm install netlify-cli -g
Netlify will be installed globally with this command. Run the following command from the project's root directory if you want to locally install Netlify CLI:
$ npm install netlify-cli --save-dev
Running the following command from any directory is the first step in deploying our React app using Netlify CLI. To authenticate and get an access token.
$ netlify login
To authenticate us and give us access to the Netlify CLI, this will open a browser tab:

Using the deploy command, we can now deploy our app when this has been successful:
$ netlify deploy
This will raise the following inquiries about the setup:

Click on "create & configure a new site" since it's the first time we're deploying to Netlify:

You'll be prompted to choose the "team" as we as the "site name" (you change that later if you want).

Then, after it has been developed and deployed, we can access our site by copying and pasting the following URL into a browser:
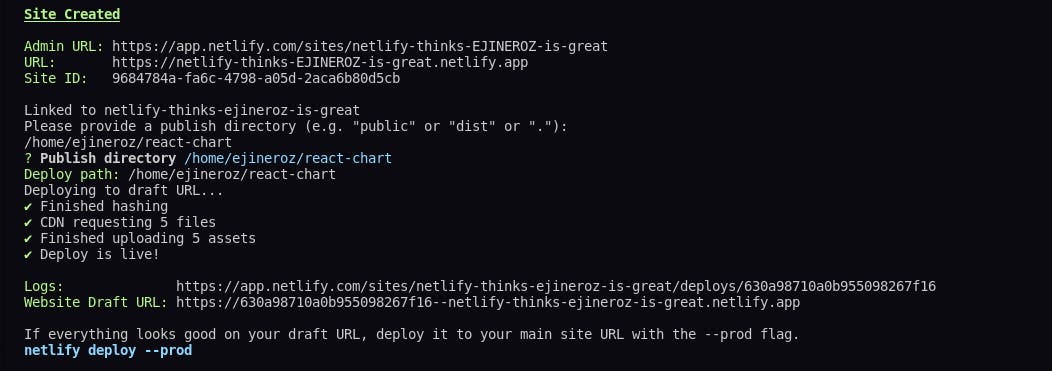
If everything appears to be in order on your draft URL, deploy it to your primary site URL using the —prod flag, advises our console. This enables us to preview any deployment, allowing our team and I to see how changes will appear on the live site without having to deploy them first.
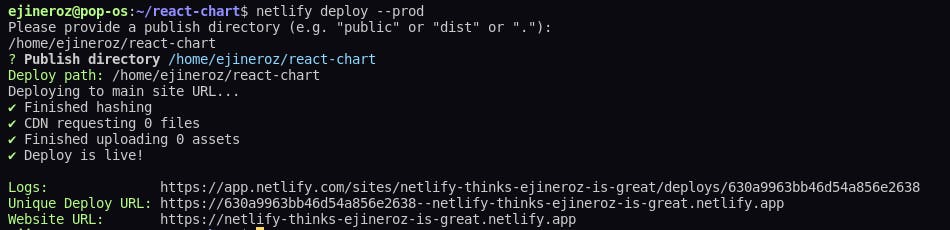
Therefore, we'll use the following command to publish our app:
$ netlify deploy --prod
Two crucial URLs will be provided to us once this has been successfully completed: the Unique Deploy URL, which stands in for the specific URL for each deployment, and the Live URL, which always shows your most recent deployment:
Encounter An Error
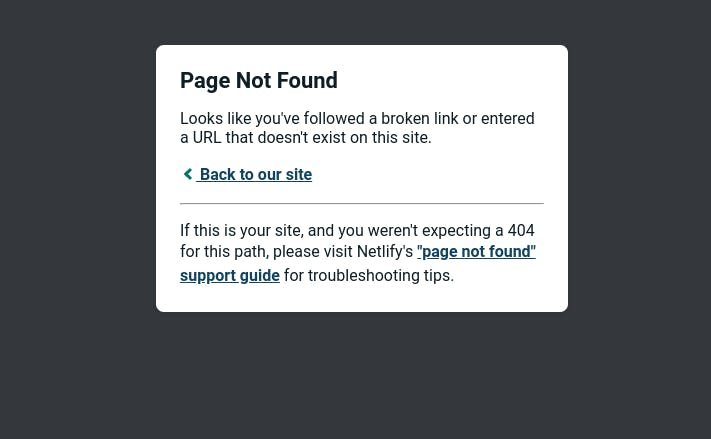
We must set up redirects and rewrite URL rules if we're using a router like React Router. Because whenever we click on any navigation item to change the page (route) and refresh the browser, we receive a 404 error page similar to the one below.
As a result, Netlify makes it very simple to set up redirects and rewrite rules for our URLs. To make this happen automatically, we'll put a file called _redirects in the public folder and add it to the build folder of our app. The file must have the following rewrite rule:
/* /index.html 200
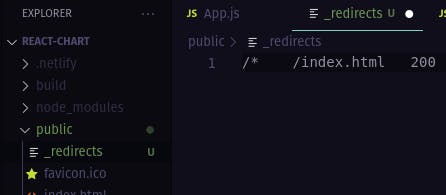
No matter what URL the browser queries, the redirect rule mentioned above will deliver the index.html rather than returning a 404. Redirect rules can be added to your netlify.toml configuration file or the _redirects file.
Best Option For Deployment
The first three techniques all aid in deployment, but the latter two also aid in other features like continuous deployment, deploying particular branches, managing testing, etc.
The drag-and-drop interface is helpful when you want to fast publish build files without uploading your code to any Git providers. Under the hood, the Netlify Dashboard and CLI carry out the same tasks. You won't have to deal with needless navigation because the Netlify CLI accepts all commands through a clear terminal, and you can anticipate it changing less frequently than a webpage.
The ideal option depends on the developer's particular preferences, with many favoring import projects to Netlify method because of its friendly UI for most junior/student developers.
Conclusion
Deployment is the process of transferring our code from a source control system to a hosting platform, where it is kept and can be made available to users as an application. Usually, this is carried out on a local server or in the cloud.
This tutorial demonstrated three simple methods for quickly deploying a React project to Netlify: the drag and drop UI, the Netlify CLI, and the Netlify Dashboard. We also learned how to resolve the 404 problems when a router is used in a React project.
Resources
A TIP FROM THE EDITOR: If you want to deploy a Vue application instead, look at our Step-by-step Guide To Building and Deploying a Vue JS App with Netlify article.
