Control Dark Mode In React Native Using The Context API

Modern applications allow users to change themes, a common feature called Dark Mode. This will enable users to choose the application’s appearance preferences. Whether you’re on team light or team dark, it’s becoming more usual for apps to support these two color schemes. In this article, we will control Light and Dark modes in React Native using Context API.
What is the Context API?
Context allows you to transfer data through the components hierarchy without manually passing props down at each level. Context API allows you to transfer state between components without prop digging and cluttering your components with methods and states.
The concept of Light and Dark modes in React Native can still be achieved using Redux. But why choose Context API over Redux?
Context is primarily designed to share information data that can be regarded as “global” for a React components hierarchy. This makes Context a great candidate to manage states such as current authenticated user, theme, or preferred language. These data are regarded as global since they are accessed by almost every component tree in your application.
Setting up Context
Proceed to your preferred working directory. Run the following command to initialize a React Native application using Expo:
npx create-expo-app react-native-mode-switch
Proceed to the newly created directory:
cd react-native-mode-switch
Start the development server to test if everything is working as expected. You should be served with a Hello World version of a React Native application:
npm run android ## for android
npm run ios ## for ios
Let’s now create a React Native store. This store will use Context to save user theme preferences. This way, the application can persist user choices and remember them when the user revisits the application.
In the project root directory, create a directory named store. Inside the store directory, create a context.js file to hold the context logic. In the context.js file:
- Import the necessary module:
import {createContext,useState} from 'react';
Ensure the createContext is imported to access the method and execute a Context state.
- Define the app context as follows:
const AppContext = createContext();
- Define the application context provider function:
const AppContextProvider = ({children}) => {
    const [theme,setTheme] = useState('light');
    return (
        <AppContext.Provider value={{theme,setTheme}}>
            {children}
        </AppContext.Provider>
    )
}
Here, we are saving the application theme. The application will launch a light theme by default based on the above context provider. Users can, after that, update the theme preferences that will be saved in the application context.
To access the above context provider functions, export the AppContext and AppContextProvider as follows:
export {
    AppContext,
    AppContextProvider
}
This way, any application component can access the Context and update the component theme accordingly.
Setting up the components
To demonstrate this example, we will create a component that we can use to allow the user to switch theme modes. In the project root directory, create a components directory. In the components directory, create an App.js file. Edit the App.js file as follows:
- Import the necessary dependencies:
import { StatusBar } from 'expo-status-bar';
import { StyleSheet, Text, View,Button } from 'react-native';
import {useContext} from 'react';
import {AppContext} from '../store/context';
Note: we have imported the defined context to this component. The component will refer to the application store (Context API) to reflect the user selected them as such. Accordingly, the saved theme will be loaded to the application interface whenever the user relaunches the application.
- Define a render function to switch between modes:
export default function App() {
    const {theme,setTheme} = useContext(AppContext);
    const styles = StyleSheet.create({
        container: {
        flex: 1,
        backgroundColor: theme == 'light' ? '#000' : '#fff',
        alignItems: 'center',
        justifyContent: 'center',
        },
        text:{
            color: theme == 'light' ? '#fff' : '#000',
        }
    });
    return (
        <View style={styles.container}>
        <Text style={styles.text}>Open up App.js to start working on your app!</Text>
        <Button onPress={() => theme == 'light' ? setTheme('dark') : setTheme('light')} title={`Change theme`} />
        <StatusBar style= "auto"/>
        </View>
    );
}
As described in the above code, the application will check the saved states to load the saved theme. This component is only returning a small textual highlight. The component will be updated based on the defined theme artifacts above. Once the application checks that it is on the default light mode, the user can use the button to update the component to dark mode and vice versa. Still, these actions will be saved to the application Context to remember these choices.
Open Source Session Replay
OpenReplay is an open-source, session replay suite that lets you see what users do on your web app, helping you troubleshoot issues faster. OpenReplay is self-hosted for full control over your data.
Start enjoying your debugging experience - start using OpenReplay for free.
Controlling dark mode and light mode
We have a store for the Context API and the application’s components. Let’s now execute them at the application entry point.
Navigate to the application root App.js file and edit it as follows:
- Import the necessary modules: This should be the context store and the components used in the application.
import AppComponent from './components/App';
import {AppContextProvider} from './store/context';
- Edit the render function as follows:
export default function App() {
    return (
        <AppContextProvider>
        <AppComponent />
        </AppContextProvider>
    );
}
Testing the application
Let’s now test if the themes are working as expected. Go ahead and run your application and Ensure the development server is running:
npm run android ## for android
npm run ios ## for ios
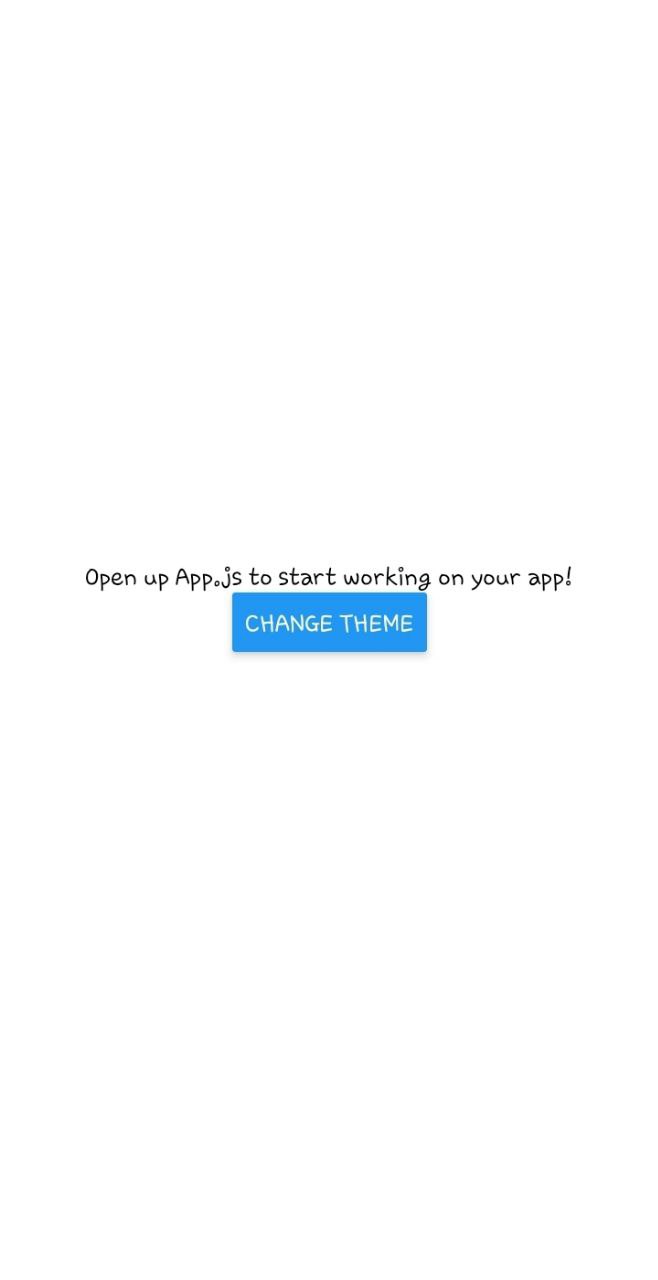
You can interact with the application as follows: The default light theme as launch time:
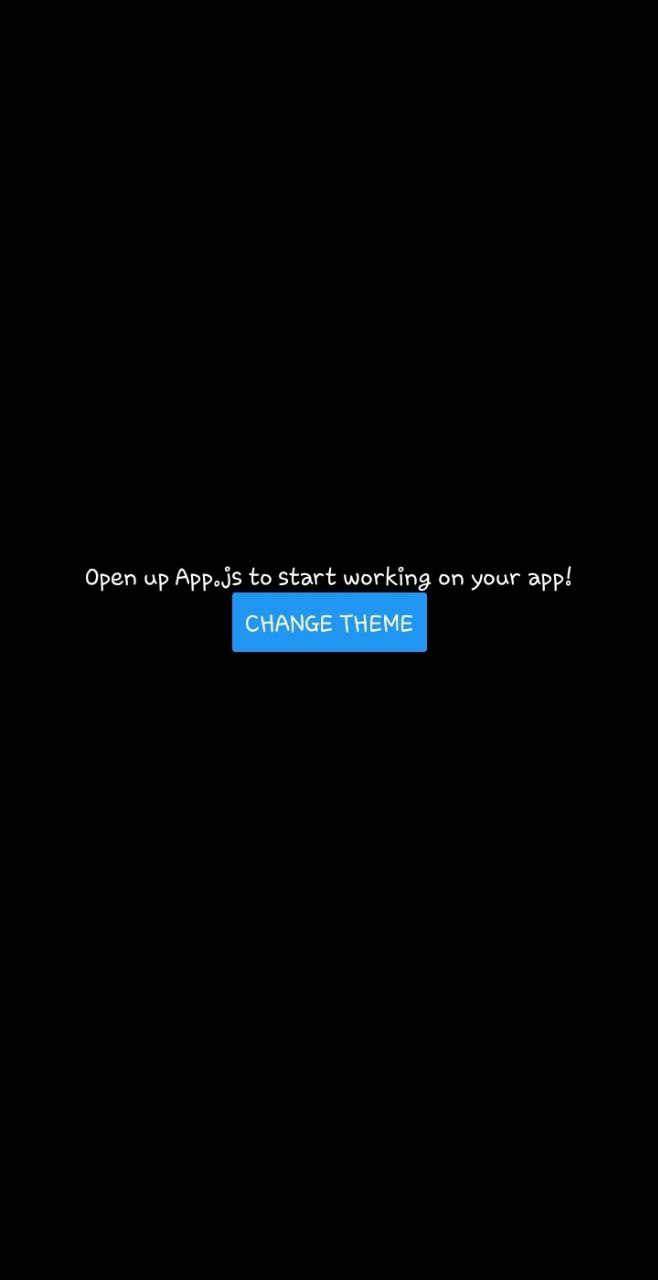
The dark mode once the user changes the application theme:
Conclusion
Dark and light modes are great user preferences for handling user appearance selections. They help users interact with the application without visual impairments that can hinder them at any level. This guide helped you create and implement React Native using Context API. I hope you found the tutorial helpful. Happy coding!
A TIP FROM THE EDITOR: For other ways of handling state, check out our Top 6 React State Management Libraries For 2022 article!


