Constructing an Alan AI-Powered Shopping Cart

by Obinna Okoro
Making your applications and small projects user-friendly and accessible is very important to increase productivity and reduce struggles in achieving your goals. Adding a voice UX is one of the best means to make your applications and small projects very accessible because it allows users to interact with the system through voice or speech commands. Alan Ai is voice UX that not just sounds cool but also allows you to integrate a complete voice interface into your application or small projects with all complexity. The Alan Studios platform performs all the listed processes with its cloud-based infrastructure and lets developers focus mostly on implementing what they want to build an amazing voice experience. In this tutorial, I will show you how to integrate the Alan Ai voice UX into a simple shopping cart to improve its functionalities.
Getting started
The shopping cart will simply contain a few available products, which you can update to your choice with a button to add either of the products manually or using the Alan button to recognize voice commands. So, head to your code editor and create a new React project.
npx create-react-app shopping-cart
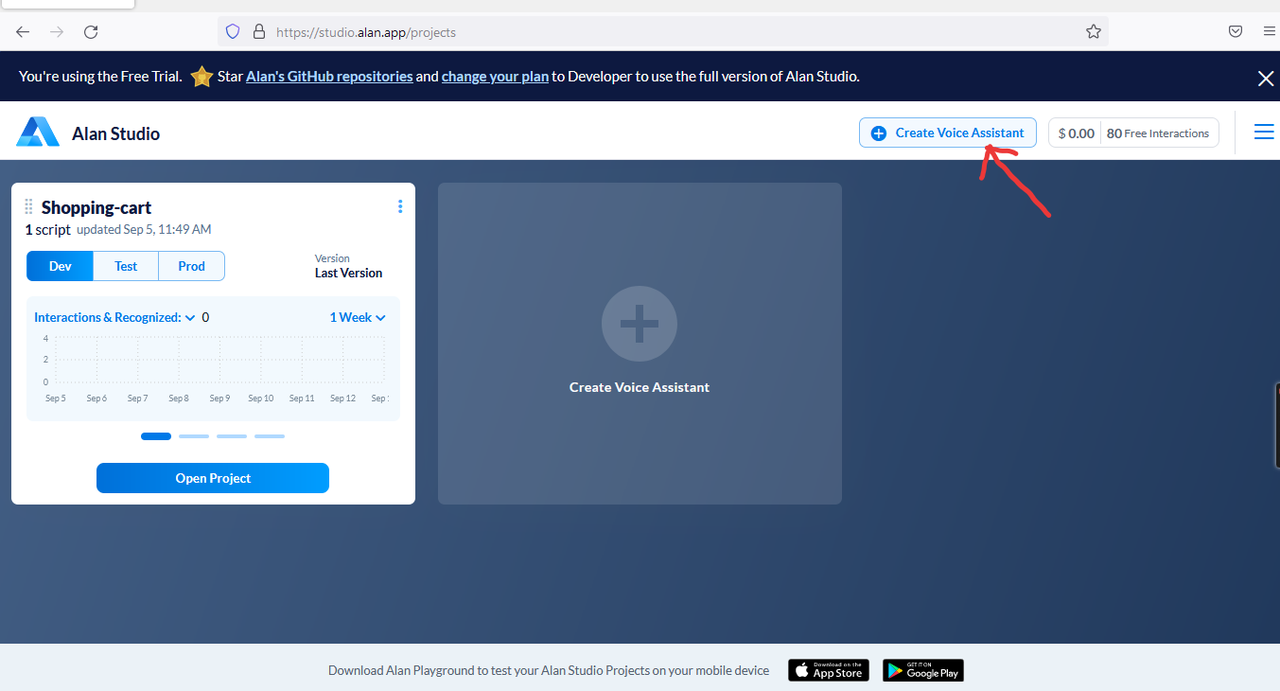
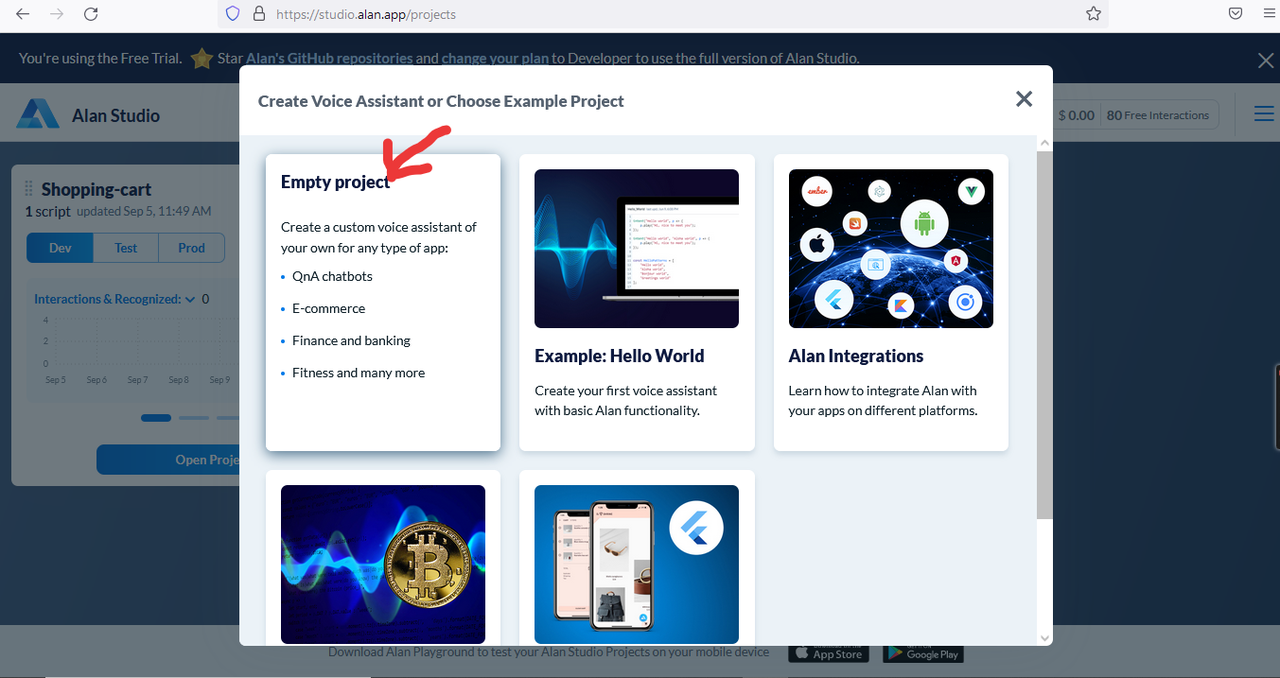
Next, we will integrate the Alan AI button into our project file. To add the Alan AI button to the shopping cart project, you must sign up for Alan's studio. You can click on the embedded link to visit the signup page but if you already have an account, log in. The next thing to do is create a new project by clicking on the voice assistant button and selecting an empty project to give the empty project a name.
Once the new project is open, look at the top and click on the integrations button, then scroll to the bottom view, select react, and copy the SDK web package.
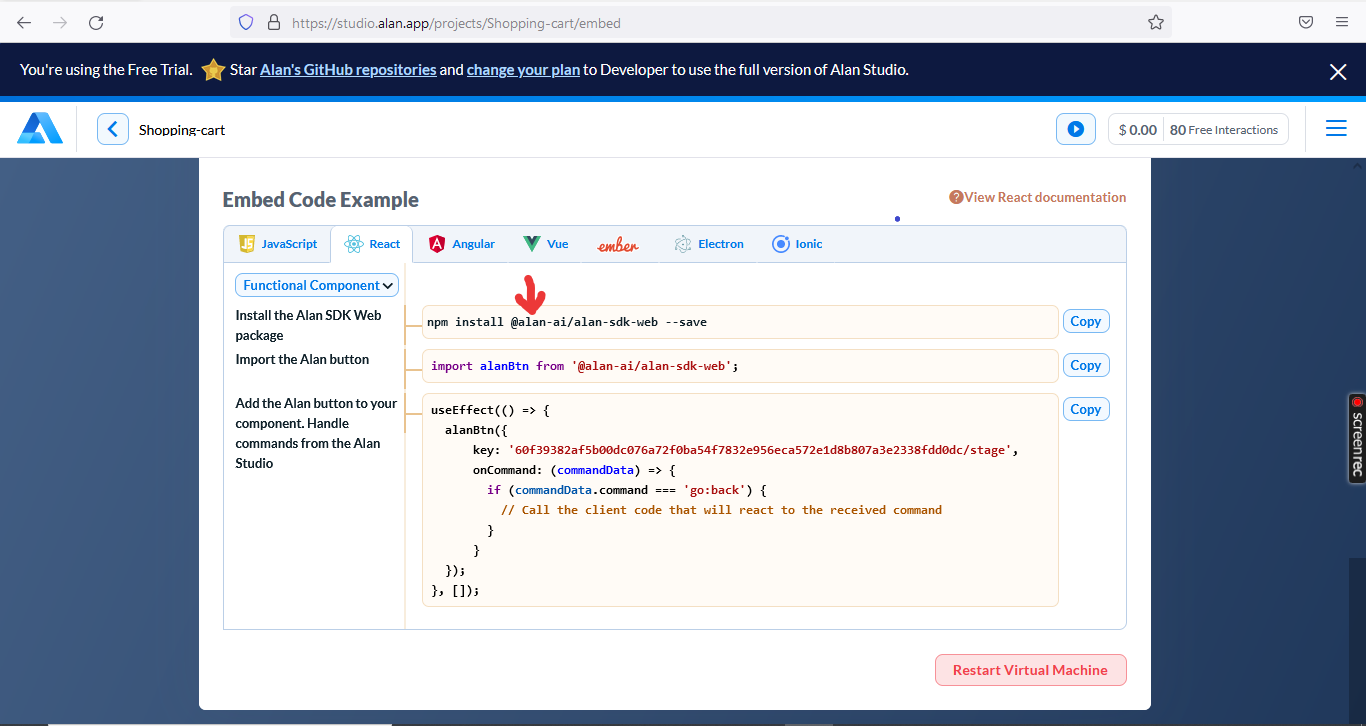
Now head back to your code editor and paste the embedded code into your terminal to install the package. After installing the package, import the Alan package into your file and paste the button command into the file's body. Now, if you head to your web browser, you should see the Alan button below.
import "./App.css";
//import the alan SDK package
import alanBtn from "@alan-ai/alan-sdk-web";
function App() {
  //integrating Alan Ai into the project
  useEffect(() => {
    alanBtn({
      key: "60f39382af5b00dc076a72f0ba54f7832e956eca572e1d8b807a3e2338fdd0dc/stage",
      onCommand: (commandData) => {},
    });
  }, []);
  return (
    <div className="container"> </div>
  );
}
export default App;
Create an array file and all related component files
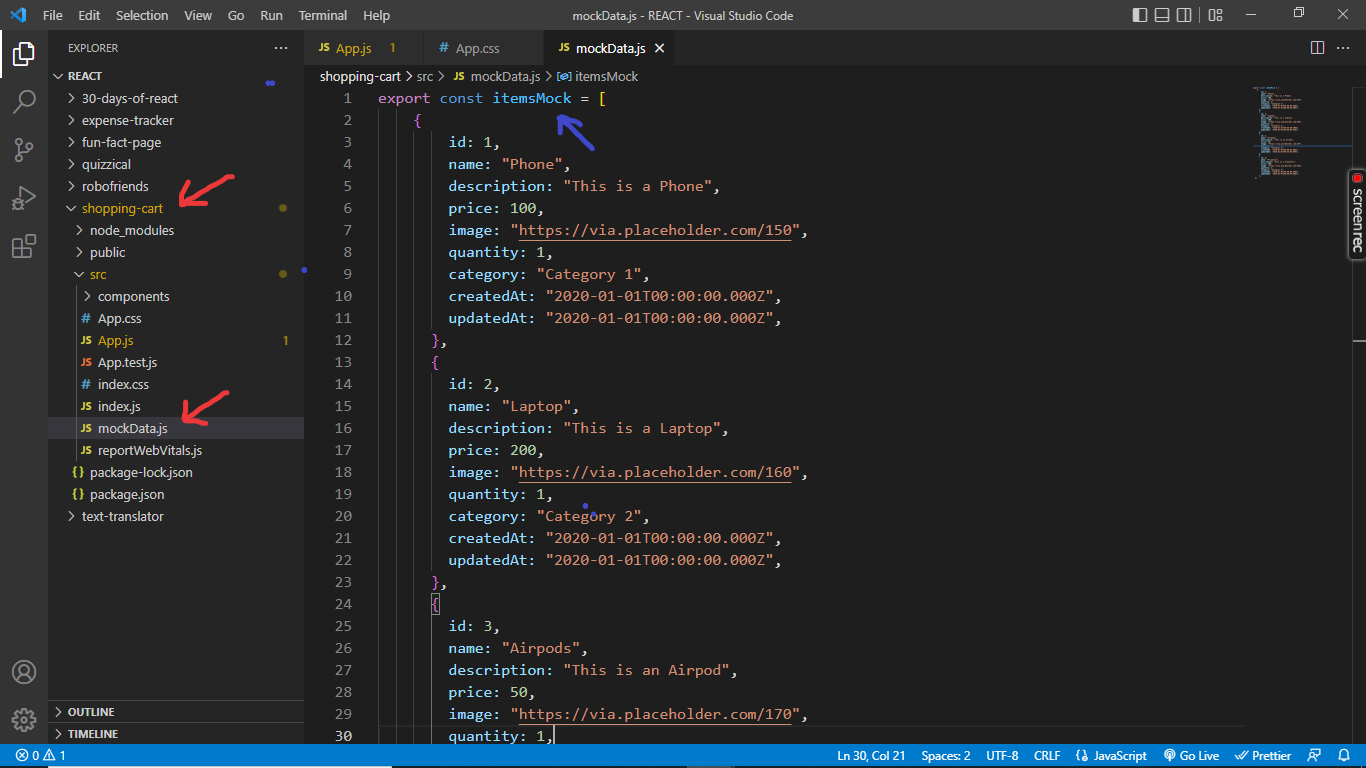
The next step is to create a random array file containing a list of items to be displayed on your web page. You can create an array list of your choice, or you can head to the GitHub repo in the embedded link to get the array list and follow along.
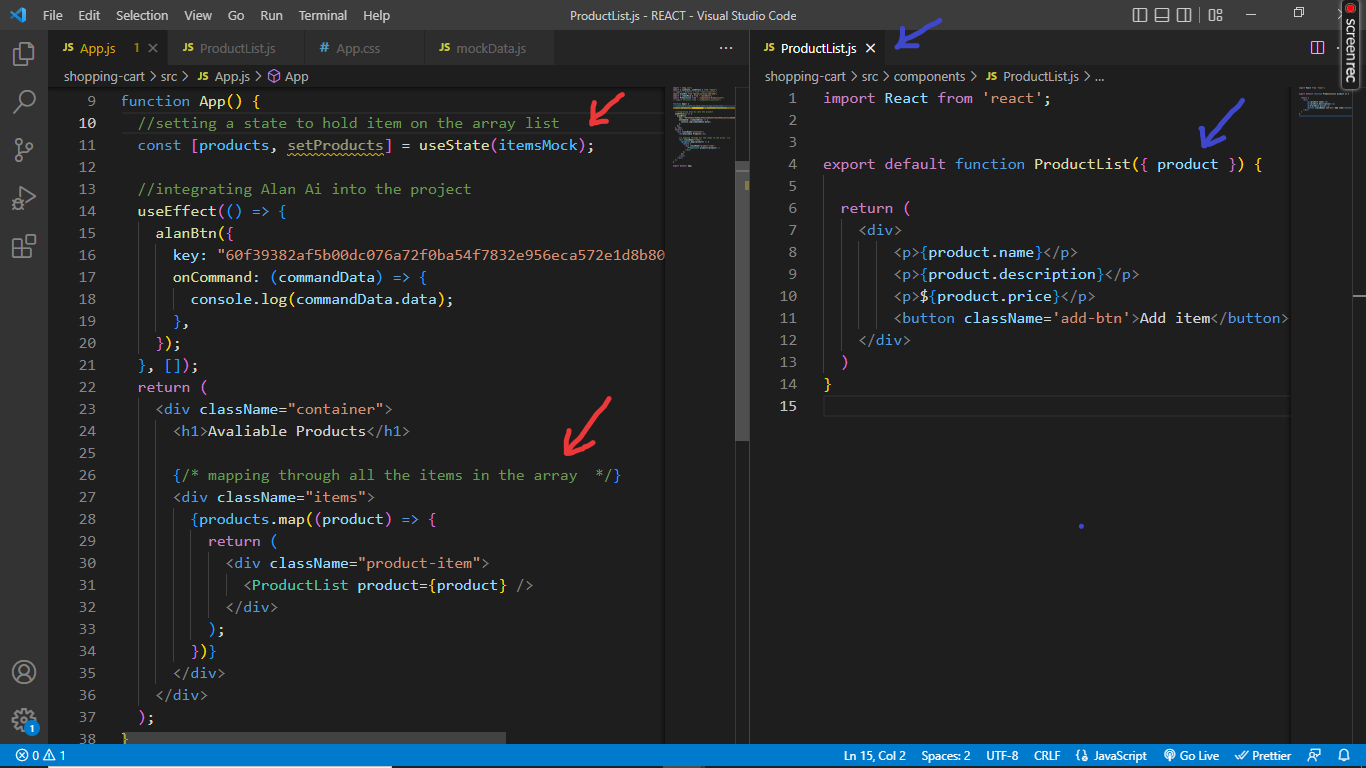
We will now need to import the array file into the parent file and, still inside the parent file, loop through each item in the array to display them on our web page. First, we will create a state and name the state, then set the initial state to the array name, so the initial state will now contain each item in the array, and then we loop through the array. After looping through each item, to display them, we need to create a new component file and name the file, then send the array properties to the component file to display the product name, description, price, and a button that can be used to manually add items to the cart.
The next step we will take is to add items from the available products. To do that, we will first create a function and name the function and then pass the function into the product component we created earlier; then, inside the Product List component, we will also pass the function as a prop. Now attach the on-click event to the button and pass a function that will return the add items function you passed as a prop and the product attached to it in brackets. Head back into the parent file, and in the add-items function, add a parameter, and in the code block below it, log the parameter to the console.
//inside the parent file
function App() {
  const [products, setProducts] = useState(itemsMock);

  //adding items to the cart
  const addItems = (product) => {
    console.log(product);
  };
  return (
    <div className="container">
      <h1>Avaliable Products</h1>
      {/* mapping through all the items in the array  */}
      <div className="items">
        {products.map((product) => {
          return (
            <div className="product-item">
              {/* sending the function as a prop as seen below */}
              <ProductList product={product} addItems={addItems} />
            </div>
          );
        })}
      </div>


//inside the product List component file
export default function ProductList({ product, addItems }) {
  return (
    <div>
        <p>{product.name}</p>
        <p>{product.description}</p>
        <p>${product.price}</p>
          {/* Adding the onClick event to the button below*/}
        <button className='add-btn' onClick={() => addItems(product)}>Add item</button>
    </div>
  )
}
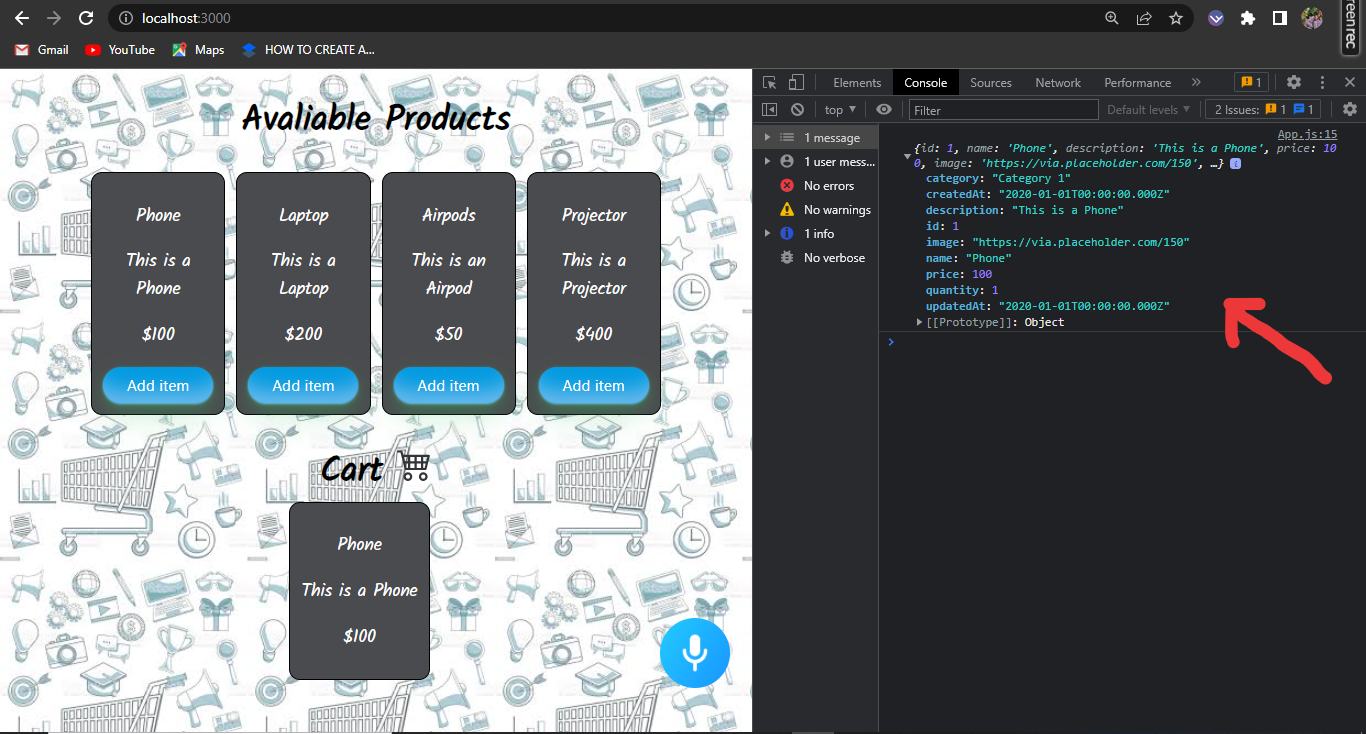
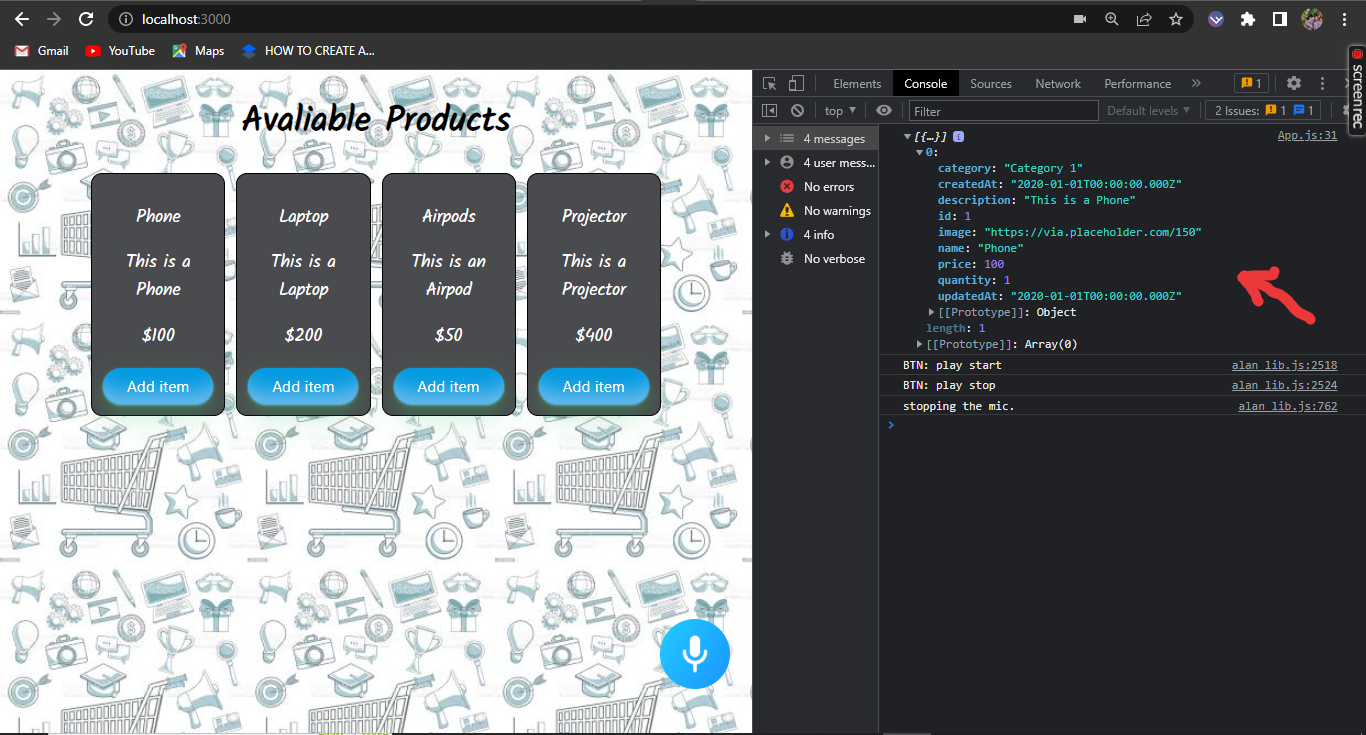
If you head to your web browser and into your console specifically, you will notice that on the click of the add items button, the full data of that product will be shown in the console, as seen below.
So it is working fine. Now create a new state for the cart items, set the initial state to an empty array, and head back to the add items function. From there, add the cart item function, set it to an array containing the initial cart item, and ensure you spread it, then add the function parameter also in the array.
function App() {
  const [products, setProducts] = useState(itemsMock);
  const [cartItems, setCartItems] = useState([]);

//adding items to the cart
  const addItems = (product) => {
    console.log(product);
      setCartItems([...cartItems, product])
  };
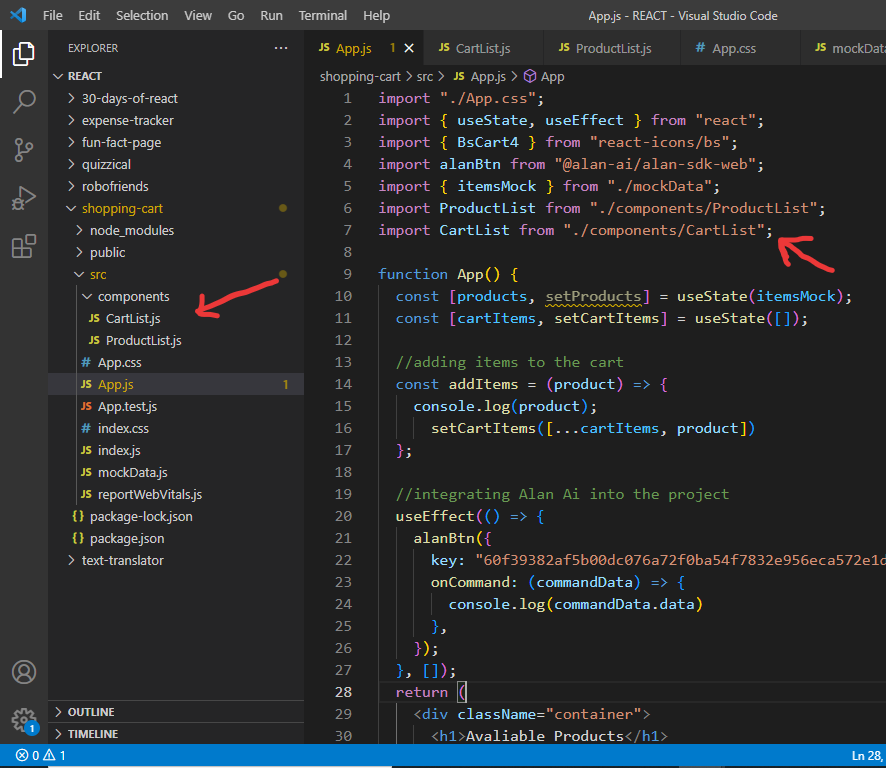
We will now create a cart component to hold the items we added, so head into your component folder and create a new JS file and give it a name, preferably one with a cart, for easy recognition. Once you have created the JS file in the component, ensure you import the file into the parent file.
After successfully creating and importing the cart JS file, you will need to map through the array of items just like we did for the product component file. Still, instead of the product List component file, we will attach the cart component file we just created. Also, instead of mapping through the product array, we will map through the array in the cart items' initial state we created. We will also attach a parameter to its function and send the parameter as a prop to the cart JS component file.
//Add below the available product div

//Title condition
{cartItems.length > 0 && (
        <h1 className="header2">
          Cart <BsCart4 className="icon" />
        </h1>
      )}
      <div className="items2">
        //content condition
        {cartItems.length > 0 &&
          cartItems.map((unit) => {
            return (
              <div className="product-item">
                <CartList unit={unit} />
              </div>
            );
          })}
      </div>
You will see I added the cart functionalities to some conditions if you observe. The first condition shows the Cart title when the length of the cart item array is greater than one, but if not, the title won't be displayed. Right beneath the first condition, inside the div element, is the second condition that displays the full content of the item selected below the cart title. Still, if no product is selected, the cart item array is zero, and nothing will be displayed in the cart. Now head into the cart component file and pass on the prop from the parent file; then, inside the div, you display some paragraph tags that will hold the prop name, description, and price, just like in the product list component file.
//Inside the cart component file
import React from "react";
export default function CartList({ unit }) {
  return (
    <div className="list">
      <p>{unit.name}</p>
      <p>{unit.description}</p>
      <p>${unit.price}</p>
    </div>
  );
}
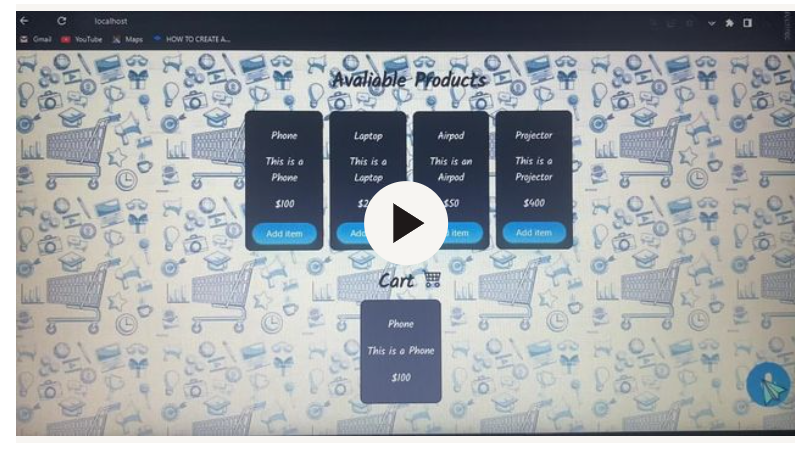
If you go to your webpage and click the Add Items button, the items selected should be added to the cart list. Now it is working fine.
Open Source Session Replay
_OpenReplay is an open-source, session replay suite that lets you see what users do on your web app, helping you troubleshoot issues faster. OpenReplay is self-hosted for full control over your data._

Start enjoying your debugging experience - start using OpenReplay for free.
Adding commands to the Alan Studio
In this section, we will add the voice feature to the web page. I have a simple snippet or command set up in my Alan studio that you can use, or you can create a custom snippet or command of your own and then follow along.
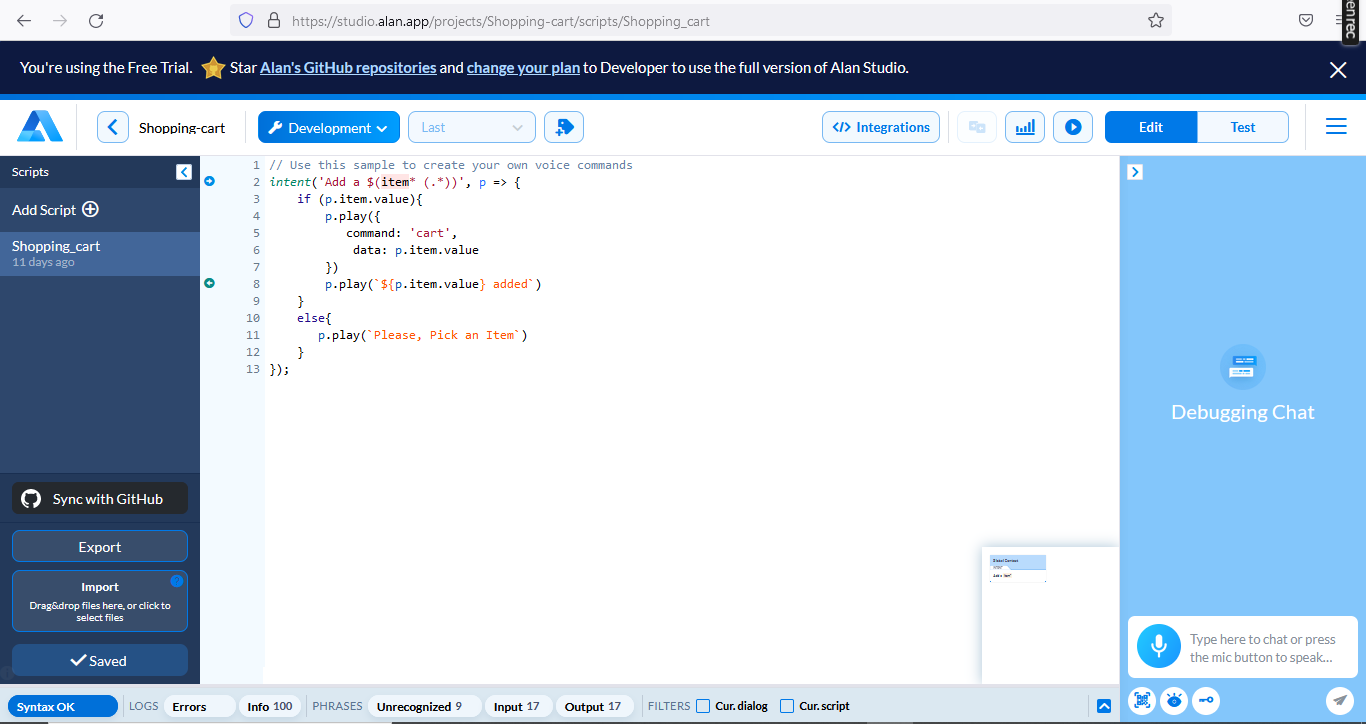
As you can see in the voice cart, a snippet activates with a click of the Alan button and has a command to add any available item called into the console. Still, if an incorrect item is called, it has a command to respond with "Please pick an item". Back to the parent file, you will now need to log the data inside the Alan button function.
//integrating Alan Ai into the project
useEffect(() => {
  alanBtn({
    key: "60f39382af5b00dc076a72f0ba54f7832e956eca572e1d8b807a3e2338fdd0dc/stage",
    onCommand: (commandData) => {
      //logging the data from the Alan studio
      console.log(commandData.data);
    },
  });
}, []);
If you head into your console on your webpage, click the Alan button, and say a command, for example, "Add a phone", you will get a response, and the item should be shown in the console.

We have successfully tested the commands, and everything seems to work fine. The next thing is to create a new state to hold the result of the command we tested so that instead of displaying it in the console, it will be displayed in the cart. After creating the state and its function, replace the console log in the Alan button section with the new state function.
//creating a new state to hold the result
const [input, setInput] = useState('')
  //adding items to the cart
  const addItems = (product) => {
    console.log(product);
    setCartItems([...cartItems, product]);
  };
  //integrating Alan Ai into the project
  useEffect(() => {
    alanBtn({
      key: "60f39382af5b00dc076a72f0ba54f7832e956eca572e1d8b807a3e2338fdd0dc/stage",
      onCommand: (commandData) => {
        //replace the console log with a set input state function
        setInput(commandData.data);
      },
    });
  }, []);
Once that is done, we will need to add a new use effect hook which will run when an item from the list of available items is called. The new hook we just added will be used to get the array object of the item called from the list of available items and store the array details in the input state along with the array index, which is zero, as seen below. Inside the use effect hook, we will filter through the product array and set the product name to lowercase, then check if the product name is the same as the input state. If they correspond, it will return the object of the product called.
//creating a new use effect hook
useEffect (() => {
  console.log(
    products.filter((product) => {
      if (product.name.toLowerCase() === input) {
        return {...product};
      }
    })
  )
}, [input]);
Now, if we log the function inside the use effect hook and head into our console on our webpage, click on the Alan button, and request a product, you will see the product object in the console, as shown below.
Now we need to replace the console log with the add items function so it can be displayed instead in the cart section. Also, if you head into the browser and call a product from the list of available products and the product gets added, you will notice all add item buttons will not be functional. This is because the array index zero needs to be attached as it is important to always attach the array index whenever you pass in an array.
//creating a new use effect hook
useEffect (() => {
  addItems(
    products.filter((product) => {
      if (product.name.toLowerCase() === input) {
        return {...product};
      }
    })[0] //Attach the array index
  )
}, [input]);
You will arrive with an error but not to worry; that is because we are supposed to empty the cart section until a product from the list of available products has been called or added. So head back to the cart items section in the parent file and then cover the div tag below the return in an empty tag, better known as fragments. Inside the fragments, embed a semi-colon over the div with a condition to show when an item is called or added.
//inside the parent file
<div className="items2">
  {cartItems.length > 0 &&
    cartItems.map((unit) => {
      return (
        <>
          {unit && (
            <div className="product-item">
              <CartList unit={unit} />
            </div>
          )}
        </>
      );
    })}
</div>
Now that should work perfectly. If you go to the webpage and say a command, the product called will now be successfully added to the cart list, and if you manually add an item, it will also be added to the cart list.
Conclusion
Accessibility is an important feature every developer has to adopt to make small projects and websites easier with lesser struggles while using. We have successfully gone through one of the best ways to make your website and small projects more accessible.
GitHub repo: https://github.com/christofa/ai-shopping-cart.git
A TIP FROM THE EDITOR: From more on Alan AI, read our Talk To Your App With Alan AI article.


