Build a MDX-powered blog with Contentlayer and Next

In this article, we'll learn how to use Next.js and Contentlayer to create a static MDX blogging site in this tutorial. We'll discuss these technologies and related concepts before considering how we may combine them to produce a static application, and we'll show full code for our blog.
Before you begin this tutorial, you'll need the following:
- Working knowledge of React and Next.js.
- Familiarity with Markdown and Tailwind CSS
- Text Editor — VSCode, for example.
- Node.js installed; I’ll be using v16.15.1
If you require the project's complete source code immediately, you can download it from GitHub. Additionally, you can view the completed project online.
What is MDX?
As developers, you must have come across markdown files. A famous example is the Readme file we use on Github to document our code. MDX is an extension of Markdown that supports JSX elements.
According to the official website:
MDX allows you to use JSX in your markdown content. You can import components, such as interactive charts or alerts, and embed them within your content. This makes writing long-form content with components a blast.
It is also known as "Markdown for the component era". In essence, it blends Markdown's readability and JSX's interaction to provide the best of both worlds, thereby assisting you in bringing your pages to life.
MDX also supports non-Markdown standard features which includes Code Syntax Highlighting, Github Flovoured Markdown(GFM), etc.
Using MDX with Next.js
Up until now, there have been four popular ways of using MDX with Next.js:
- Kent C. Dodds' mdx-bundler.
- next-mdx-remote, this tool was created by the Hashicorp team.
- next-mdx-enhanced, still by Hashicorp.
And lastly, the official way recommended and developed by the Next.js team involves using @mdx-js/loader and @next/mdx to transform MDX files into pages.
These methods are suitable, but they treat MDX files as pages.
Now, what if I told you there is a new easy method that could allow us to treat these MDX files as data and generate pages based on them, cool right?
Using this way, I could use the MDX files as data points and page content all at the same time. Publishing new content would definitely become a lot more frictionless.
This is where Contentlayer comes in.
Introduction to Contentlayer
Contentlayer is a content SDK that validates and transforms your content into type-safe JSON data you can easily import into your application.
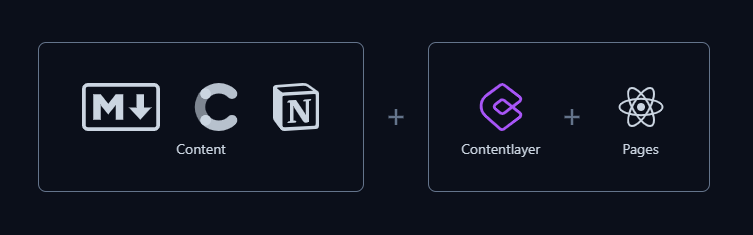
It is a content-processing mechanism that converts content into data that your pages and components can easily consume. In simple terms, it is a library that turns content into data.
Contentlayer works by following three easy steps:
- Configure your content source: This content source could range from YAML, JSON, MDX, or Markdown.
- Your content is transformed into data: Content gets converted to JSON data that contains the actual content, metadata, etc., ready to be imported.
- Import data into your application: You can import the data just like you would any other JavaScript library. Use it to render pages, and pass them down as props to the components on those pages.
At the time of writing this tutorial, Contentlayer is still in beta, so solution changes may be made. You can check out the documentation to learn more and get started.
Some of the reasons you might love Contentlayer include:
- Easily import your content as data into pages.
- Auto Validation of your content & its frontmatter.
- Instant content live-reload is supported.
- Use JS/TS — no new to learn a new query language.
- Strong-typed data with auto-generated type definitions.
- Built-in and configurable content validations
- Detailed error messages are provided for easy debugging.
- Fast build and page performance.
Building a blog
We'll be building a blog with Next.js and MDX while using Contentlayer to serve our content as data. At the end of this tutorial, you should have a Next.js blog that looks like this:

After having stated all of that, if you're ready, let's get started. Run the code below to create a default Next.js application.
npx create-next-app@latest
I am using mdx-contentlayer-blog as the project name. Then navigate into the project directory.
cd mdx-contentlayer-blog
First, we will test to make sure the app is working. We will use yarn for this tutorial. However, if you like, you may just easily use NPM. Run the code below:
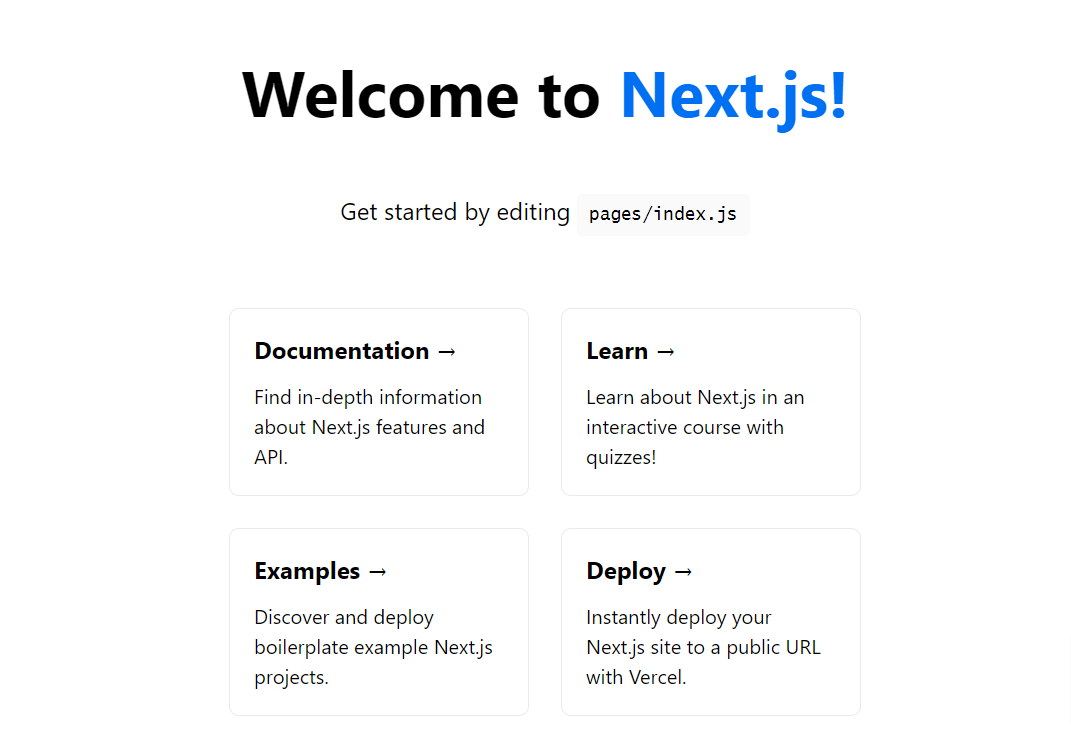
yarn dev
You should see our app available on http://localhost:3000.
Before we proceed with the tutorial, let's quickly set up styling using Tailwind CSS for our project. Run the command below to install Tailwind:
yarn add -D tailwindcss postcss autoprefixer
After the installation is complete, run the init command below to generate both tailwind.config.js and postcss.config.js.
npx tailwindcss init -p
Now within your tailwind.config.js file, add the following:
// tailwind.config.js
module.exports = {
  content: [
    "./pages/**/*.{js,ts,jsx,tsx}",
    "./components/**/*.{js,ts,jsx,tsx}",
  ],
  theme: {
    extend: {},
  },
  plugins: [],
}
Next, remove the Home.module.css file, while in the styles/globals.css file replace it with the code below:
/* globals.css */
@tailwind base;
@tailwind components;
@tailwind utilities;
Lastly, we need to install @tailwindcss/typography to enable Tailwind styles to be applied to our Markdown(MDX) files.
yarn add @tailwindcss/typography
We then need to add it as a plugin to our Tailwind configurations. Go to tailwind.config.js and add the code below.
 plugins: [
    require('@tailwindcss/typography'),
  ],
At this point, we should have Tailwind CSS ready and working in our application.
Now let's move on to set up Contentlayer.
Setup Contentlayer SDK configurations
Install Contentlayer
To install Contentlayer, we must install both Contentlayer and its plugin for Next.js.
Run the code below.
yarn add contentlayer next-contentlayer
Next up, we have to hook up Contentlayer into both build processes of Next.js: next dev and next build.
To do this, we must wrap the Next.js configuration in the withContentlayer method.
Navigate into next.config.js and add the code below.
//next.config.js
const { withContentlayer } = require('next-contentlayer');

const nextConfig = {
  reactStrictMode: true,
}

module.exports = withContentlayer(nextConfig)
Now create a file jsconfig.json and add the following lines:
//jsconfig.json
{
  "compilerOptions": {
    "baseUrl": ".",
    "paths": {
      "contentlayer/generated": ["./.contentlayer/generated"]
      // ^^^^^^^^^^^^^^^^^^^^^^^^^^^^^^^^^^^^^^^^^^^^^^^^^^^
    }
  },
  "include": [".contentlayer/generated"]
  //          ^^^^^^^^^^^^^^^^^^^^^^^^^^^
}
We defined the baseUrl in the code above to simplify file imports. Then we specified the path where Contentlayer generates files after processing: the .contentlayer/generated directory. This creates an alias of contentlayer/generated to the generated files directory.
Open Source Session Replay
OpenReplay is an open-source, session replay suite that lets you see what users do on your web app, helping you troubleshoot issues faster. OpenReplay is self-hosted for full control over your data.
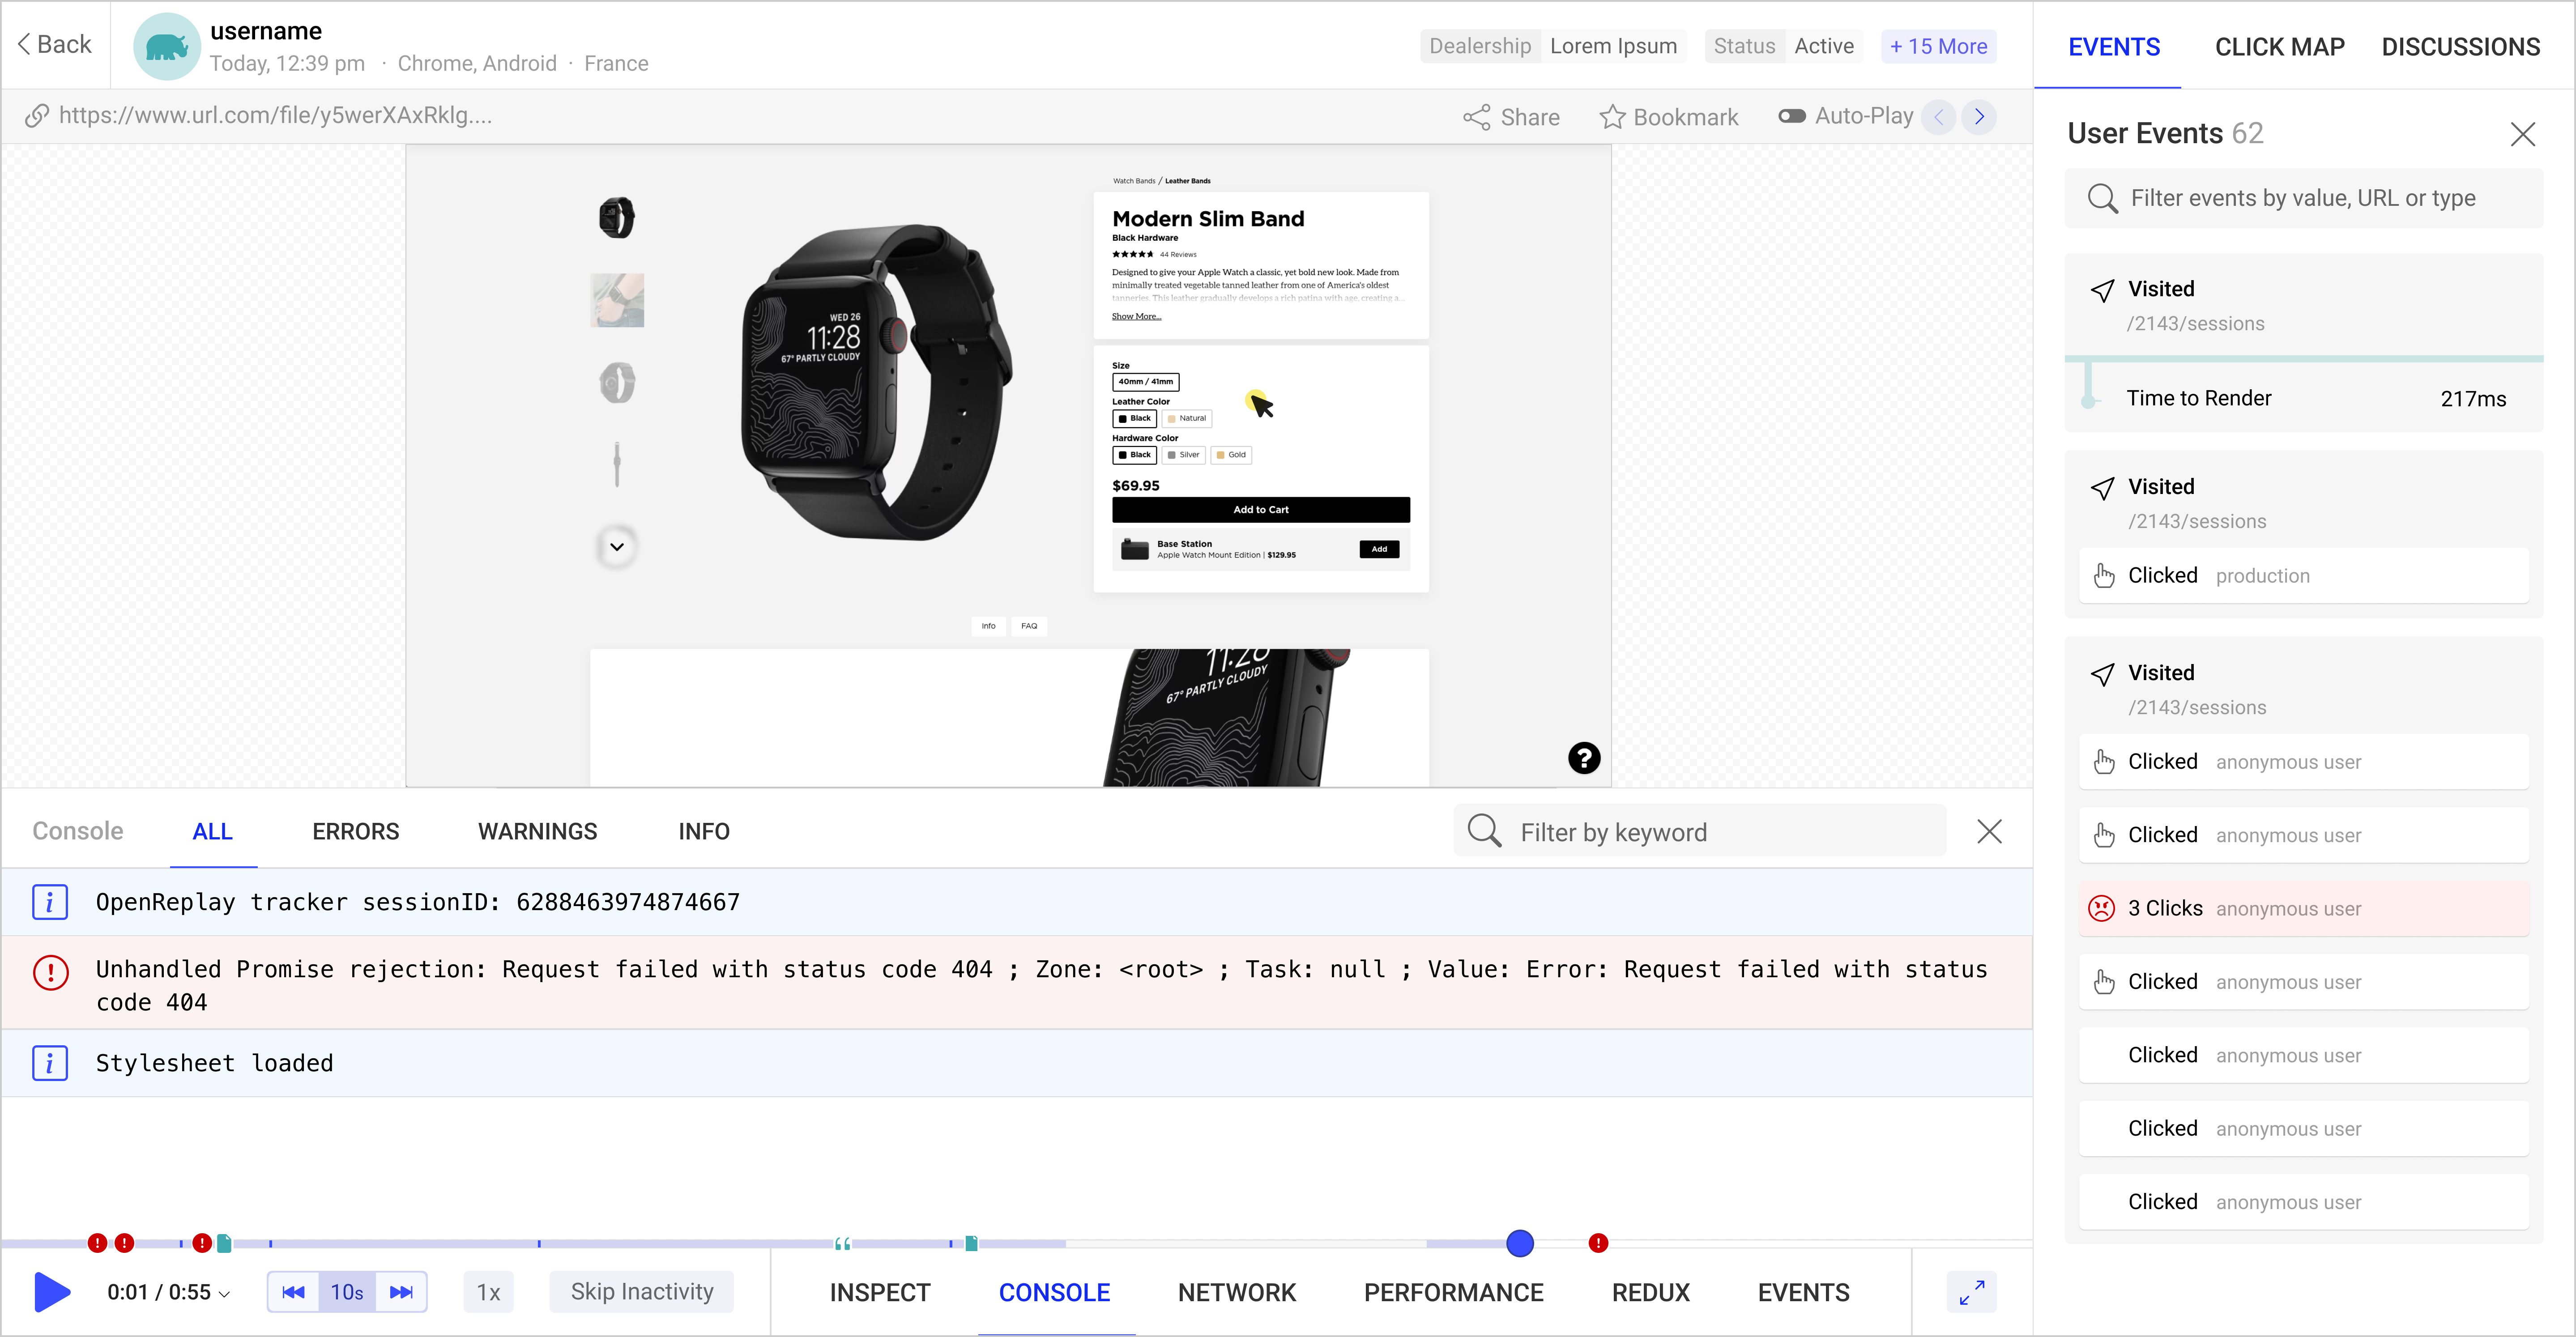
Start enjoying your debugging experience - start using OpenReplay for free.
Create Article Schema
Before we define our document types, install a package called reading-time.
yarn add reading-time
After completing that:
- Go to the root of your project.
- Create a new file called
contentlayer.config.js. - Add the following below.
//contentlayer.config.js

import { defineDocumentType, defineNestedType, makeSource } from 'contentlayer/source-files'
import readingTime from 'reading-time';

const Author = defineNestedType(() => ({
  name: 'Author',
  fields: {
    name: { type: 'string', required: true },
    image: { type: 'string', required: true },
  },
}));

const Article = defineDocumentType(() => ({
  name: 'Article',
  filePathPattern: 'articles/*.mdx',
  contentType: 'mdx',
  fields: {
    title: { type: 'string', required: true },
    publishedAt: { type: 'string', required: true },
    description: { type: 'string', required: true },
    seoDescription: { type: 'string', required: true },
    category: { type: 'string', required: true },
    author: {
      type: 'nested',
      of: Author,
    },
    image: { type: 'string', required: true },
  },
  computedFields,
}));

export default contentLayerConfig;
The code above defines the type of content to be MDX. We then defined defineNestedType for the author since it has multiple fields. Also, we need to define the fields our content Frontmatter will possess.
We'll add computed fields: fields that must be derived based on the content we provide. Some examples:
wordCount- from the length of the content.readingtime- we derived this by installingreading-time.slug- derived from the MDX file name with the.mdxextension removed.
In the contentlayer.config.js file, add the code below.
const computedFields = {
  readingTime: { type: 'json', resolve: (doc) => readingTime(doc.body.raw) },
  wordCount: {
    type: 'number',
    resolve: (doc) => doc.body.raw.split(/\s+/gu).length,
  },
  slug: {
    type: 'string',
    resolve: (doc) => doc._raw.sourceFileName.replace(/\.mdx$/, ''),
  },
};
Next, we add the content directory path using the makeSource method from Contentlayer.
const contentLayerConfig = makeSource({
  contentDirPath: 'data',
  documentTypes: [Article],
});
Adding new blog articles in MDX
Create a data/articles folder where the content (MDX) files will reside. Then add the MDX files. You can see an example at data/articles/first-article.mdx.
You can see the Frontmatter separated by --- in the MDX document above. Notice that I am using external image links for both the author image and content image; hence I have to declare the domain URL of these images in the Next.js config file. Go back to the next.config.js file and update.
const { withContentlayer } = require('next-contentlayer');

const nextConfig = {
  reactStrictMode: true,
  images: {
    domains: ['images.unsplash.com', 'media-exp1.licdn.com'],
    dangerouslyAllowSVG: true,
  }
}

module.exports = withContentlayer(nextConfig)
Building the Home Page
Contentlayer provides us with a lot of data that we can import into our pages, but we should note that there are some unnecessary data we will not use, so we need to find a way to pick exactly what we want to display in our component. Hence, let us create a utility class called select which will do just that.
Create a file utils/select.js and add the code below.
export const select = (obj, keys) => {
  return keys.reduce((acc, key) => {
    acc[key] = obj[key];
    return acc;
  }, {});
};
Now go to Index.js and replace it with the code below.
import Head from 'next/head'
import ArticleCard from '../components/ArticleCard'
import { allArticles } from 'contentlayer/generated';
import { select } from '../utils/select';

export default function Home({articles}) {
  return (
    <div>
      <Head>
        <title>Create Next App</title>
        <link rel="icon" href="/favicon.ico" />
      </Head>

     <main>
     {articles.map(
            ({
              title,
              description,
              slug,
              image,
              category,
              publishedAt,
              readingTime,
            }) => (
              <ArticleCard
                key={slug}
                title={title}
                description={description}
                slug={slug}
                image={image}
                category={category}
                dateTime={publishedAt}
                date={publishedAt}
                readingTime={readingTime.text}
              />
            )
          )}

      </main>
    </div>
  )
}

export function getStaticProps() {
  const articles = allArticles
    .map((article) =>
      select(article, [
        'slug',
        'title',
        'description',
        'publishedAt',
        'readingTime',
        'author',
        'category',
        'image',
      ])
    )
    .sort(
      (a, b) =>
        Number(new Date(b.publishedAt)) - Number(new Date(a.publishedAt))
    );

  return { props: { articles } };
}
The data is available to us as allArticles coming from contentlayer/generated. We used allArticles to sort the articles in reverse chronological order and then sent them to the ArticleCard component as props. The Articles are sorted and will display the latest published article first.
Create Article Card
Create the component components/ArticleCard.jsx and populate with code below.
import React from 'react';
import Image from 'next/image';

export default function ArticleCard({
  title,
  description,
  slug,
  image,
  category,
  dateTime,
  readingTime,
}) {
  return (
    <div>
      <section className='text-gray-600 body-font'>
        <div className='container px-5 py-24 mx-auto'>
          <div className='flex flex-wrap -m-4'>
            <div className='p-4 md:w-1/3'>
              <div className='h-full border-2 border-gray-200 border-opacity-60 rounded-lg overflow-hidden'>
                <Image
                  className='lg:h-48 md:h-36 w-full object-cover object-center'
                  src={image}
                  width={720}
                  height={400}
                  alt='blog'
                />
                <div className='p-6'>
                  <h2 className='tracking-widest text-xs title-font font-medium text-gray-400 mb-1'>
                    {category}
                  </h2>
                  <h1 className='title-font text-lg font-medium text-gray-900 mb-3'>
                    {title}
                  </h1>
                  <p className='leading-relaxed mb-3'>{description}</p>
                  <div className='flex items-center flex-wrap '>
                    <a
                      href={`/article/${slug}`}
                      className='text-indigo-500 inline-flex items-center md:mb-2 lg:mb-0'
                    >
                      Read More
                      <svg
                        className='w-4 h-4 ml-2'
                        viewBox='0 0 24 24'
                        stroke='currentColor'
                        strokeWidth='2'
                        fill='none'
                        strokeLinecap='round'
                        strokeLinejoin='round'
                      >
                        <path d='M5 12h14'></path>
                        <path d='M12 5l7 7-7 7'></path>
                      </svg>
                    </a>
                    <span className='text-gray-400 mr-3 inline-flex items-center lg:ml-auto md:ml-0 ml-auto leading-none text-sm pr-3 py-1 border-r-2 border-gray-200'>
                      {readingTime}
                    </span>
                    <span className='text-gray-400 inline-flex items-center leading-none text-sm'>
                      <svg
                        className='w-4 h-4 mr-1'
                        stroke='currentColor'
                        strokeWidth='2'
                        fill='none'
                        strokeLinecap='round'
                        strokeinejoin='round'
                        viewBox='0 0 24 24'
                      >
                        <path d='M21 11.5a8.38 8.38 0 01-.9 3.8 8.5 8.5 0 01-7.6 4.7 8.38 8.38 0 01-3.8-.9L3 21l1.9-5.7a8.38 8.38 0 01-.9-3.8 8.5 8.5 0 014.7-7.6 8.38 8.38 0 013.8-.9h.5a8.48 8.48 0 018 8v.5z'></path>
                      </svg>
                      {dateTime}
                    </span>
                  </div>
                </div>
              </div>
            </div>
          </div>
        </div>
      </section>
    </div>
  );
}
You can see that we are mapping through data and displaying it in the component.
This data, however, is passed down from the homepage below.
Create dynamic routes for articles [slug]
If you notice, we can't view the individual articles, yet this is because we have not set up dynamic routes for them.
Before we do that, let's create the SingleArticle component, which will contain the individual contents and display the MDX content.
import Image from 'next/image';

export const SingleArticle = ({ author, image, category, title, children }) => {
  return (
    <div className='px-4 py-24'>
      <div className='mx-auto max-w-prose'>
        <p className='block text-center text-base font-semibold uppercase tracking-wide text-indigo-600'>
          {category}
        </p>
        <h1 className='mt-2 block text-center text-3xl font-extrabold leading-8 tracking-tight text-gray-900 sm:text-4xl'>
          {title}
        </h1>
        <br />
        <Image
          className='lg:h-48 md:h-36 w-full object-cover object-center'
          src={image}
          width={720}
          height={400}
          alt='blog'
        />
        <hr />
        <br />
        <div className='flex items-center'>
          <Image src={author.image} width={50} height={50} alt='blog' />

          <div>
            <strong>{author.name}</strong>
            <br />
            <span>Technical advisor</span>
          </div>
        </div>
        <article className='mx-autotext-gray-500 prose-md prose prose-indigo py-24 lg:prose-lg'>
          {children}
        </article>
      </div>
    </div>
  );
};
After that, create the dynamic route/page at pages/article/[slug].js and add the following code.
import { allArticles } from 'contentlayer/generated';
import { NextSeo } from 'next-seo';
import { SingleArticle } from '../../components/SingleArticle';


const SinglePost = ({ article }) => {
  console.log(article);

  return (
    <>
      <NextSeo title={article.title} description={article.seoDescription} />

      <SingleArticle
        image={article.image}
        title={article.title}
        category={article.category}
        author={article.author}
      >

      </SingleArticle>
    </>
  );
};

export default SinglePost;

export async function getStaticPaths() {
  return {
    paths: allArticles.map((article) => ({
      params: { slug: article.slug },
    })),
    fallback: false,
  };
}

export async function getStaticProps({ params }) {
  const article = allArticles.find((article) => article.slug === params.slug);

  return { props: { article } };
}
In the above code, we import allArticles; then, we look at each slug to match it with its corresponding resource and pass it on our page as props. If you use Next.js frequently, you should be familiar with the next-seo package. We use it to dynamically pass in the meta information of our pages. Quickly import it into the project.
yarn add next-seo
Importing JSX Components
Create a component called SampleComponent. This will just be a simple button component.
import React from 'react';

export default function SampleComponent() {
  return (
    <div>
      <h6> here is an imported Button Component in MDX</h6>
      <button className='bg-blue-500 hover:bg-blue-700 text-white font-bold py-2 px-4 rounded'>
        Button
      </button>
    </div>
  );
}
Now still at pages/article/[slug].js. Add the code below.
import SampleComponent from '../../components/SampleComponent';
Then import the MDxComponent method from Contentlayer, enabling us to use MDX components.
import { useMDXComponent } from 'next-contentlayer/hooks';
After that, we declare the component we want to use outside the Singlepost function.
const usedcomponents = {
  SampleComponent,
};
Then we access the body of the article and pass a custom component called MDXcontent into the SingleArticle page.
const SinglePost = ({ article }) => {

  const MDXContent = useMDXComponent(article.body.code);

  return (
    <>
      <NextSeo title={article.title} description={article.seoDescription} />

      <SingleArticle
        image={article.image}
        title={article.title}
        category={article.category}
        author={article.author}
      >
        <MDXContent components={usedcomponents} />
      </SingleArticle>
    </>
  );
};
Now we are done. You can go ahead ad include the jsx element in your MDX file. Restart the server, and it should all be working fine.
Conclusion
Finally, we have come to the end of this tutorial! In this blog post, we have learned how to properly set up a static site with Next.js and MDX using Contentlayer.
Resources


