


Next.js is a database-agnostic web-based framework. It incorporates the latest minimalistic technologies that help developers create web apps with minimal code bases. MongoDB is one of the most popular NoSQL databases. It would be ideal to discuss how to run MongoDB using Next.js applications. The tutorial will explain how to create a Next.js application, connect it to MongoDB, and perform database operations.
To fully understand this article, it is essential to have the following:
Node.js installed on your computer.
MongoDB installed on your computer.
Basic knowledge working with Next.js and JavaScript.
Reasons for Running Next.js with MongoDB
Creating an application that leverages Next.js and MongoDB provides several benefits. These include:
MongoDB provides cloud-hosted services using MongoDB Atlas. You can run your MongoDB anywhere and leverage its cloud-native capabilities.
Easy deployment. Given that MongoDB provides cloud-hosted access, it becomes easy to deploy your full-stack application to hosting services such as Vercel. Such clouds platform fit perfectly with your Next.js and MongoDB workflow.
Next.js and MongoDB with One Click - With just one command, you can get a whole Next.js and MongoDB boilerplate application that you can use to create your extensive Next.js and MongoDB applications.
Next.js is a server-side rendering (SSR) and static site generation (SSG) supported framework. This means you don’t need an additional server to run MongoDB. Using Next.js; you can run your whole Next.js and MongoDB infrastructure within a single code base.
Next.js has a list of developer benefits. These include greater community support, fast refresh, automatic Typescript configuration, API routes for Node.js serverless functions, etc.
Let’s now dive and create a Next.js application. In this article, we will implement a posts application using Next.js and MongoDB.
Setting up a Next.js App
To create this application, we will use a one-time command that lets you create a MongoDB Next.js basic project. This will allow you to create an application ready and configured with all dependencies needed to access MongoDB. Proceed to your preferred working directory. Run the following command to bootstrap the application:
npx create-next-app --example with-mongodb posts_app
Here we use the usual npx create-next-app command to create a Next.js application locally. Adding the --example with-mongodb flag will instruct Next.js to bootstrap a template application with ready to use MongoDB setup. Finally, posts_app creates the directory where the bootstrapped application will be saved in your working directory.
The above create-next-app command will create your application using Yarn as the default package manager. To create Next.js with your favorite package manager, you can go ahead and add the following flags right after create-next-app:
Using NPM -
--use-npmUsing PNPM -
--use-pnpm
Any of the above flags will Instruct the CLI to explicitly use the package of your choice to generate the project.
Note: Running the above command may take a moment, depending on your internet speed. Once the installation is done, proceed to the newly created posts_app directory:
cd posts_app
Setting a MongoDB Environment
We need a working MongoDB environment to execute with Next.js. You can use the locally installed MongoDB Compass or the cloud-hosted MongoDB Atlas. Using your environment choice, go ahead and copy your MongoDB connection URI. Next.js will use this URI to connect to MongoDB. Once the URI is ready, go ahead and rename .env.local.example to .env.local.
Paste in the MongoDB connection URI to .env.local. Below is an example URI of a locally installed MongoDB Compass.
MONGODB_URI="mongodb://localhost:27017/posts"
At this point, we can run the application to check if Next.js can connect to the database. Start the development server using the following command:
npm run dev
Open the application using http://localhost:3000/ on the browser. If the URI you have provided is not working correctly, Next.js will return the following error on your page:
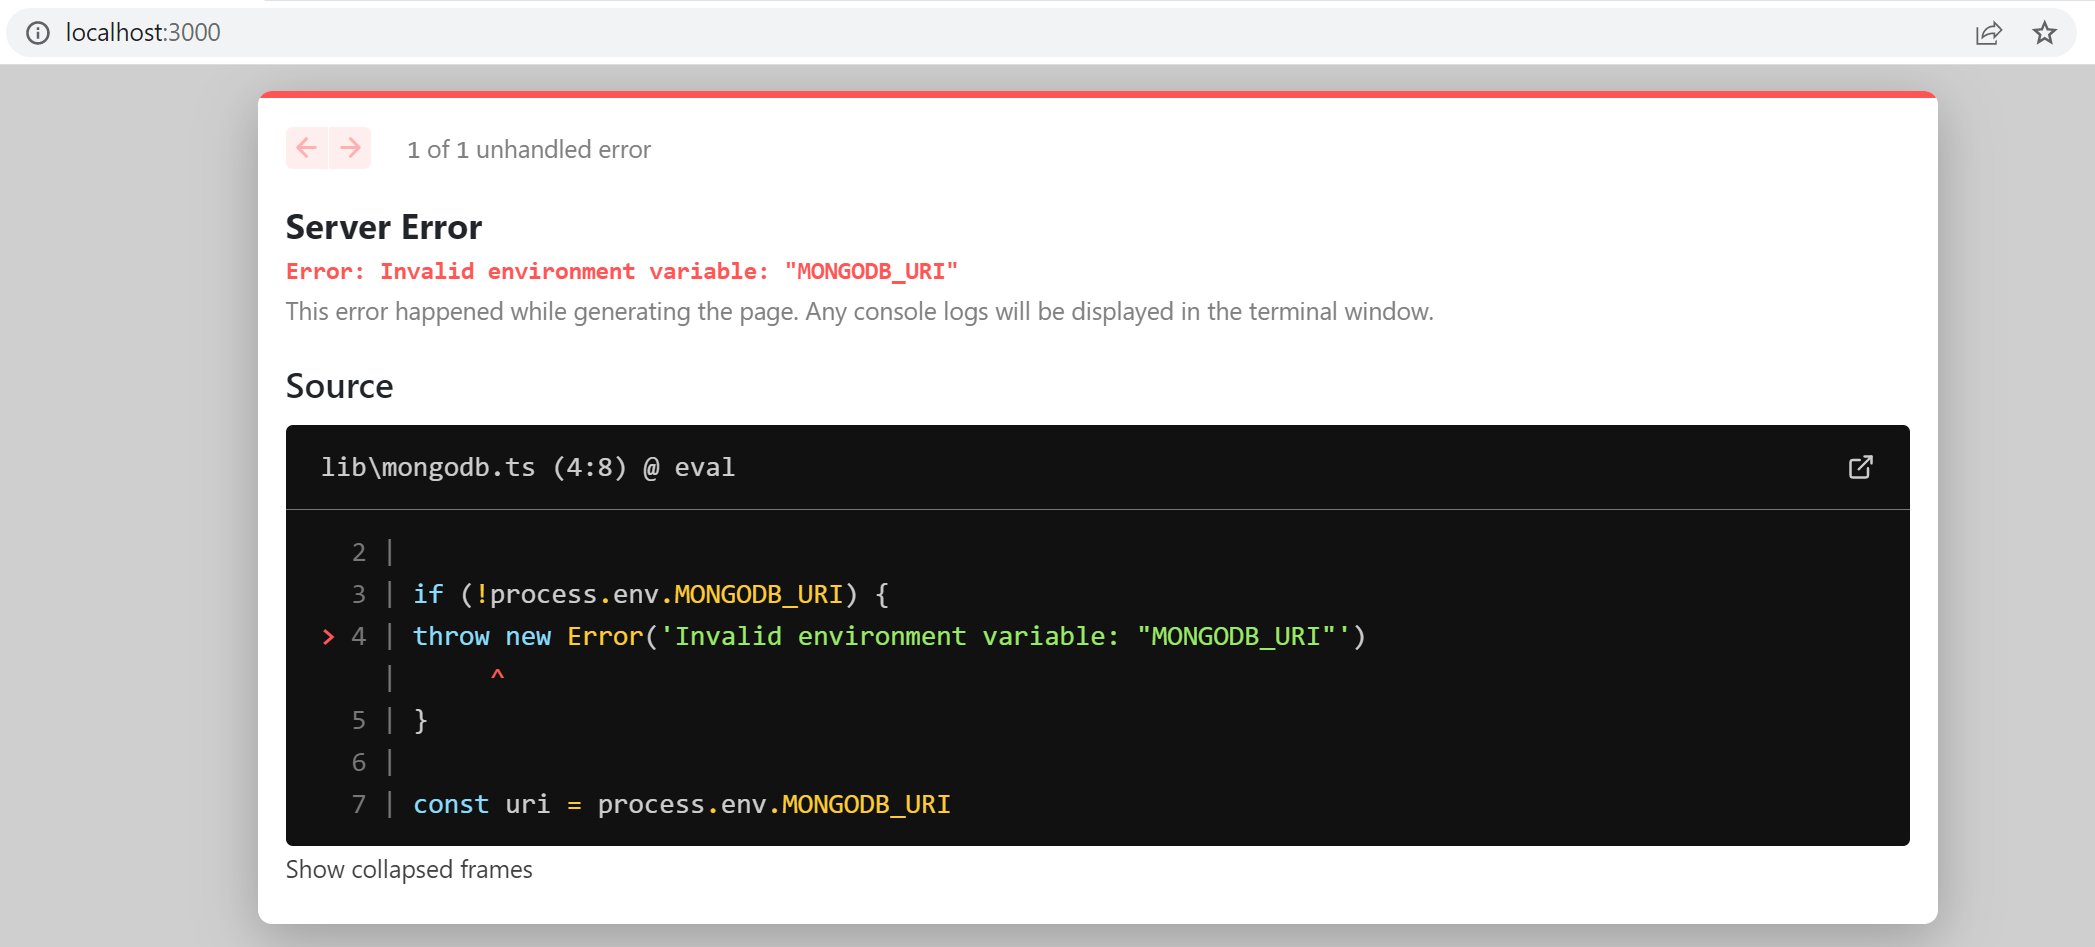
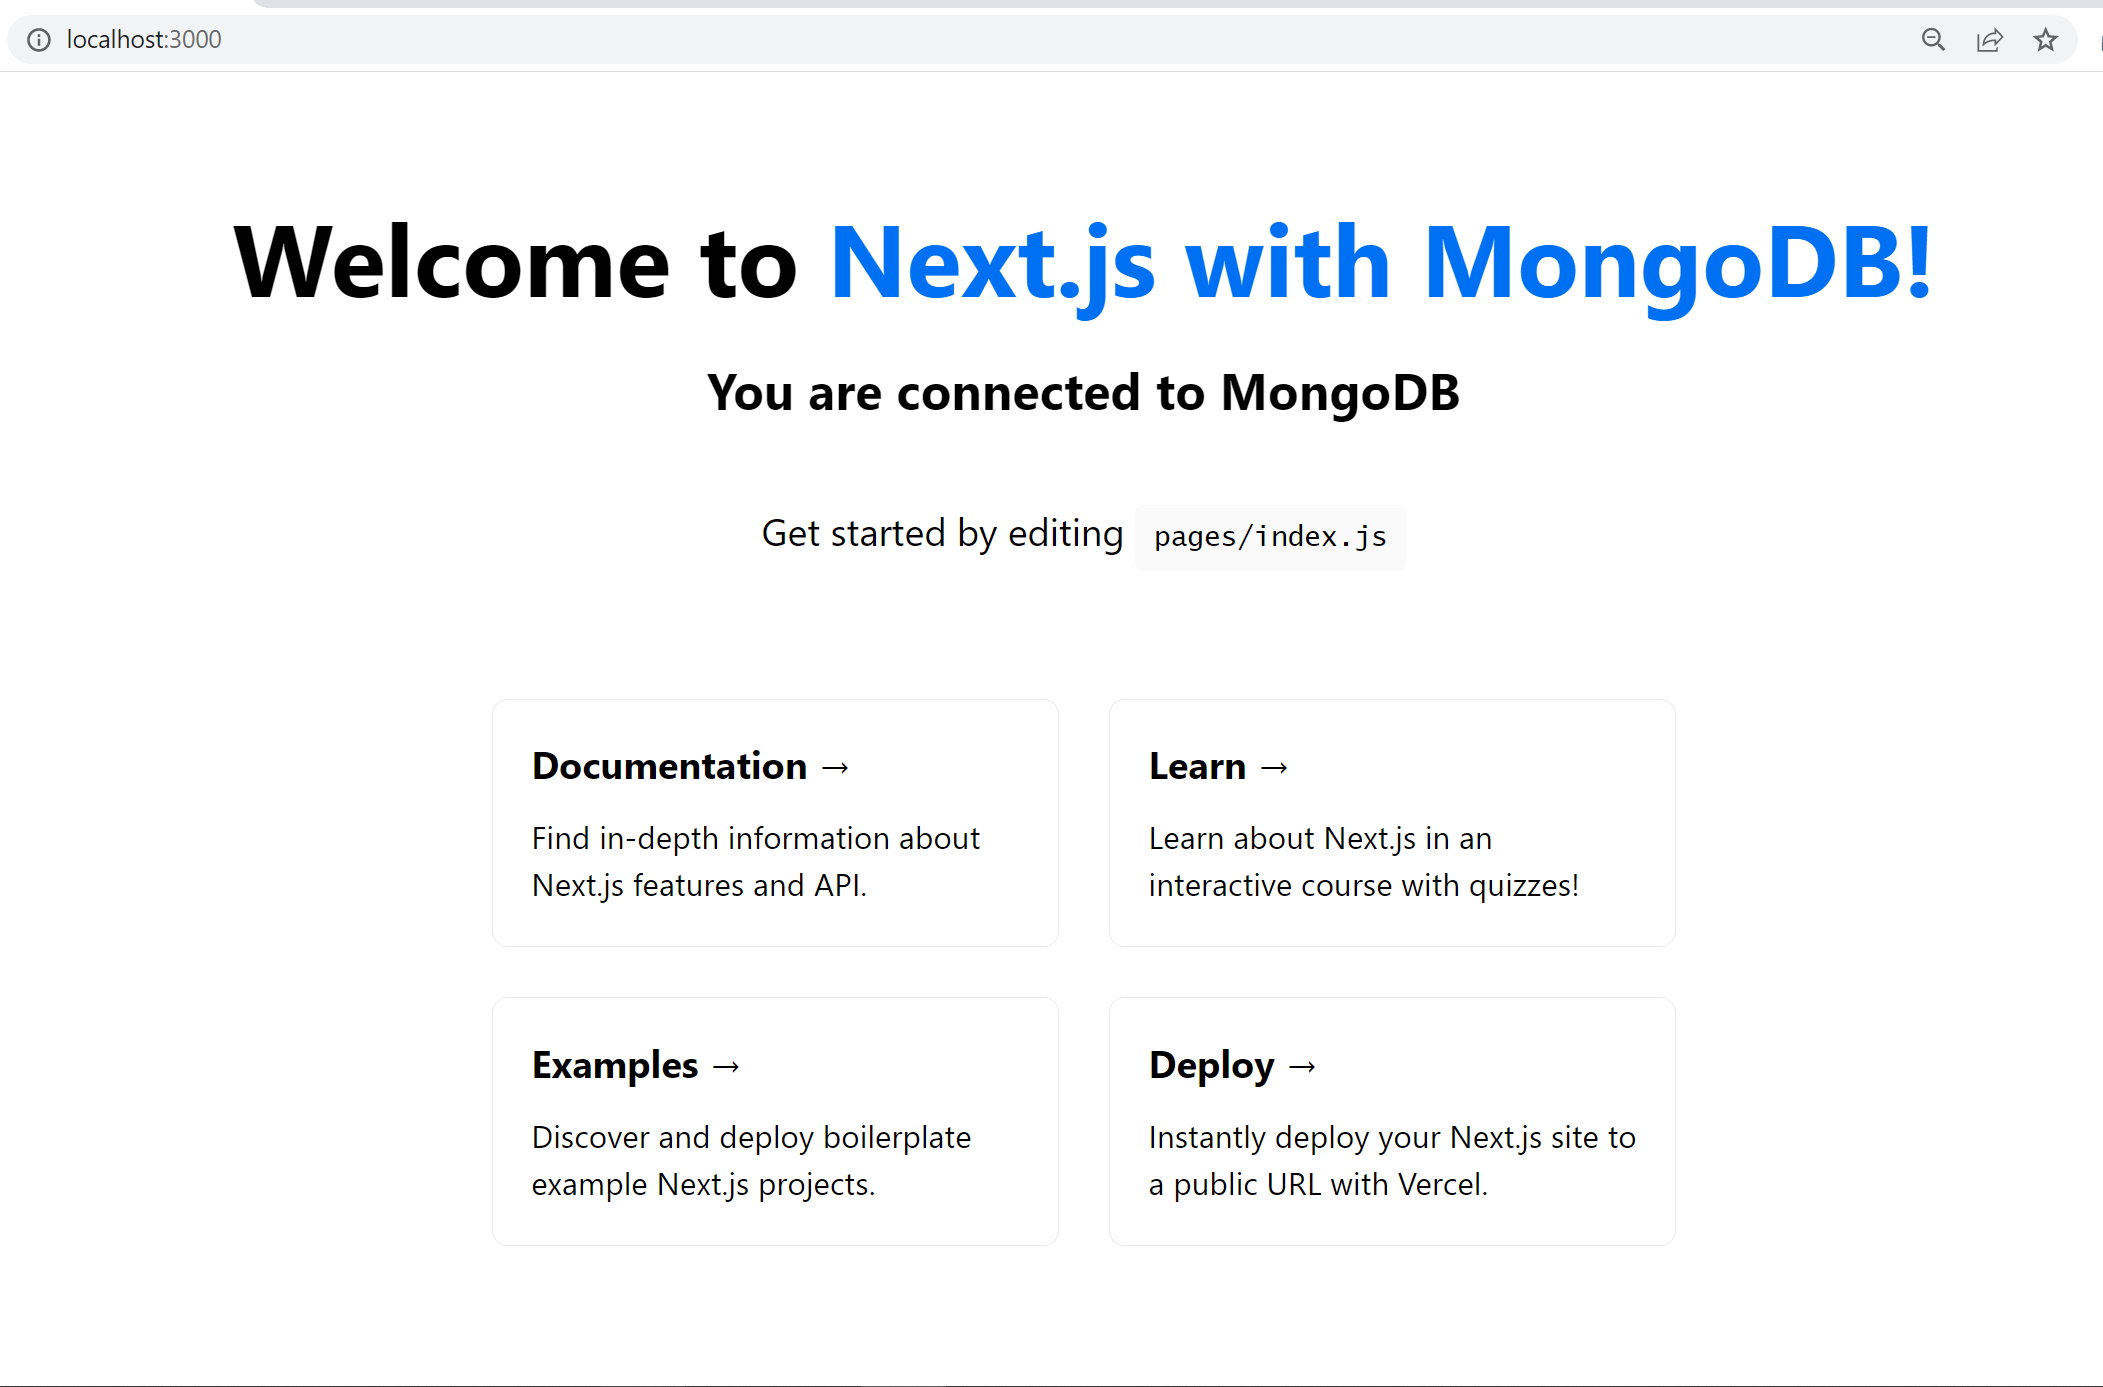
If Next.js can access your MongoDB database, a You are connected to MongoDB message will be logged in your page as follows:
Let’s digest how the created template connects to MongoDB. What makes the one-time Next.js MongoDB useful? When connecting these two, you must write a script to execute a MongoDB connection back to Next.js.
When setting up the application, a lib/mongodb.ts file was created. This file contains the script needed to connect to your database. as follows:
import { MongoClient } from 'mongodb'

if (!process.env.MONGODB_URI) {
  throw new Error('Invalid environment variable: "MONGODB_URI"')
}

const uri = process.env.MONGODB_URI
const options = {}

let client
let clientPromise: Promise<MongoClient>

if (!process.env.MONGODB_URI) {
  throw new Error('Please add your Mongo URI to .env.local')
}

if (process.env.NODE_ENV === 'development') {
  // In development mode, use a global variable so that the value
  // is preserved across module reloads caused by HMR (Hot Module Replacement).
  if (!global._mongoClientPromise) {
    client = new MongoClient(uri, options)
    global._mongoClientPromise = client.connect()
  }
  clientPromise = global._mongoClientPromise
} else {
  // In production mode, it's best to not use a global variable.
  client = new MongoClient(uri, options)
  clientPromise = client.connect()
}

// Export a module-scoped MongoClient promise. By doing this in a
// separate module, the client can be shared across functions.
export default clientPromise
Basically, this script creates a client that connects to your database. It saves the connection created and exports it so that other modules and functions you create can use the same connection to execute different operations to the database.
In any case, if you just use the npx create-next-app posts_app, you would be required to:
Install MongoDB dependencies to your project
Write a script to connect and save the connection as illustrated in the above
lib/mongodb.tsfile.
Great, you now have a complete MongoDB Next.js setup. Let’s now dive in and build CRUD operations using this stack.
Setting up the API Routes
Next.js allows you to create serverless API routes without creating an entire backend server. API routes provide a solution to build your API with Next.js. Next.js uses server-side bundles that treat server code as an API endpoint instead of a page. It does that using alias pages/api path. This way, any file under api will be treated as an endpoint. This provides an easy solution to build your own API within the same codebase.
Creating API Handler Functions
Let’s dive in and implement an API that will allow us to execute MongoDB. We will create a posts app that supports CRUD operations. Therefore, we need to create API functionalities for handling each procedure.
In the project folder, under the pages directory, create a folder and name it api. Inside the api directory, we will create the following files:
addPost.js: For handling the functionality of creating posts.
import clientPromise from "../../lib/mongodb";

export default async (req, res) => {
  try {
    const client = await clientPromise;
    const db = client.db("posts");
    const { title, content } = req.body;

    const post = await db.collection("posts").insertOne({
      title,
      content,
    });

    res.json(post);
  } catch (e) {
    console.error(e);
    throw new Error(e).message;
  }
};
The above API will connect to the database and look for the posts. MongoDB’s insertOne method will send a request to the server to add data to the database and return the sent response.
getPosts.js: For handling the functionality of getting multiple posts.
import clientPromise from "../../lib/mongodb";

export default async (req, res) => {
  try {
    const client = await clientPromise;
    const db = client.db("posts");

    const posts = await db.collection("posts").find({}).limit(20).toArray();

    res.json(posts);
  } catch (e) {
    console.error(e);
    throw new Error(e).message;
  }
};
To get data from MongoDB, use the find() method and the collection you want to fetch data from. Here you can add parameters such as limit(). This will instruct the server to return the total number of posts it should fetch from the database.
getPost.js: For handling the functionality of getting a single post.
import clientPromise from "../../lib/mongodb";
import { ObjectId } from "mongodb";

export default async (req, res) => {
  try {
    const client = await clientPromise;
    const db = client.db("posts");
    const { id } = req.query;

    const post = await db.collection("posts").findOne({
      _id: ObjectId(id),
    });

    res.json(post);
  } catch (e) {
    console.error(e);
    throw new Error(e).message;
  }
};
Here we need to execute a request to get a single post. This will allow us to handle methods such as UPDATE. findOne() will return the specific id of each post, making it easier to edit the given post properties.
editPost.js: For handling the functionality of updating a post.
import clientPromise from "../../lib/mongodb";
import { ObjectId } from "mongodb";

export default async (req, res) => {
  try {
    const client = await clientPromise;
    const db = client.db("posts");
    const { id } = req.query;
    const { title, content } = req.body;

    const post = await db.collection("posts").updateOne(
      {
        _id: ObjectId(id),
      },
      {
        $set: {
          title: title,
          content: content,
        },
      }
    );

    res.json(post);
  } catch (e) {
    console.error(e);
    throw new Error(e).message;
  }
};
Using the updateOne() MongoDB method, we can execute an endpoint to send updated data to the server. Here we need to return the existing post and send an update request to the database on the post id.
deletePost.js: For handling the functionality of deleting a post.
import clientPromise from "../../lib/mongodb";
import { ObjectId } from "mongodb";

export default async (req, res) => {
  try {
    const client = await clientPromise;
    const db = client.db("posts");
    const { id } = req.query;

    const post = await db.collection("posts").deleteOne({
      _id: ObjectId(id),
    });

    res.json(post);
  } catch (e) {
    console.error(e);
    throw new Error(e).message;
  }
};
Likewise, deleteOne() will get the job done whenever you want to delete an existing post from the database.
Setting up Next.js Components
To allow easy navigation around the application, we will add components to Next.js. Create a components directory in the project root folder (post_app). Inside the components folder, create the following files:
Nav.tsx: Navigation bar.
import React from "react";
import styles from "./styles/Nav.module.css";

export default function Nav() {
  return (
    <nav className={styles.navbar}>
      <div className={styles.navItems}>
        <ul>
          <li>
            <a href="/">My Posts</a>
          </li>
          <li>
            <a href="/posts">Add Post</a>
          </li>
        </ul>
      </div>
    </nav>
  );
}
This Navigation bar will allow you to execute two routes/pages:
Home page for displaying posts - denoted using the
/path.Add a post page for adding new posts - the
/postspath denotes this page.
We will configure the above pages later in this guide.
Layout.tsx: General application layout.
import React from "react";
import Navbar from "./Nav";

export default function Layout(props: any) {
  return (
    <div>
      <Navbar />
      {props.children}
    </div>
  );
}
To add basic styling to the above components, create the styles directory inside the components directory. Then create the following file and add the respective styling:
Nav.module.css: Navigation bar styles.
.navbar {
    border-bottom: 1px #d4d4d4;
    width: 100%;
    display: flex;
    justify-content: center;
    border-bottom: 1px solid #d4d5d5;
}

.navItems ul {
    display: flex;
    justify-content: space-between;
    align-items: center;
    list-style-type: none;
}

.navItems ul li {
    margin-right: 10px;
}

.navItems ul li a {
    text-decoration: none;
}
Open Source Session Replay
OpenReplay is an open-source, session replay suite that lets you see what users do on your web app, helping you troubleshoot issues faster. OpenReplay is self-hosted for full control over your data.
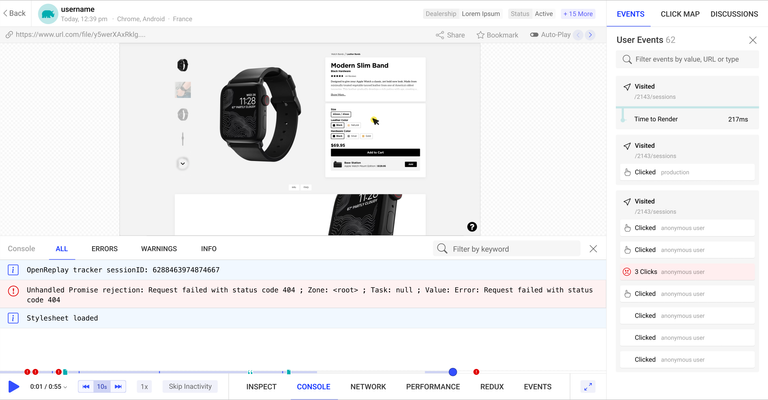
Start enjoying your debugging experience - start using OpenReplay for free.
Setting up the Application Pages
Pages are React components accessible as routes on the browser.
Next.js provides a pages folder that treats files as routes, and every page has a route mapped to it based on its file name. Let’s dive in and implement pages for executing the CRUD operations based on the API endpoints we created.
In the pages directory, we will need the following:
index.tsx: The home page showing the added posts. This file is already created in your projectpagesfolder.postsdirectory: To host the following files:index.tsx: For adding a post.[id].tsx: For editing a post.
Ensure you create the posts folder inside the pages directory and add the above two files.
Setting up the Home Page
The home page’s content will be hosted inside the pages/index.tsx file. First, we will display the Navigation and Layout component we created. We will then create a component to display the posts from the database. Inside this component, we will add two buttons:
To delete each post.
To launch the edit page and update the selected post.
Getting Data from MongoDB
In the pages/index.tsx, import the necessary packages:
import {useState} from 'react';
import Layout from '../components/Layout';
Define the types for getting Posts as follows:
type Props = {
  posts: [Post]
}

type Post = {
  _id: String;
  title: String;
  content: String;
}
Get the posts from the server using the getServerSideProps():
export async function getServerSideProps() {
  try {
    let response = await fetch('http://localhost:3000/api/getPosts');
    let posts = await response.json();

    return {
      props: { posts: JSON.parse(JSON.stringify(posts)) },
    };
  } catch (e) {
    console.error(e);
  }
}
getServerSideProps is a method that renders at run time. It instructs Next.js components to populate props and render them into a static HTML page at run time. This means the components are rendered on the client, waiting for a request to be made to the server. Next.js doesn’t send JavaScript to the browser when the request is made; it just renders the components in HTML pages in real-time.
In this example, we use getServerSideProps for data fetching directly from the server. I.e., the API we create. Here we are executing a request to read the data and return the value to the props. This way, the page can be hydrated correctly, as any component can be sent to the client in the initial HTML, even when fetching data from a server.
Go ahead and define the function to render the view to the client as follows:
export default function Posts(props: Props) {
  const [posts, setPosts] = useState < [Post] > props.posts;

  const handleDeletePost = async (postId: string) => {
    try {
      let response = await fetch(
        "http://localhost:3000/api/deletePost?id=" + postId,
        {
          method: "POST",
          headers: {
            Accept: "application/json, text/plain, */*",
            "Content-Type": "application/json",
          },
        }
      );
      response = await response.json();
      window.location.reload();
    } catch (error) {
      console.log("An error occurred while deleting ", error);
    }
  };
}
Note that we are adding how to handle the post-delete functionality. When the component is rendered to the client, we want the client to be able to delete any select post. Therefore, endure you add the postId id to the delete endpoint. This way, the server will know which post to delete from the database. When the delete is successful, reload the page using window.location.reload() and return the new list of available posts.
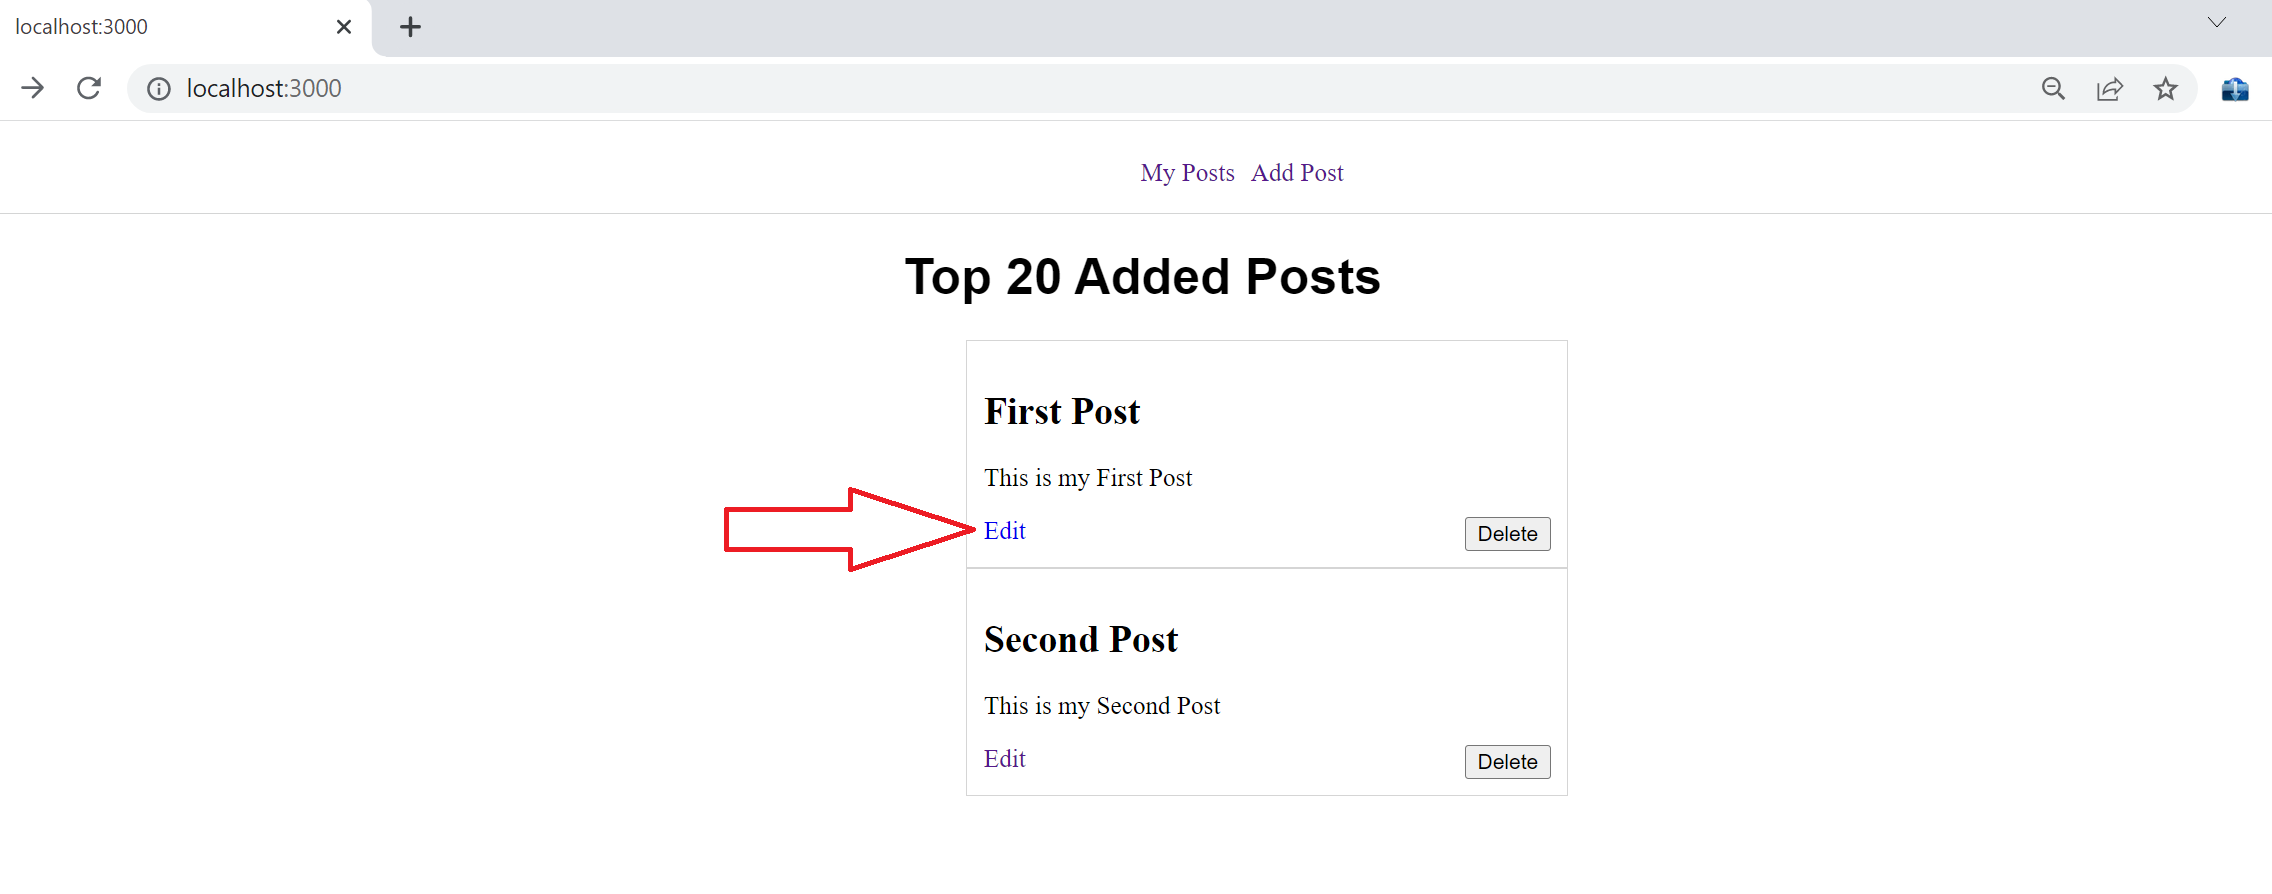
Finally, return the view to the client inside the above Posts() method as follows:
return (
  <Layout>
    <div className="posts-body">
      <h1 className="posts-body-heading">Top 20 Added Posts</h1>
      {posts.length > 0 ? (
        <ul className="posts-list">
          {posts.map((post, index) => {
            return (
              <li key={index} className="post-item">
                <div className="post-item-details">
                  <h2>{post.title}</h2>

                  <p>{post.content}</p>
                </div>
                <div className="post-item-actions">
                  <a href={`/posts/${post._id}`}>Edit</a>
                  <button onClick={() => handleDeletePost(post._id as string)}>
                    Delete
                  </button>
                </div>
              </li>
            );
          })}
        </ul>
      ) : (
        <h2 className="posts-body-heading">Ooops! No posts added so far</h2>
      )}
    </div>
    <style jsx>
      {`
        .posts-body {
          width: 400px;
          margin: 10px auto;
        }
        .posts-body-heading {
          font-family: sans-serif;
        }
        .posts-list {
          list-style-type: none;
          display: block;
        }
        .post-item {
          width: 100%;
          padding: 10px;
          border: 1px solid #d5d5d5;
        }
        .post-item-actions {
          display: flex;
          justify-content: space-between;
        }
        .post-item-actions a {
          text-decoration: none;
        }
      `}
    </style>
  </Layout>
);
Here we will display the posts from the database. Each post will have a button to delete and edit it. We are also adding a path that will execute the edit route.
Let’s check the app and see what we got so far. Ensure your server is up and running, or use the following command:
npm run dev
Open the application using http://localhost:3000/ on the browser to view the application.
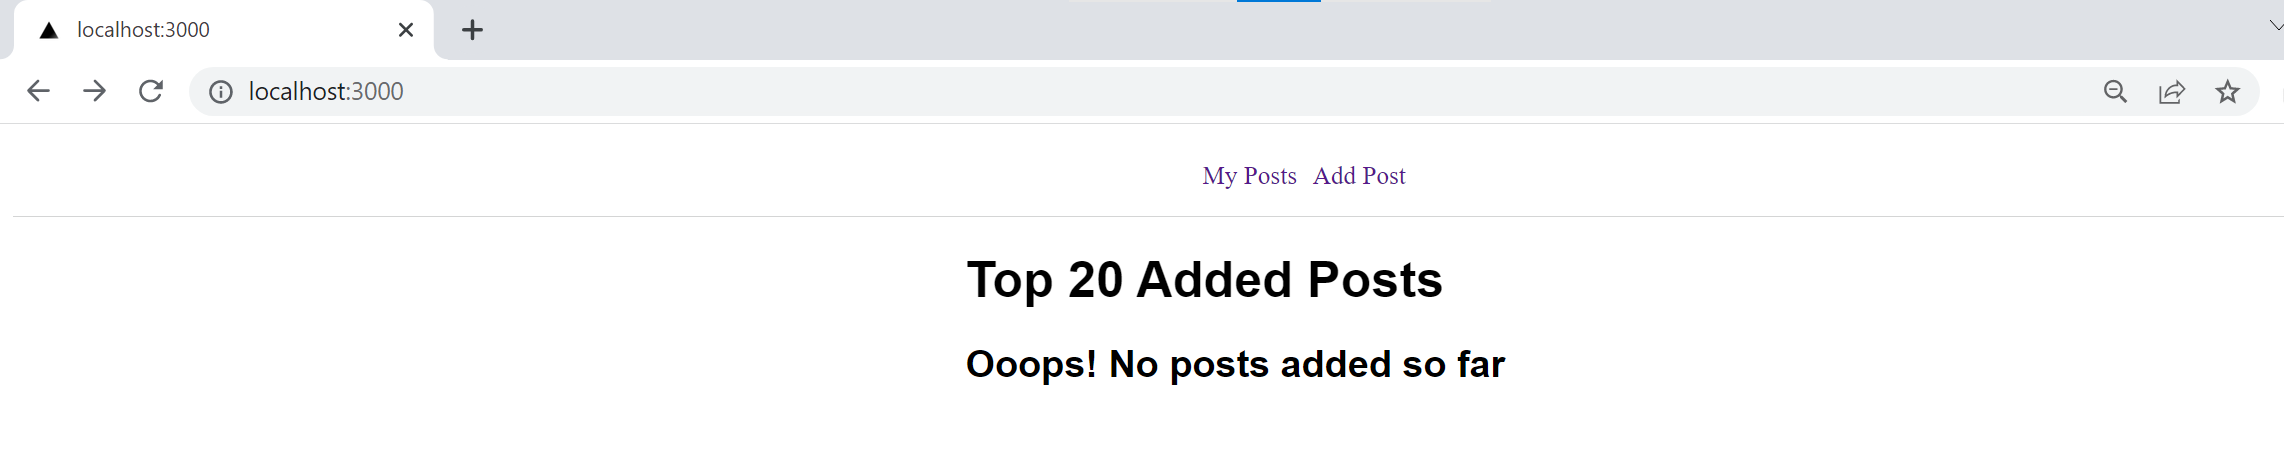
Here is our application. And Oops! No posts have been added so far. Let’s dive in and add some posts.
Adding Posts to MongoDB
In pages/posts/index.tsx, import the necessary packages:
import React, { useState } from "react";
import Layout from "../../components/Layout";
Define a function for adding a post:
export default function AddPost() {
  const [title, setTitle] = useState("");
  const [content, setContent] = useState("");
  const [error, setError] = useState("");
  const [message, setMessage] = useState("");

  const handleSubmit = async (e: any) => {
    e.preventDefault();
    if (title && content) {
      try {
        let response = await fetch("http://localhost:3000/api/addPost", {
          method: "POST",
          body: JSON.stringify({
            title,
            content,
          }),
          headers: {
            Accept: "application/json, text/plain, */*",
            "Content-Type": "application/json",
          },
        });
        response = await response.json();
        setTitle("");
        setContent("");
        setError("");
        setMessage("Post added successfully");
      } catch (errorMessage: any) {
        setError(errorMessage);
      }
    } else {
      return setError("All fields are required");
    }
  };
}
Inside the above AddPost(), render a form to insert data as follows:
return (
  <Layout>
    <form onSubmit={handleSubmit} className="form">
      {error ? <div className="alert-error">{error}</div> : null}
      {message ? <div className="alert-message">{message}</div> : null}
      <div className="form-group">
        <label>Title</label>
        <input
          type= "text"
          placeholder= "Title of the post"
          onChange={(e) => setTitle(e.target.value)}
          value={title}
        />
      </div>
      <div className="form-group">
        <label>Content</label>
        <textarea
          name= "content"
          placeholder= "Content of the post"
          value={content}
          onChange={(e) => setContent(e.target.value)}
          cols={20}
          rows={8}
        />
      </div>
      <div className="form-group">
        <button type="submit" className="submit_btn">
          Add Post
        </button>
      </div>
    </form>
    <style jsx>
      {`
        .form {
          width: 400px;
          margin: 10px auto;
        }
        .form-group {
          width: 100%;
          margin-bottom: 10px;
          display: block;
        }
        .form-group label {
          display: block;
          margin-bottom: 10px;
        }
        .form-group input[type="text"] {
          padding: 10px;
          width: 100%;
        }
        .form-group textarea {
          padding: 10px;
          width: 100%;
        }
        .alert-error {
          width: 100%;
          color: red;
          margin-bottom: 10px;
        }
        .alert-message {
          width: 100%;
          color: green;
          margin-bottom: 10px;
        }
      `}
    </style>
  </Layout>
);
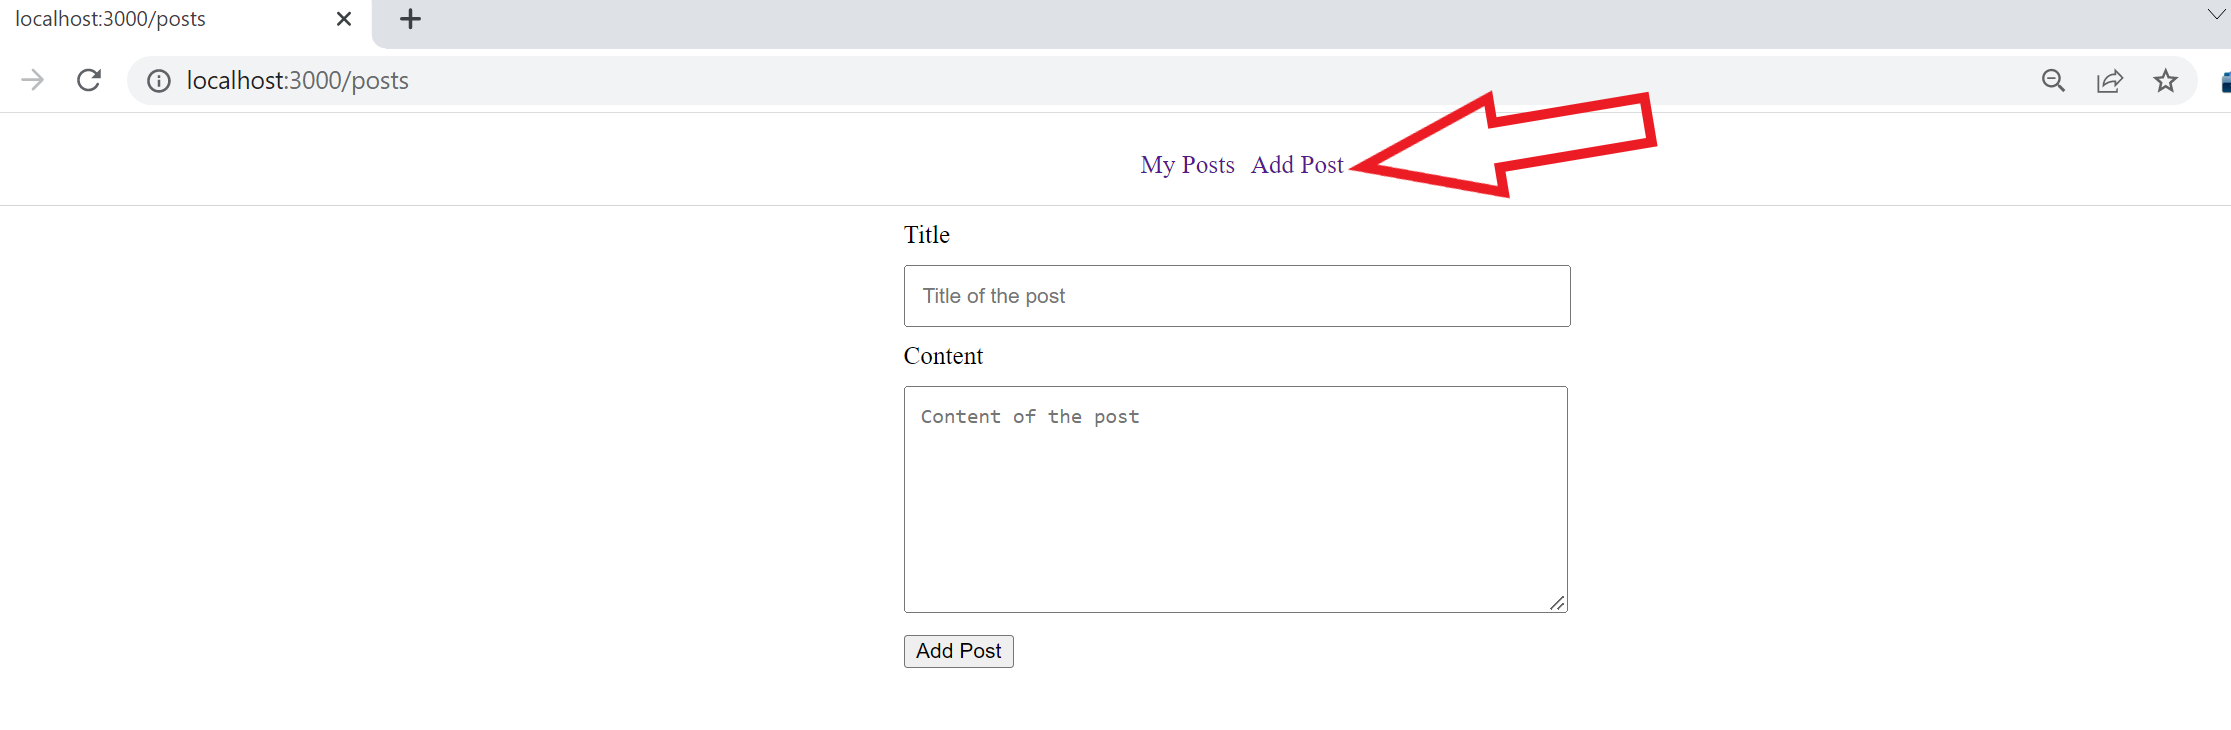
Let’s test this functionality. Click Add Post on your application.
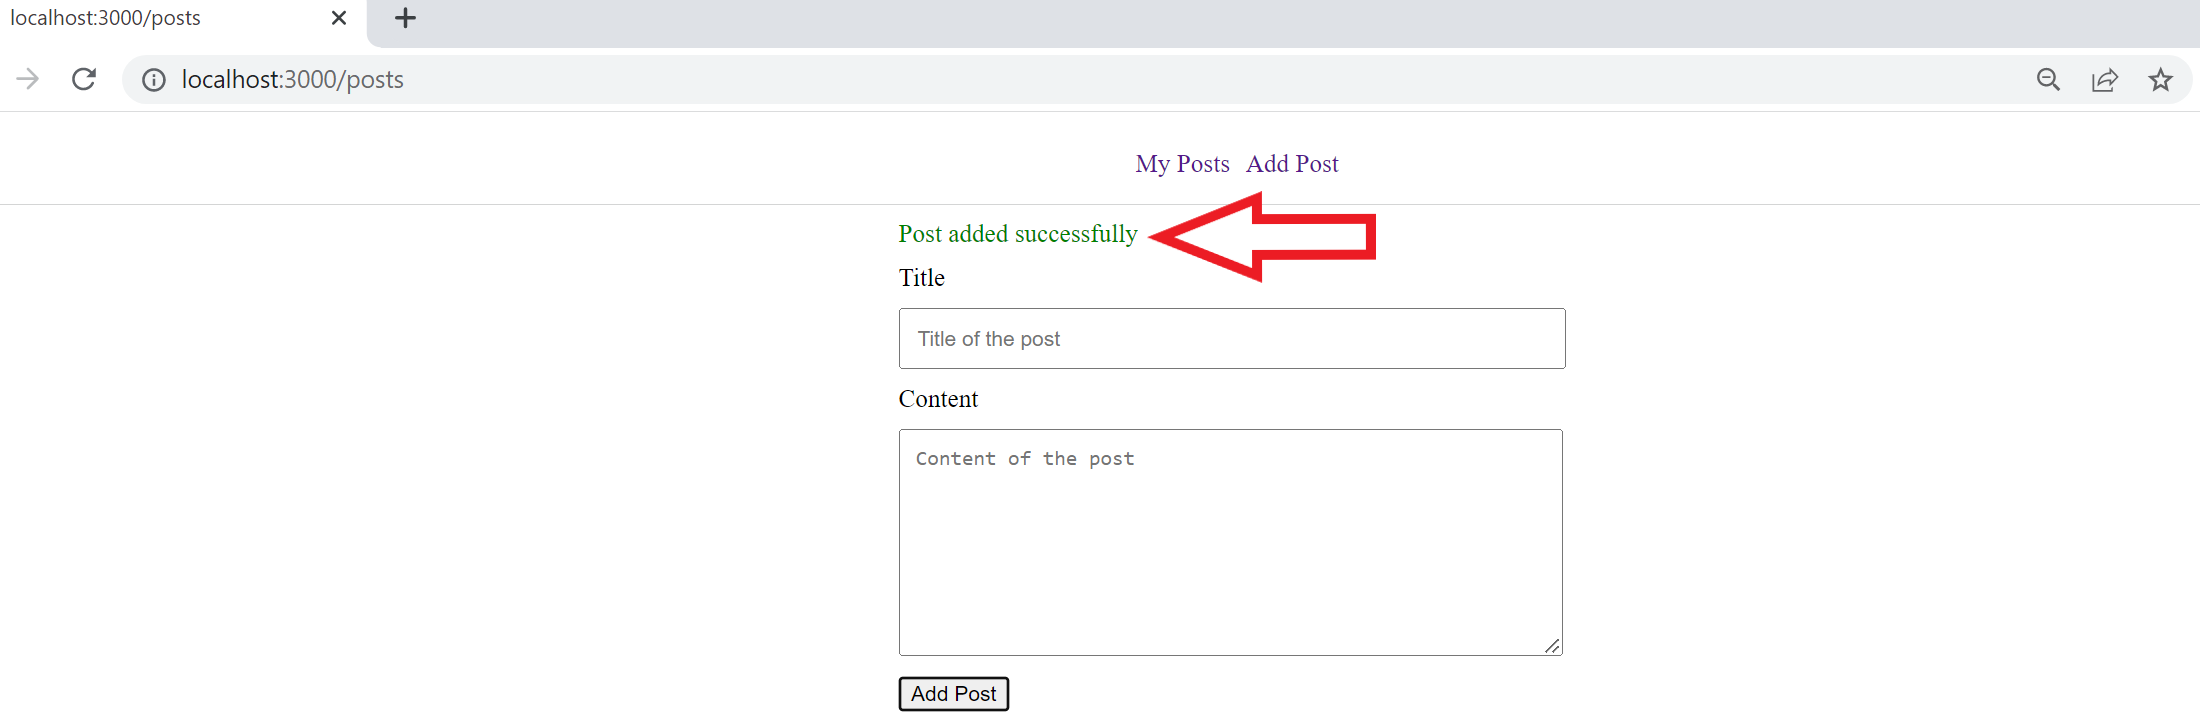
Enter the post details and click the Add Post button. If the post is successfully added, a message will be displayed as so:
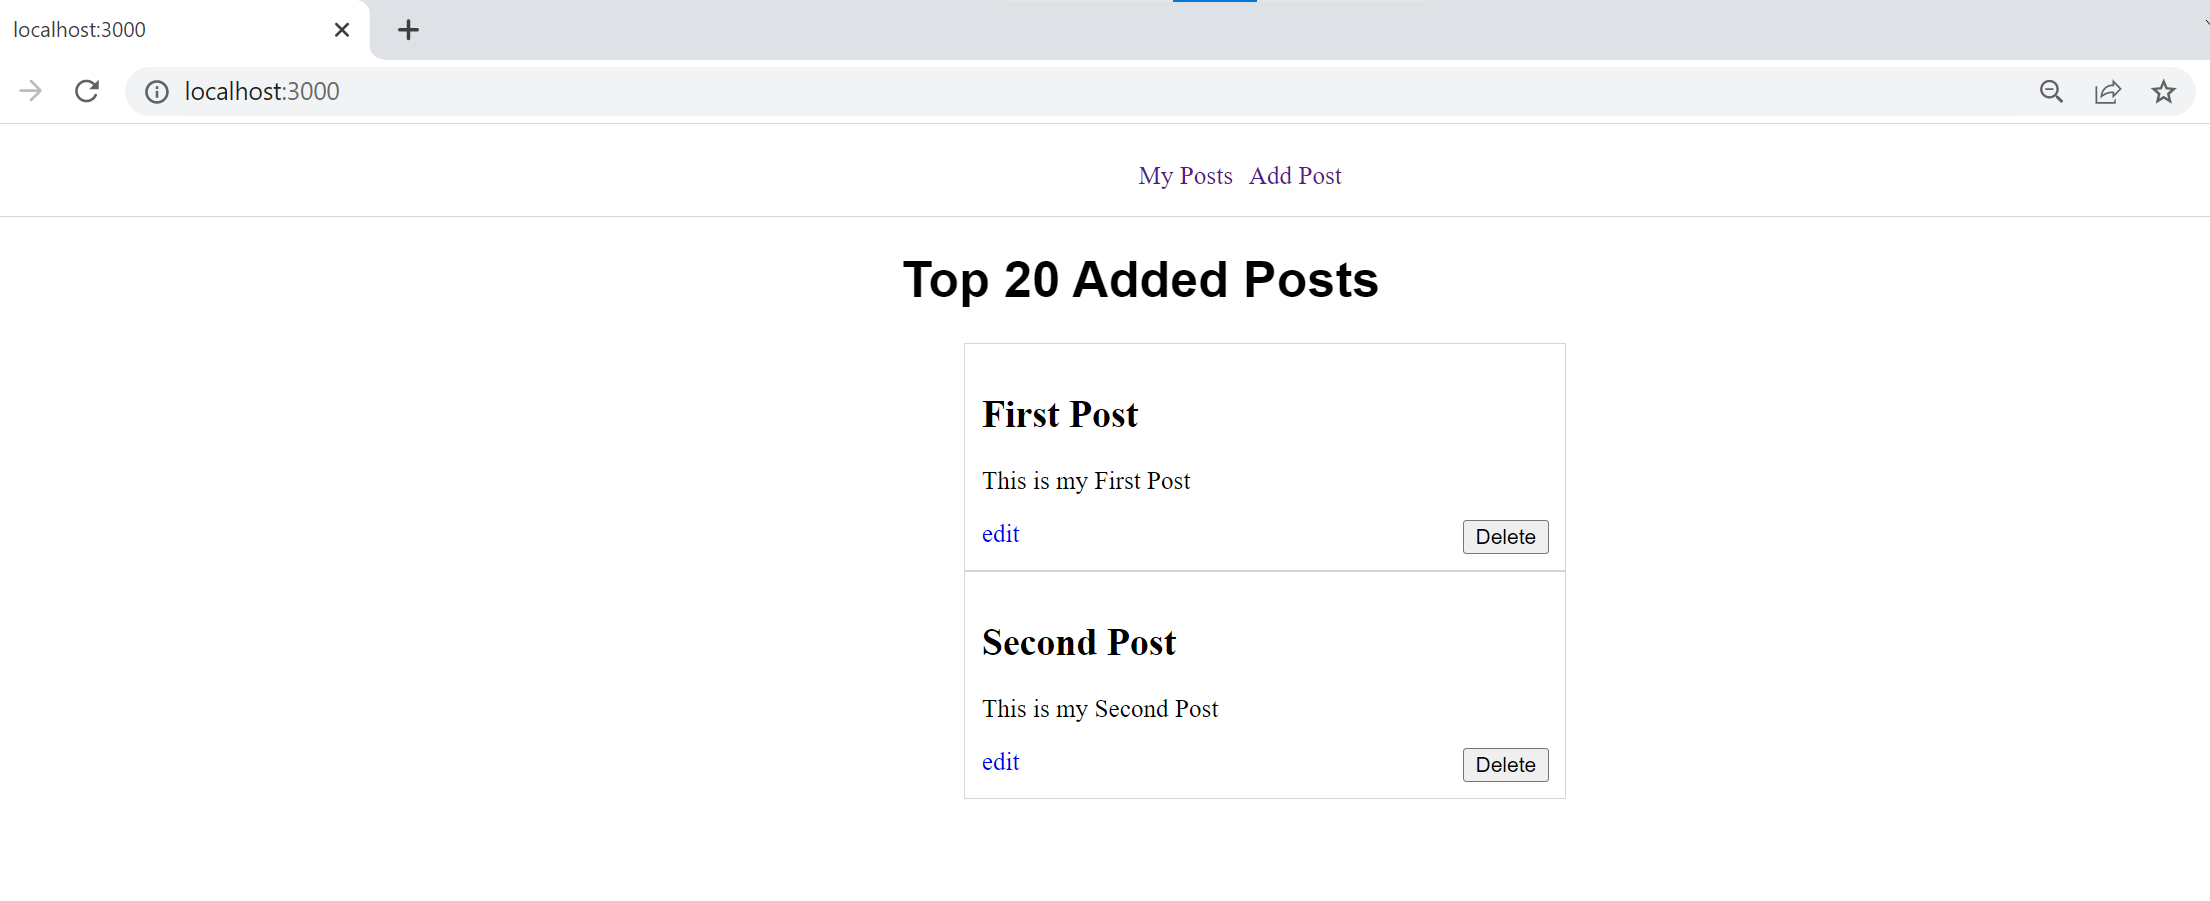
If you head over to the home page or click My Posts, you should get the added posts:
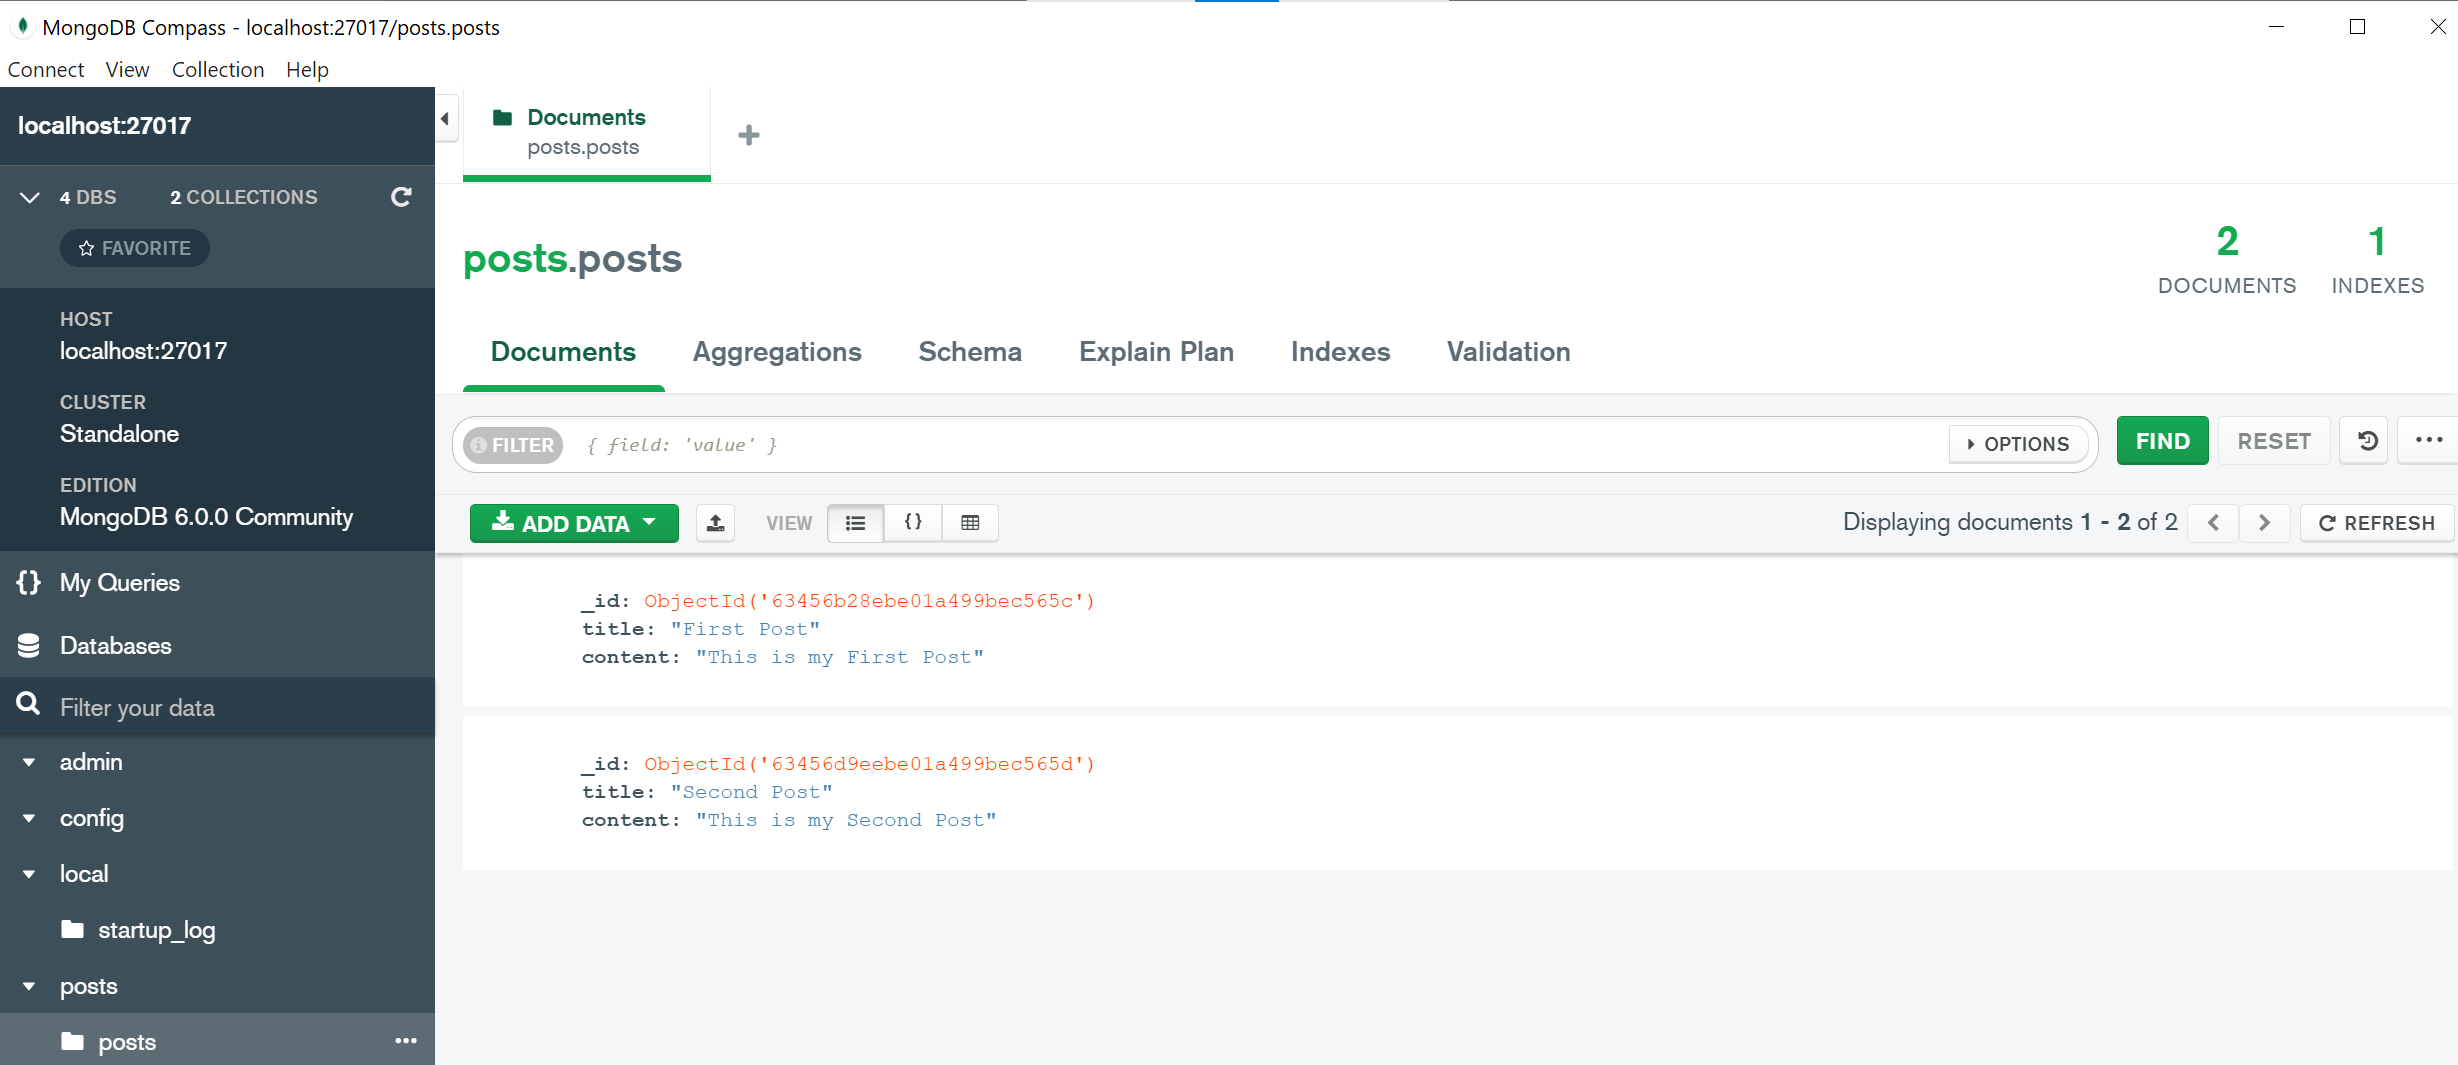
Likewise, these changes should be reflected in your database as follows:
You can also try to see if delete is working as expected.
Updating Posts to MongoDB
At this point, our application can communicate with MongoDB and add, read and delete items. Let’s now try to update these added items from Next.js.
In the pages/posts/[id].tsx file import the necessary packages:
import React, { useState } from "react";
import type { GetStaticPropsContext, GetStaticPropsResult } from "next";
import Layout from "../../components/Layout";
Define the types sending updated values:
type PageParams = {
  id: string;
};

type ContentPageProps = {
  post: Post;
};

type Post = {
  _id: string;
  title: string;
  content: string;
};

type ResponseFromServer = {
  title: string;
  content: string;
  _id: string;
};
Statically get the post by sending an API request to the database:
export async function getStaticProps({
  params,
}: GetStaticPropsContext<PageParams>): Promise<
  GetStaticPropsResult<ContentPageProps>
> {
  try {
    let response = await fetch(
      "http://localhost:3000/api/getPost?id=" + params?.id
    );

    let responseFromServer: ResponseFromServer = await response.json();

    return {
      // Passed to the page component as props
      props: {
        post: {
          _id: responseFromServer._id,
          title: responseFromServer.title,
          content: responseFromServer.content,
        },
      },
    };
  } catch (e) {
    console.log("error ", e);
    return {
      props: {
        post: {
          _id:"  ",
          title:"  ",
          content:"  ",
        },
      },
    };
  }
}

export async function getStaticPaths() {
  let posts = await fetch("http://localhost:3000/api/getPosts");

  let postFromServer: [Post] = await posts.json();
  return {
    paths: postFromServer.map((post) => {
      return {
        params: {
          id: post._id,
        },
      };
    }),
    fallback: false, // can also be true or 'blocking'
  };
}
Define the function to render the view.
export default function EditPost({
  post: { _id, title, content },
}: ContentPageProps) {
  const [postTitle, setPostTitle] = useState(title);
  const [postContent, setPostContent] = useState(content);
  const [error, setError] = useState("");
  const [message, setMessage] = useState("");

  const handleSubmit = async (e: any) => {
    e.preventDefault();
    if (postTitle && postContent) {
      try {
        let response = await fetch(
          "http://localhost:3000/api/editPost?id=" + _id,
          {
            method: "POST",
            body: JSON.stringify({
              title: postTitle,
              content: postContent,
            }),
            headers: {
              Accept: "application/json, text/plain, */*",
              "Content-Type": "application/json",
            },
          }
        );
        response = await response.json();
        setPostTitle("");
        setPostContent("");
        setError("");
        setMessage("Post edited successfully");
      } catch (errorMessage: any) {
        setError(errorMessage);
      }
    } else {
      return setError("All fields are required");
    }
  };

  // no such post exists
  if (!title && !content && !id && process.browser) {
    return (window.location.href = "/");
  }

  return (
    <Layout>
      <form onSubmit={handleSubmit} className="form">
        {error ? <div className="alert-error">{error}</div> : null}
        {message ? <div className="alert-message">{message}</div> : null}
        <div className="form-group">
          <label>Title</label>
          <input
            type= "text"
            placeholder= "Title of the post"
            onChange={(e) => setPostTitle(e.target.value)}
            value={postTitle ? postTitle : ""}
          />
        </div>
        <div className="form-group">
          <label>Content</label>
          <textarea
            name= "content"
            placeholder= "Content of the post"
            value={postContent ? postContent : ""}
            onChange={(e) => setPostContent(e.target.value)}
            cols={20}
            rows={8}
          />
        </div>
        <div className="form-group">
          <button type="submit" className="submit_btn">
            Update
          </button>
        </div>
      </form>
      <style jsx>
        {`
          .form {
            width: 400px;
            margin: 10px auto;
          }
          .form-group {
            width: 100%;
            margin-bottom: 10px;
            display: block;
          }
          .form-group label {
            display: block;
            margin-bottom: 10px;
          }
          .form-group input[type="text"] {
            padding: 10px;
            width: 100%;
          }
          .form-group textarea {
            padding: 10px;
            width: 100%;
          }
          .alert-error {
            width: 100%;
            color: red;
            margin-bottom: 10px;
          }
          .alert-message {
            width: 100%;
            color: green;
            margin-bottom: 10px;
          }
        `}
      </style>
    </Layout>
  );
}
Ensure your development server is up and running. On your home page, click Edit:
The selected post will be loaded to the update form placeholder:
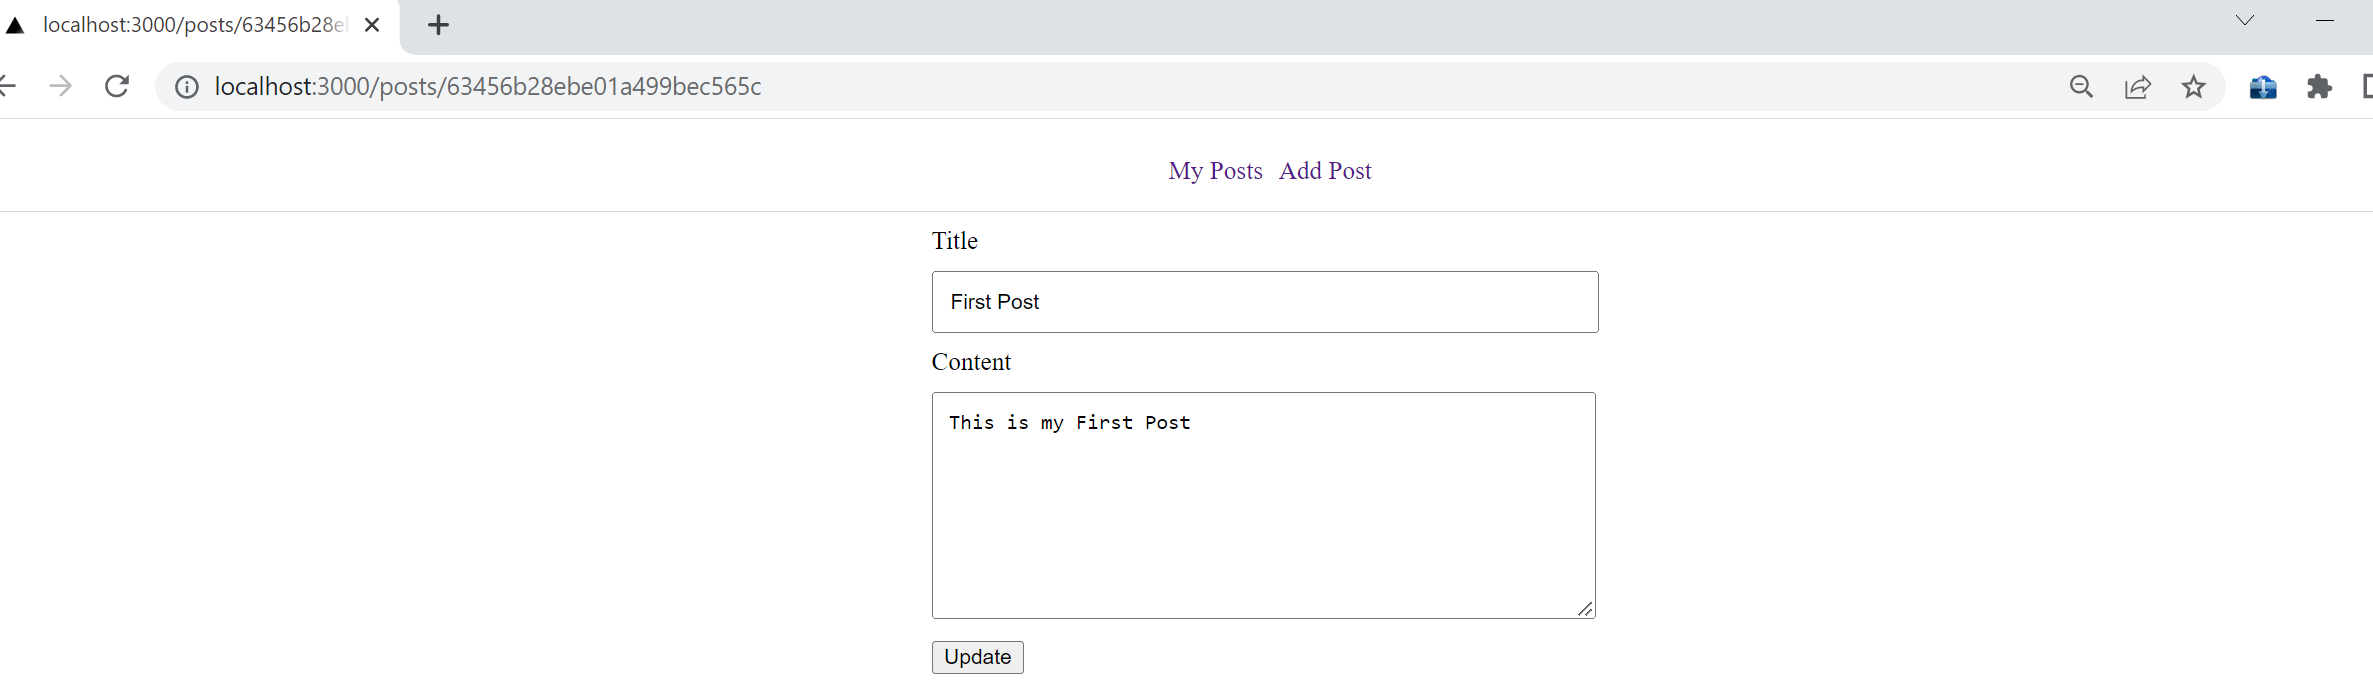
You can now go ahead and edit your post. Once done, click Submit. Changes will be reflected as such. Note that these changes should be reflected in your database as well.
Conclusion
That’s a wrap for this guide. You can now comfortably execute any operations to your database exclusively using Next.js. For any code references, check the application on this GitHub repository.
I hope you found this helpful. Happy coding!
A TIP FROM THE EDITOR: For more on MongoDB plus Next, don’t miss our Authentication And DB Access With Next, Prisma, And MongoDB article!
